
If you have an I.CA Qualified Certificate and Device and wish to use it to sign documents or initiate a signature request for others, here is how it can be done.
There are two different approaches which depend on the type of card you have and the device you are using - USB dongle (a card reader) or just an NFC card.
The USB dongle can be used with a laptop or a computer, and the NFC card can be used with a mobile device (most often a smartphone) with an NFC reader (most smartphones have this by default).
What you need
Before you start signing with your I.CA device and card, there may be some things you need to have on your desktop to use a USB dongle or reader.
There is nothing extra needed to use an NFC card with a mobile device - your mobile device just needs to have an NFC reader (a standard part of today’s smartphones).
For desktop signing, you will need either https://www.ica.cz/ica-pkiservicehost or https://www.ica.cz/en/secure-store. The SecureStore contains the ServiceHost and also allows you to manage the certificates on the device.
For the device itself you may need a driver - it may be found here (https://www.ica.cz/en/download-0#drivers) or in the instructions accompanying your device.
And lastly, from here you also need to download a Web Signature Client for the specific browser you are using: https://www.ica.cz/en/ica-pkiservicehost (They are located above the two options for different OS apps.)
Initiating a signature request with I.CA as the signature provider
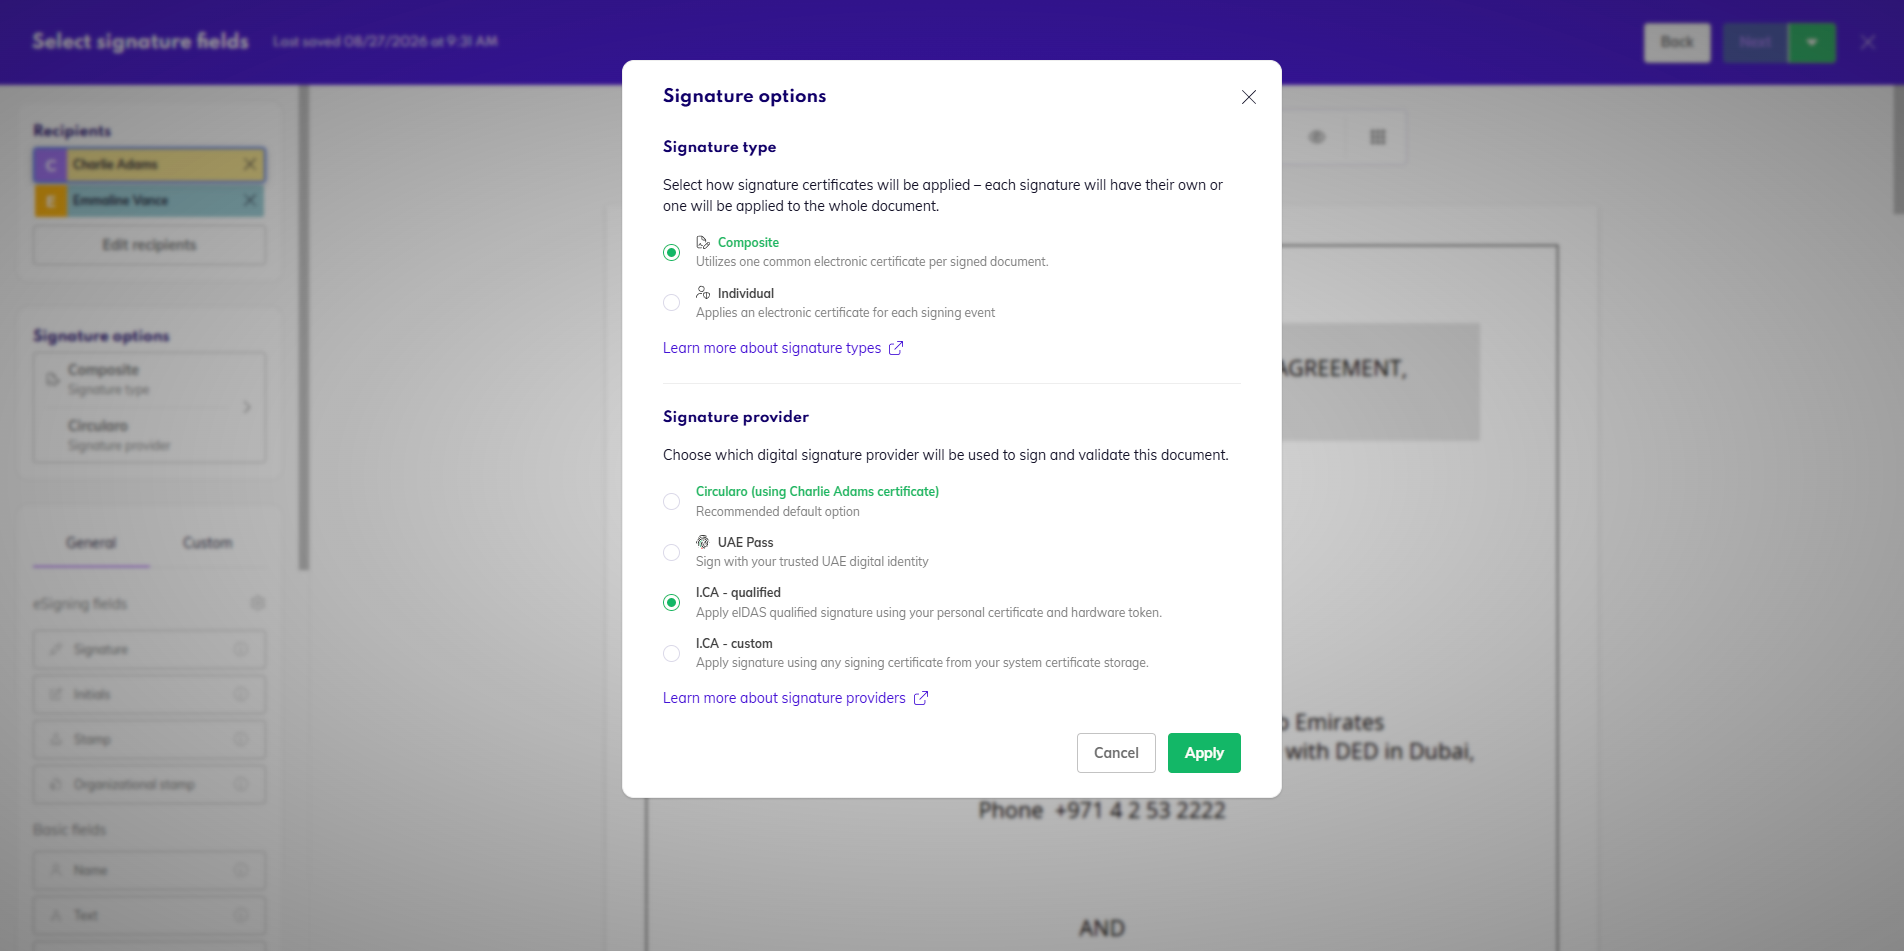
Please keep in mind that if you select I.CA as the signature provider for a document, it will be set for every recipient. This means the recipients have to have their own Qualified or Other certificates and their own devices, or they will not be able to process the document.
It is not possible to combine several providers on one document.
-
Start the transaction as normal
-
You can configure your recipients and their roles
-
-
In the Field preparation stage, change the Signature options
-
Finish preparing the document as usual
-
If you are also a signatory and the first recipient, you will need to sign the document with your I.CA certificate before you can continue to the last stage - for this you need to have your USB reader connected. (NFC cannot be used here as preparation for others cannot be done on mobile.)
-
If you are not a recipient or are further down in the queue, you will be able to finish sending the document as normal.
-
Initializing a transaction on mobile
This option is only available for documents you will only sign yourself, without any other recipients, as preparation of documents for others is not supported on the mobile version.
Once you place the fields you want on the document, find the three dots in the top right corner of your screen.
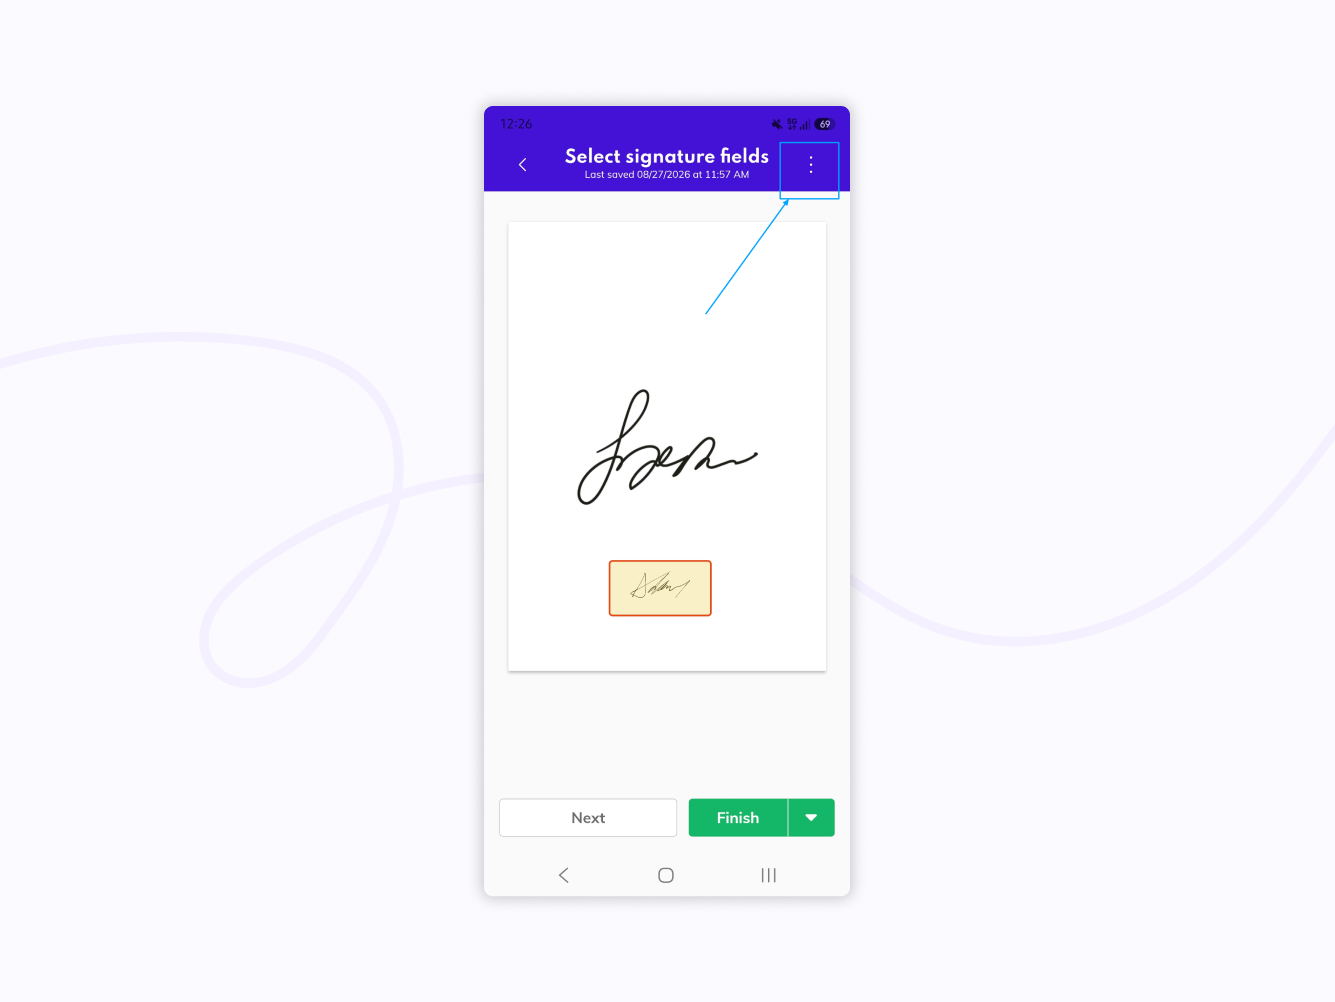
Open it and scroll down a bit - here you can select the provider of your signature. If you have a Qualified I.CA Certificate, choose that option. If you have a different type of certificate on your card, you can select that as well.
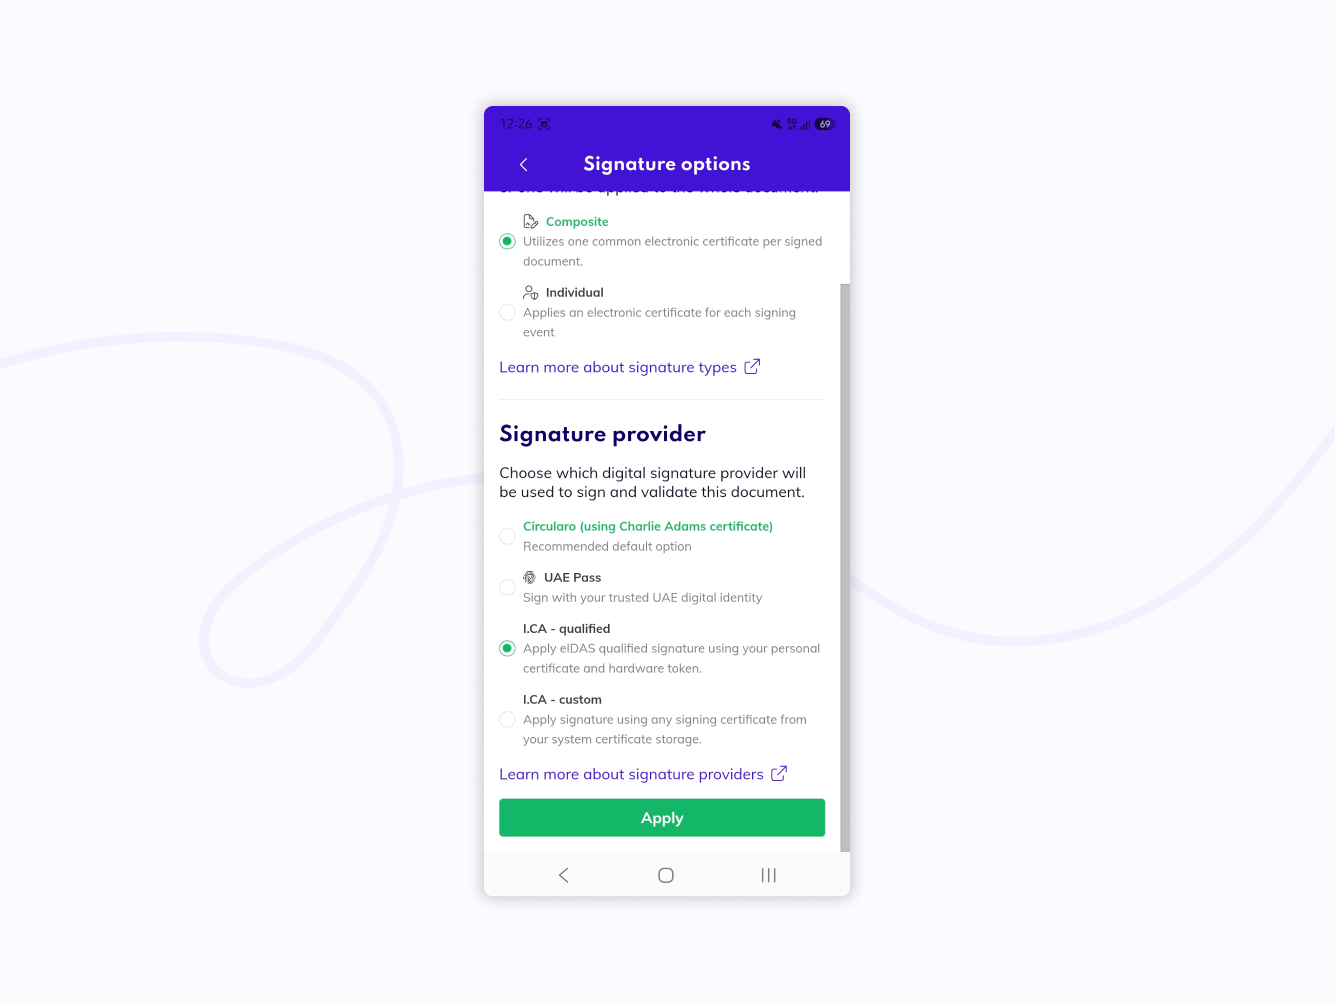
Click Apply to set the choice.
Back on the document, click Finish with I.CA in the bottom right corner.
The signing process itself is described below.
Signing with USB dongle
-
Fill out or prepare all your fields on the document.
-
Click Finish with I.CA.
-
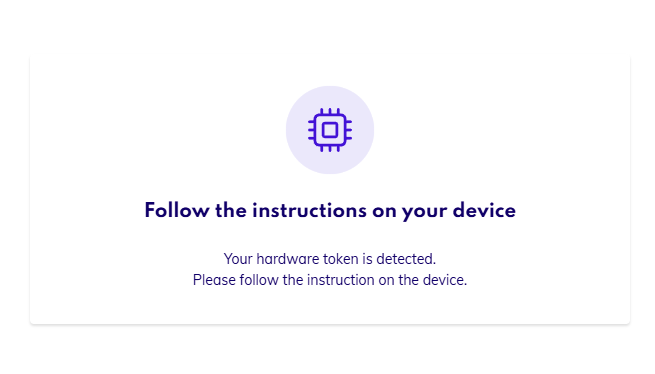
Your hardware token is being detected - wait for further instructions.
-
If you had not previously saved your certificate to your account or have more than one certificate on the device, you will be asked to choose which certificate you want to use - select your certificate.
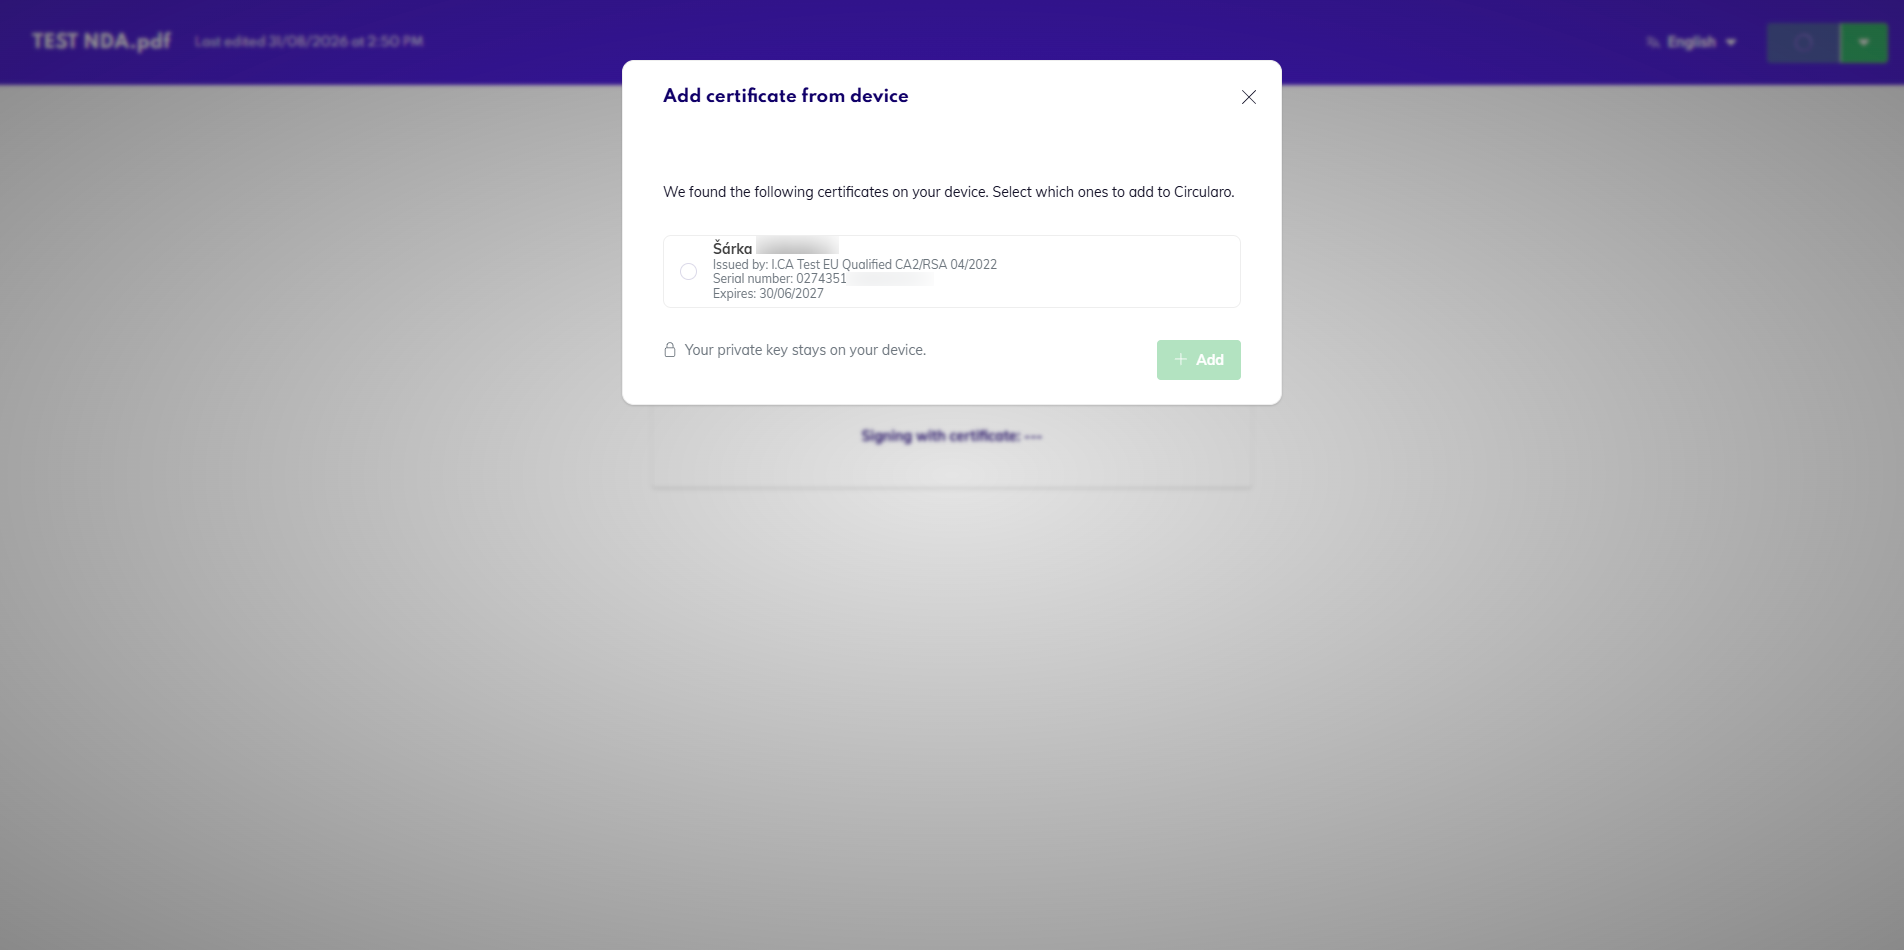
-
Enter your PIN - if your device has a number pad, you will enter your PIN there. If not, a small number pad will appear on your screen and you can enter it there.
-
Your document is signed.
Signing with an NFC card
This process looks very similar on iOS and Android. The provided screenshots were taken on an Android device, so the design may be slightly different on an iOS, but not so much as to make the process unrecognizable.
-
Enter your CAN - the number at the back of the card itself.
.jpg?cb=b9de7c9052a032cb91fe3108532e499f)
-
Hold your card to your phone - your NFC has to be enabled. If the screen is not saying that the card is being read, please try to position the card a little differently. When the device registers the card it will vibrate.
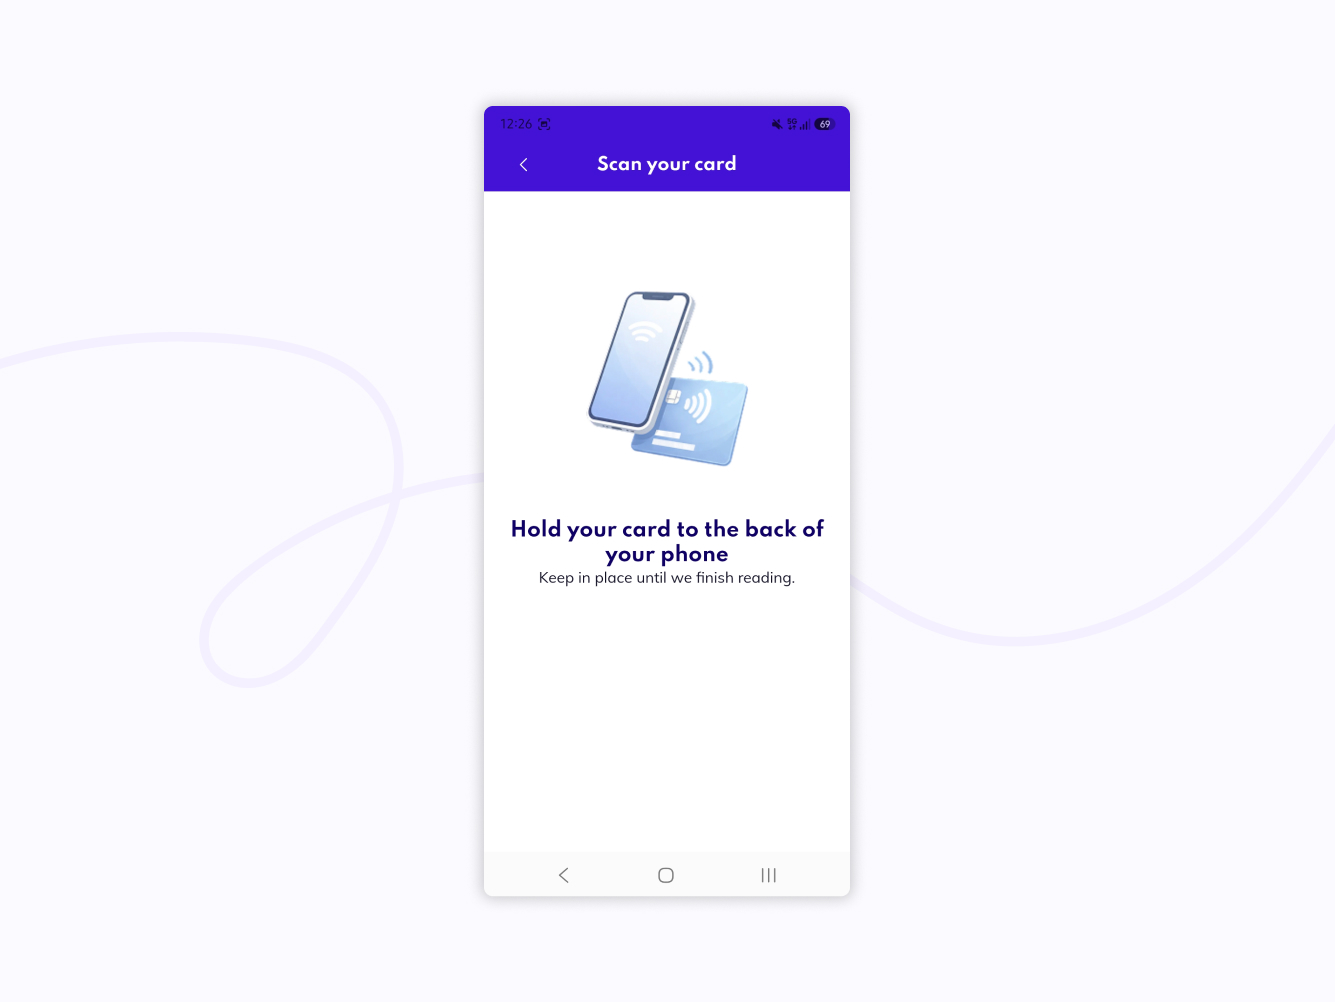
-
Once the card is read, you will select the certificate you wish to use to sign the document. Click Save & Sign once you choose the certificate.
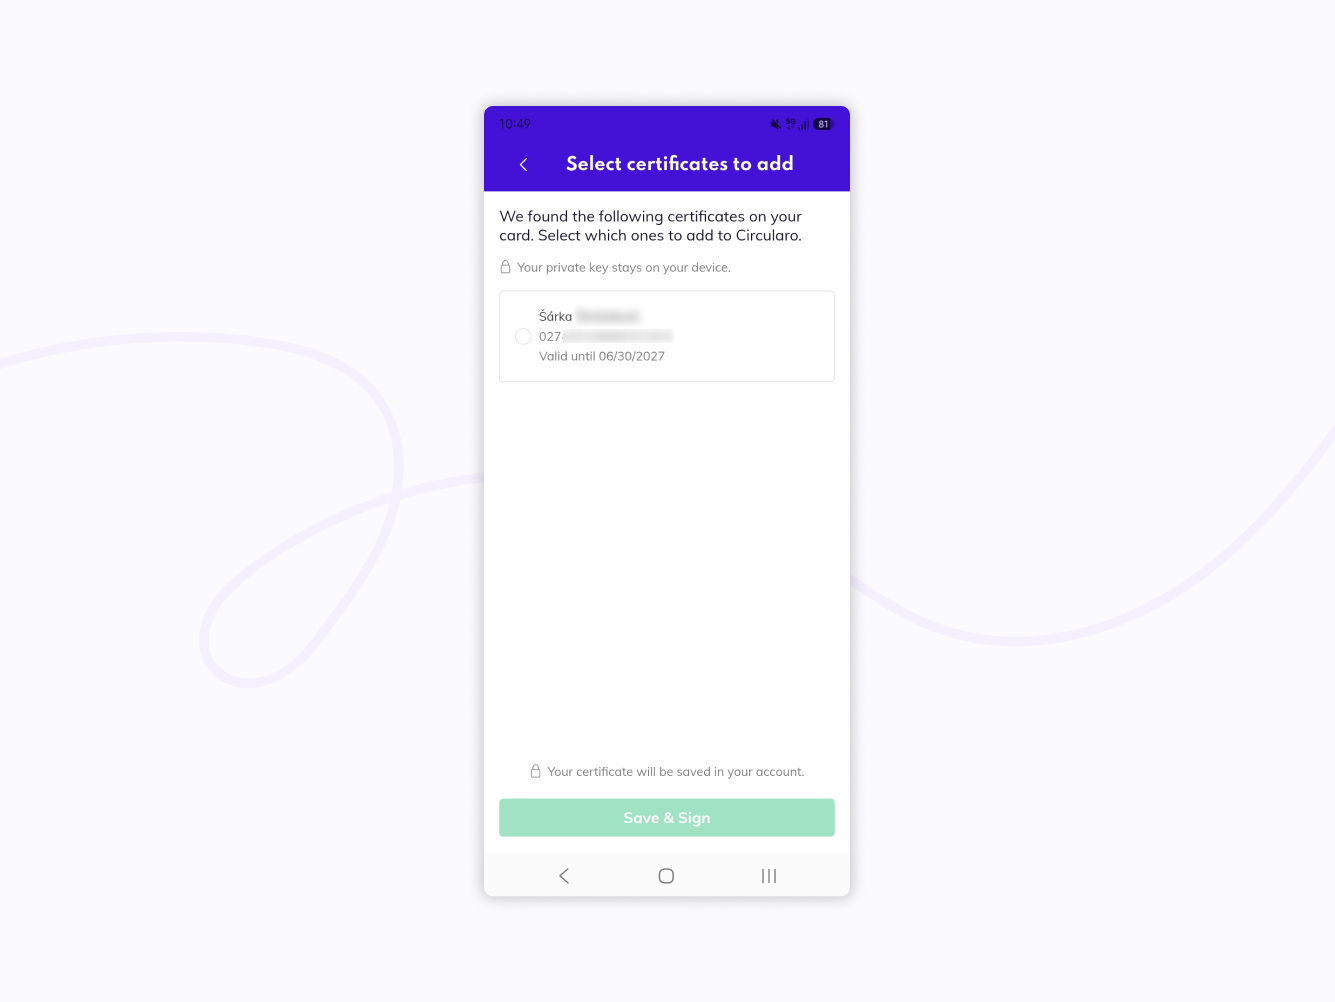
-
Enter your PIN. You have 3 tries to enter the PIN correctly before the card is blocked and you need to enter your PUK.
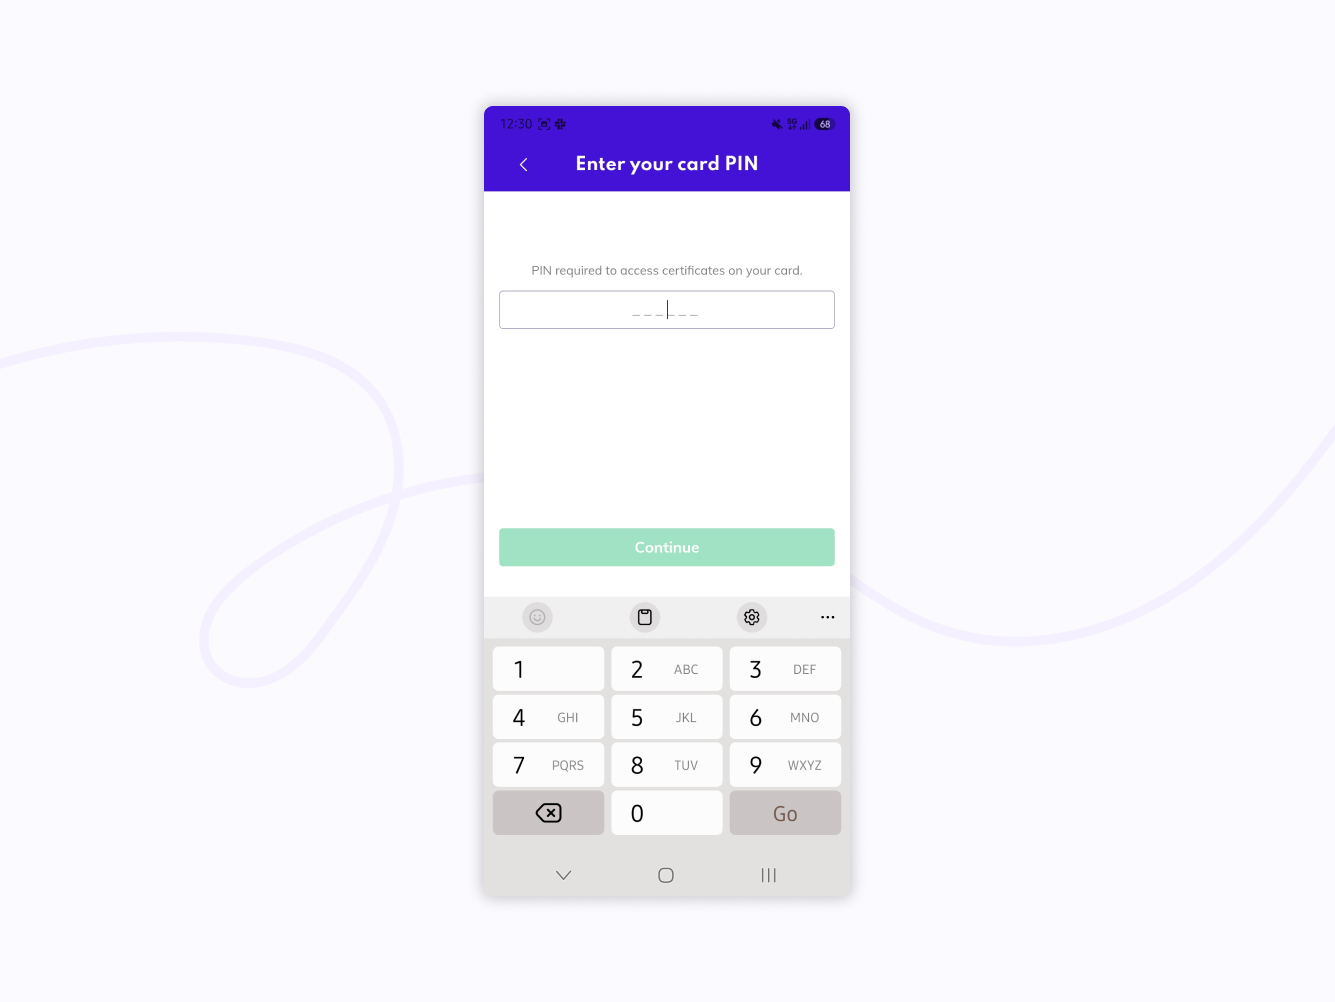
-
Hold the card to your phone again. The screen will now also show the certificate you have chosen to use for signing.
.jpg?cb=9a64b148574271505da5a84193f97140)
-
Your document is successfully signed.
Save your certificate to your account
You can save your certificate prior to any signing, or it will be saved the first time you use your certificate to sign a document.
When we say you save your certificate to your Circularo account, we mean only the public parts - such as the name it was issued for, the expiration date, and similar details. The private key to the certificate stays on your device and is not saved in Circularo at all.
You can save your certificate via your mobile device or your desktop - the certificate will show on both devices. It may only depend on what type of qualified device you have.
-
Navigate to My Account
-
Under Signatures, scroll to the bottom of the page.
-
Click on Add certificate
-
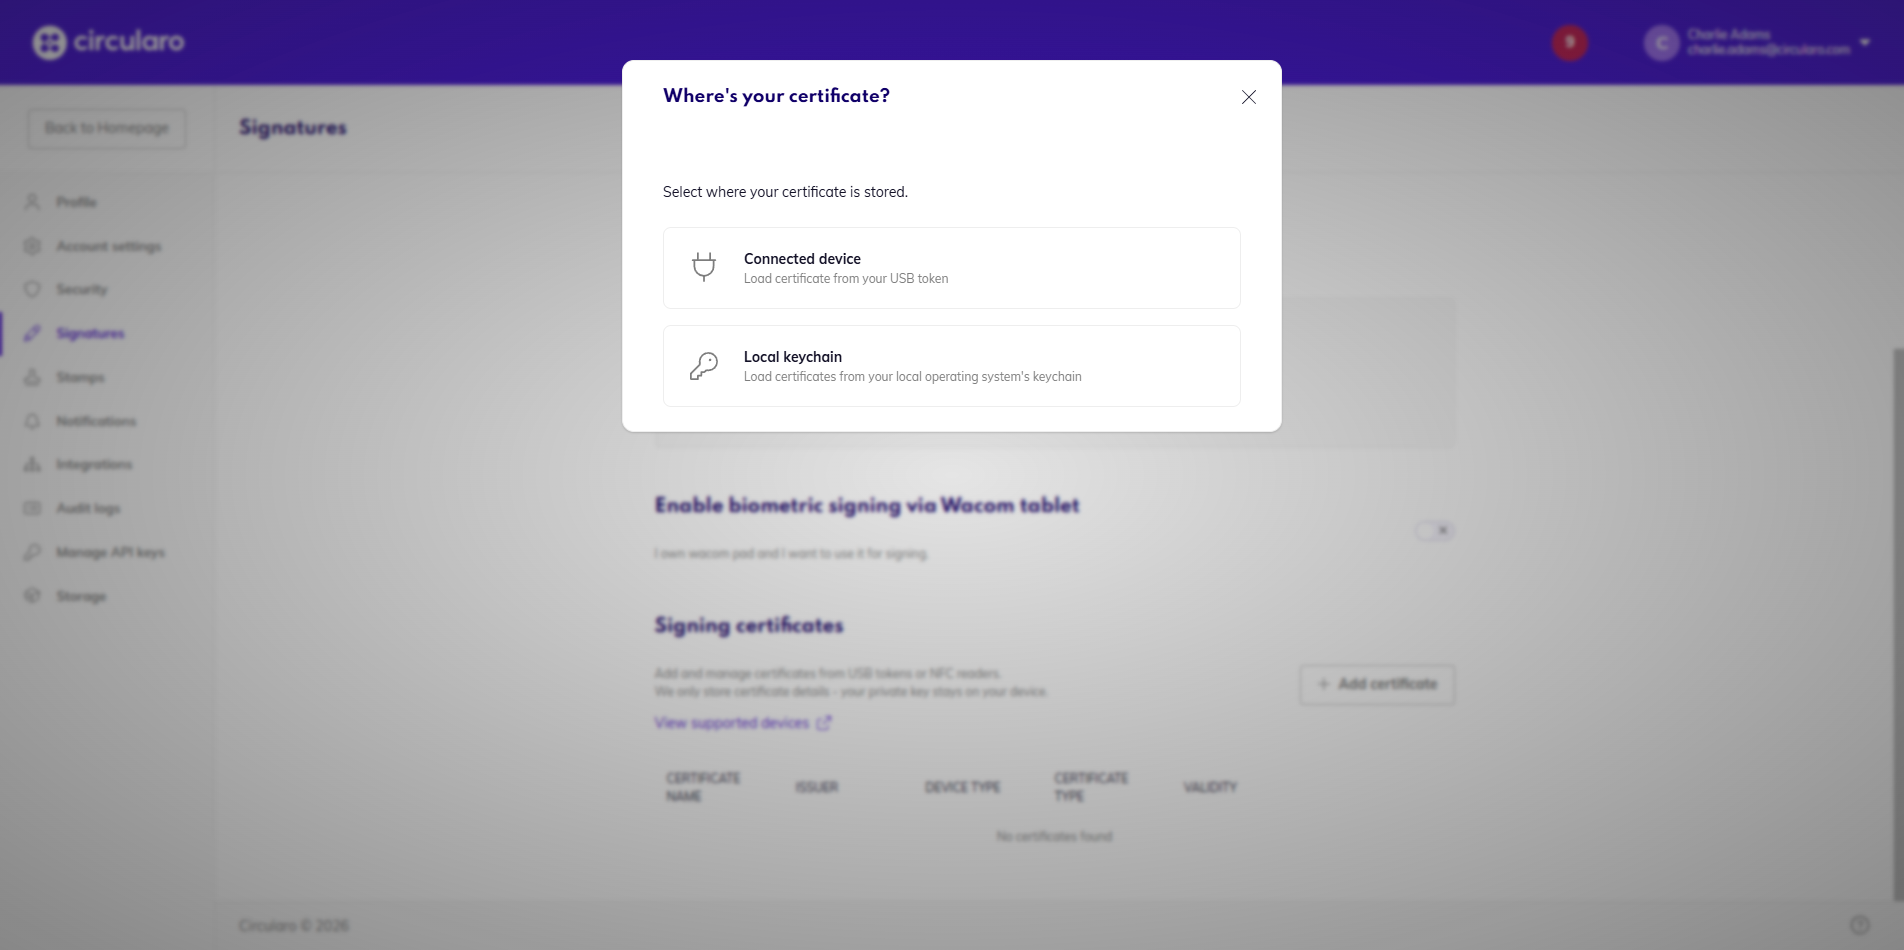
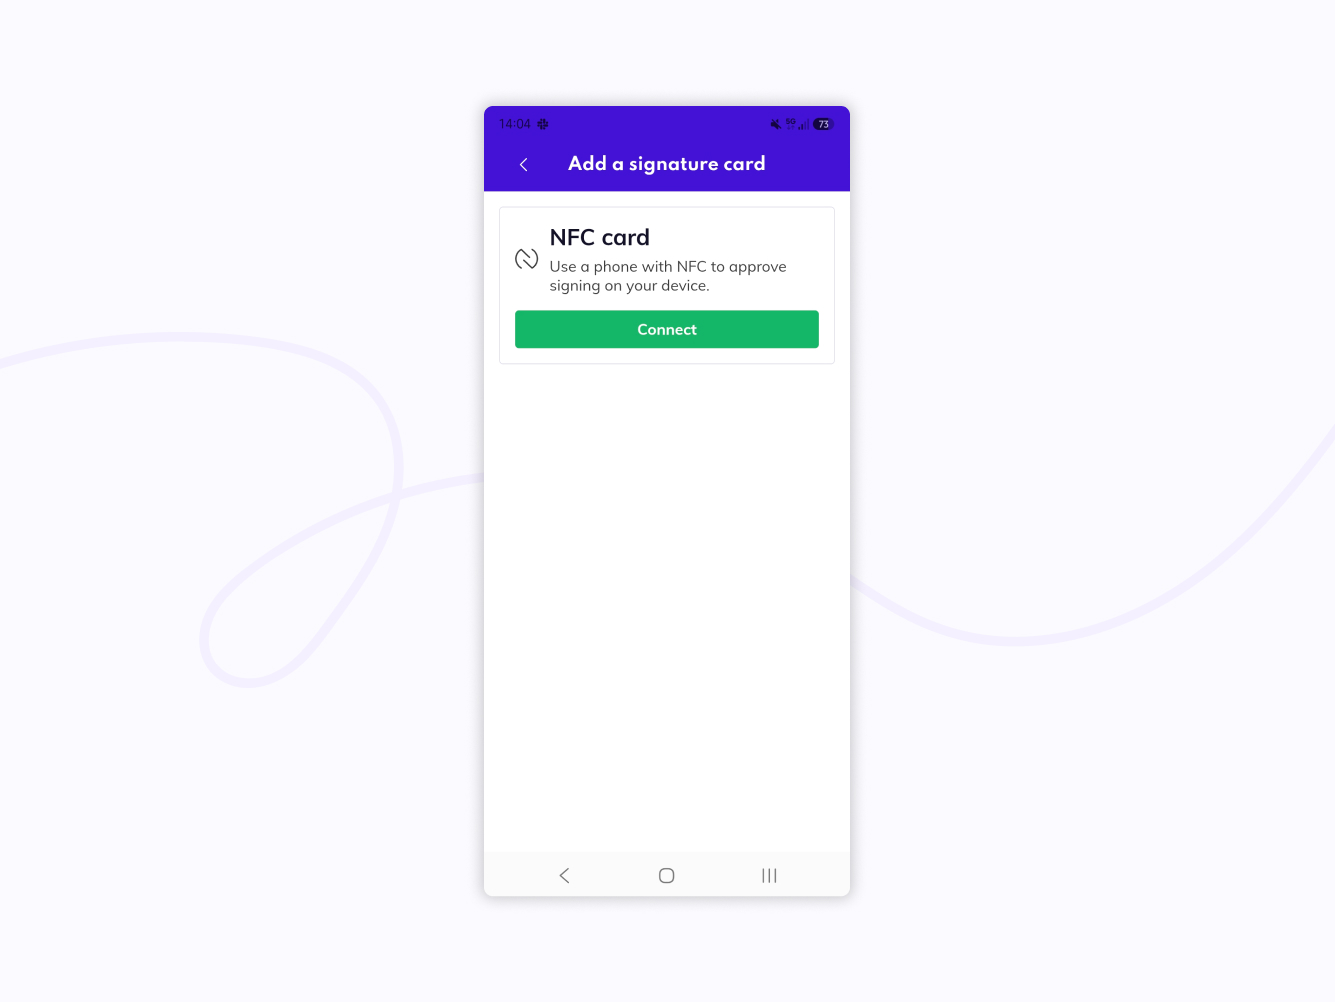
Select where your certificate is located (desktop) or select that you wish to use NFC device (mobile).
-
Follow the instructions for NFC device - enter your CAN and have the device read your card. If you are saving the certificate on a desktop, please just wait until the certificates are loaded.
-
Select the certificate you wish to save. If you have multiple on the card/device, you can save more than one.
-
Click Add.
-
Your chosen certificate will be saved to your account.