This page details how to set KYC verification for a document, and shows what it looks like from the external recipient’s side, so you know what they will need to actually do to finish the check.
Setting KYC Verification on documents
The verification can be set in the very last step before sending the document for signature.
Globally for all external recipients
-
Click on Protection
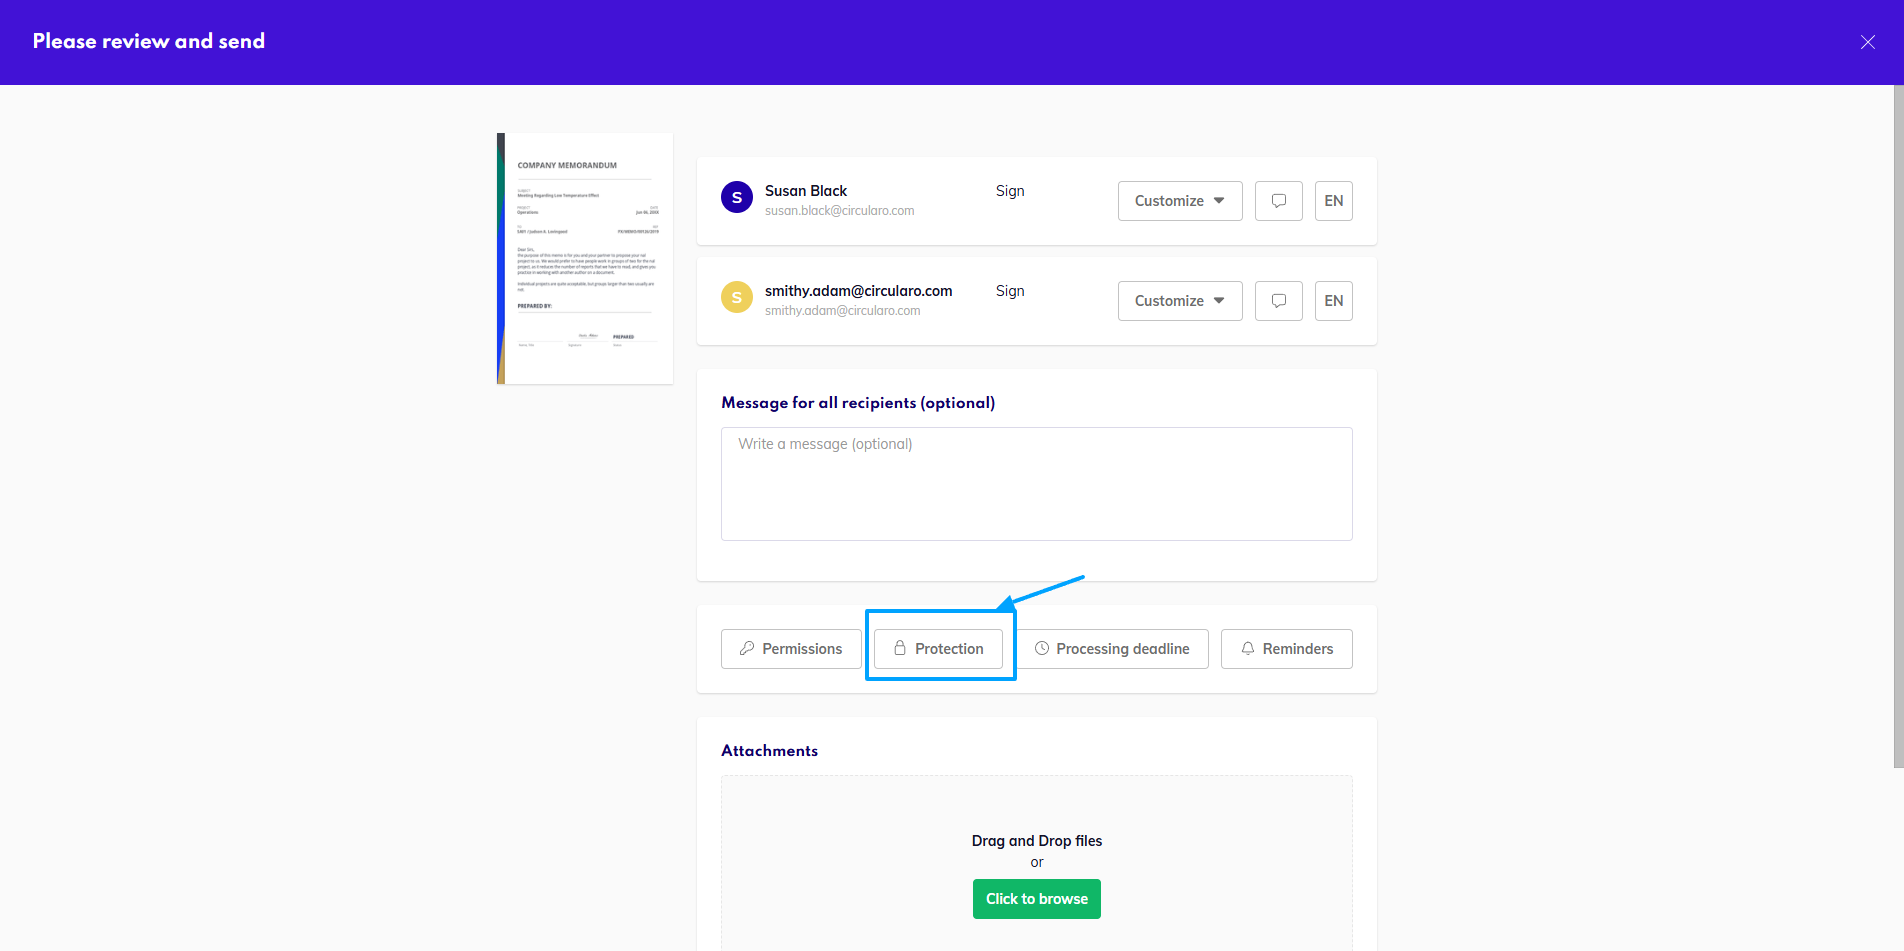
-
Select the KYC Verification option
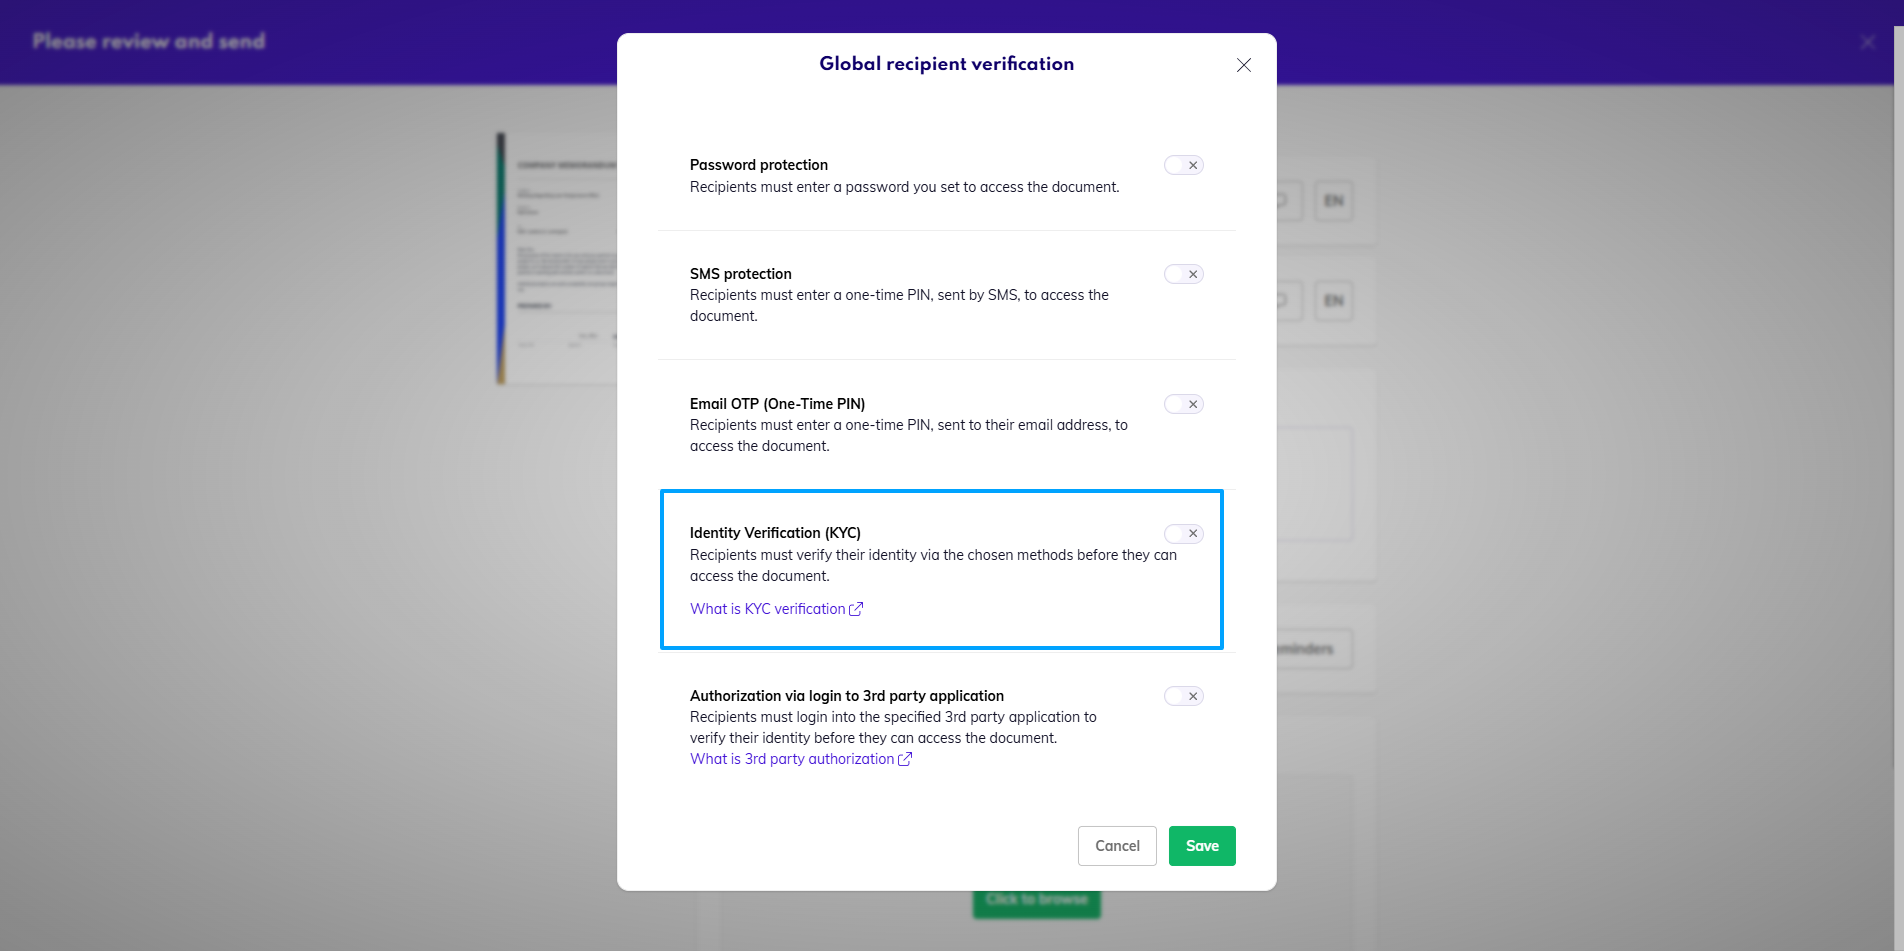
-
Choose which aspects you’d like to verify - you can select one, a combination of two choices, or all three, depending on your needs.

-
Click Save
-
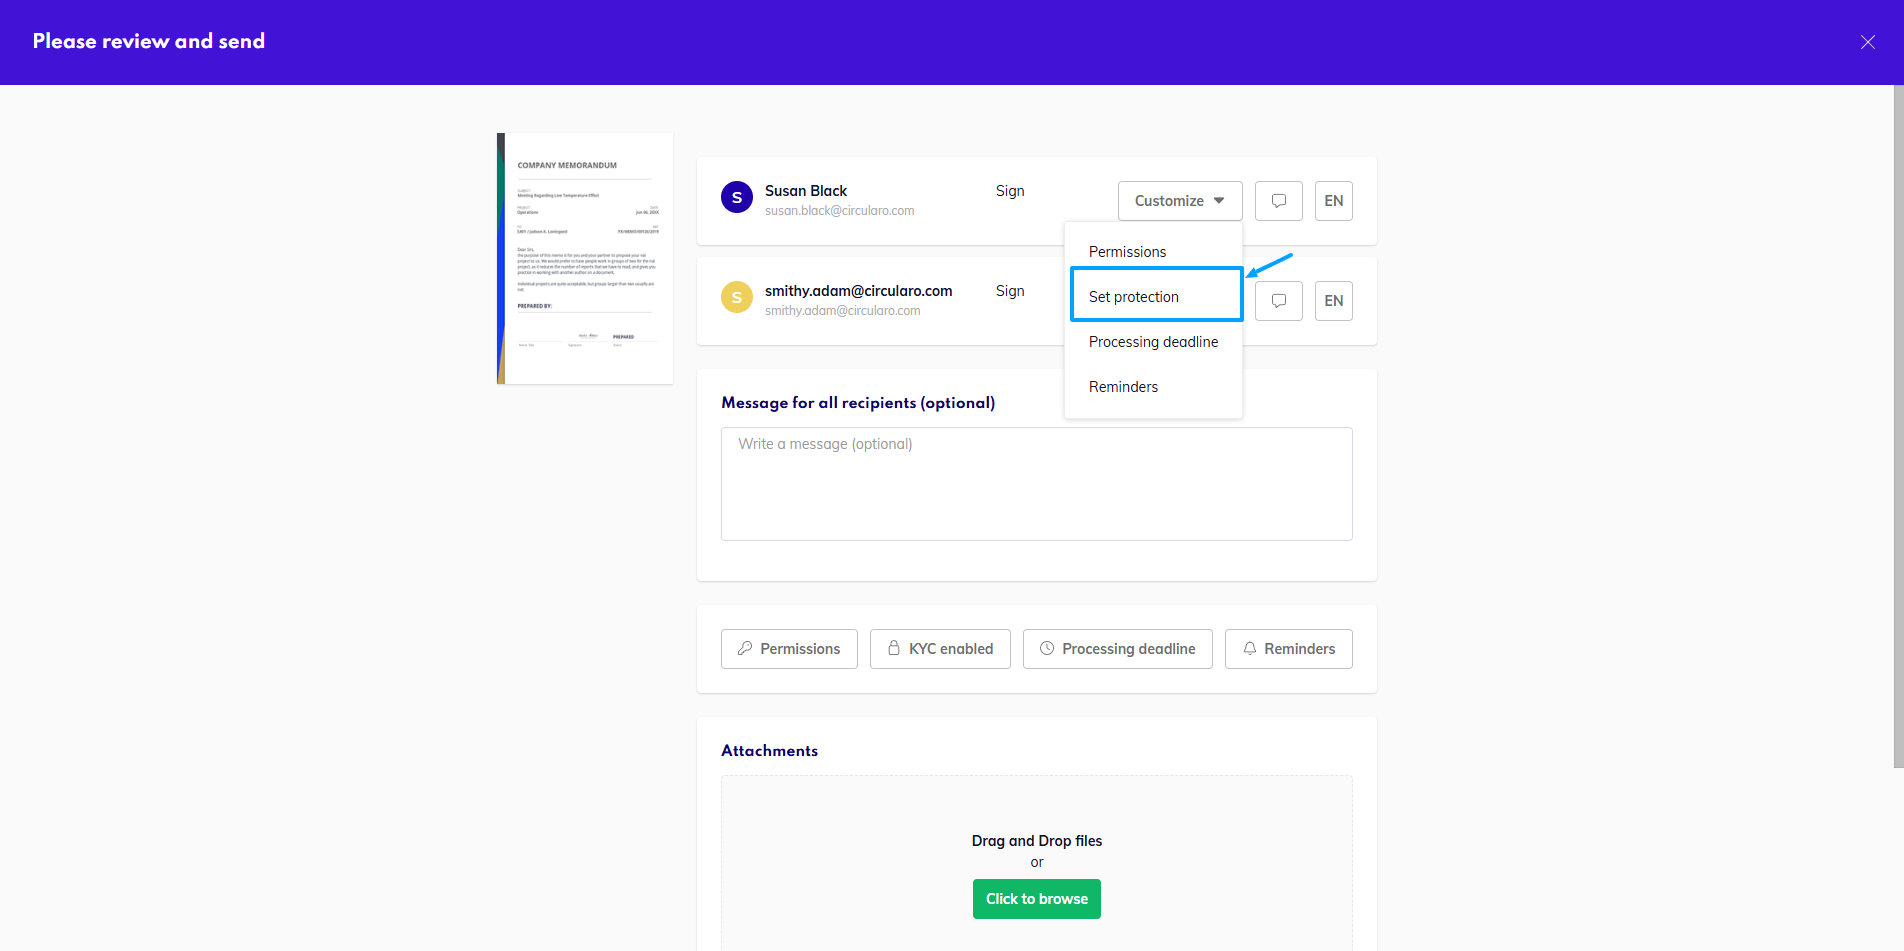
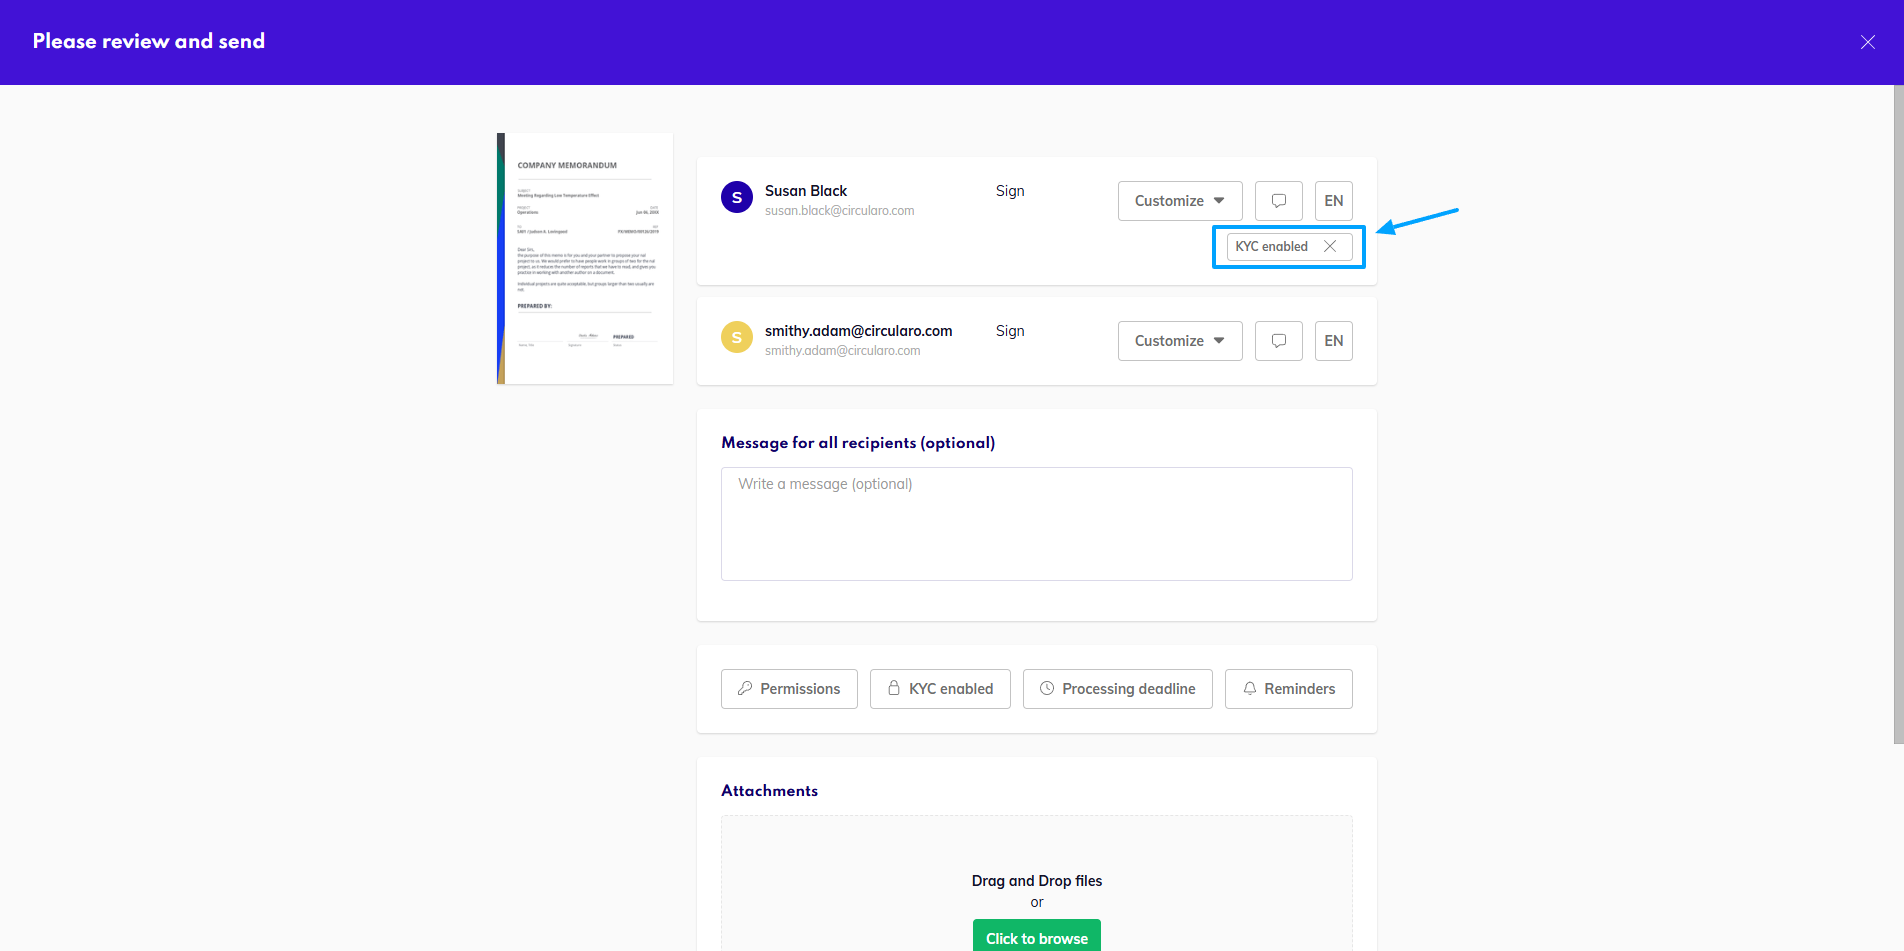
You will see message KYC Enabled in the protection.

If you’re unsure what each method checks, there is also a link, where you can read an overview what each option verifies.
Custom for a recipient
You can also set the verification only for a specific recipient, or if for some you’d like to choose different aspects to verify - the custom setting overrides the globally set protection.
-
Under Customize by the specific recipient select Set protection
-
Click the Identity Verification option and choose the specific options you want to check
-
Click Save
-
Under the Customize and Message icons you will see KYC Enabled
KYC Verification for external recipients
This section describes the process from the point of view of an external recipient, and what they need to do to finish the verification.
For all of these, on the device where you are trying to access the document, access to a camera has to be enabled.
-
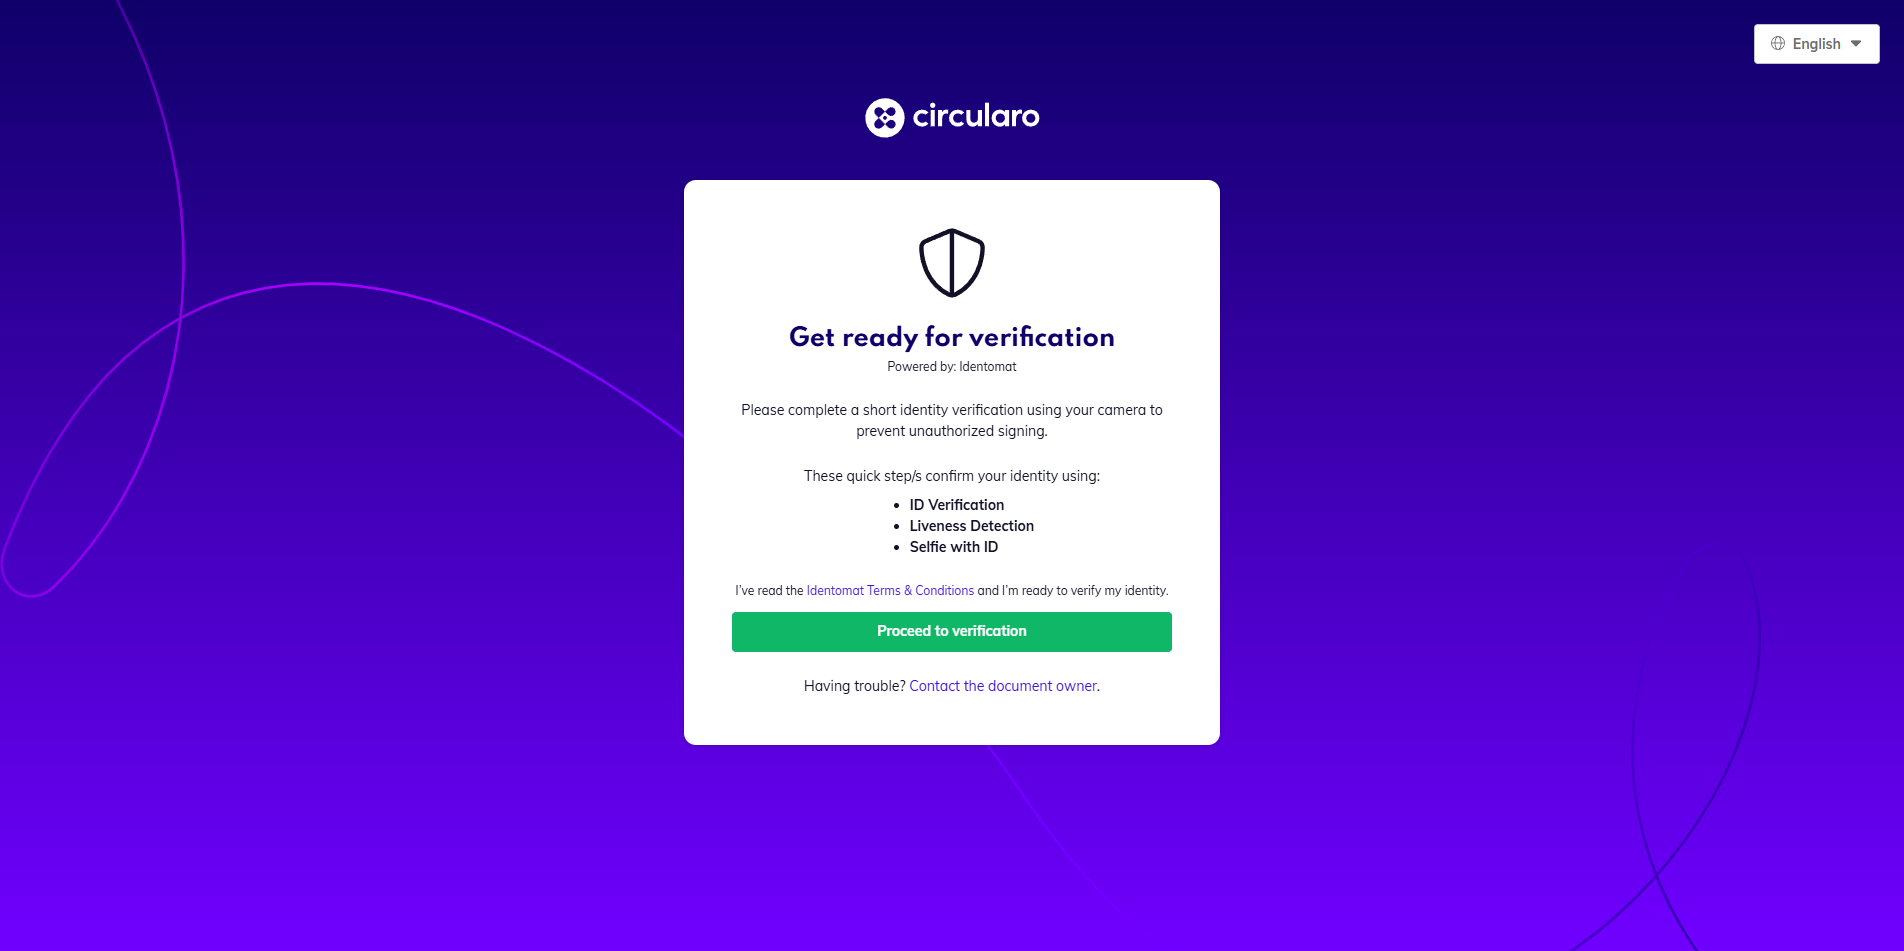
Open the link in the email notification.
-
Read the instructions on the first screen, which also details the forms of verification.
-
Read the tips to prepare for the verification - ensure you are well lit, you have your ID documents ready if necessary, etc.
-
Follow the prompts on the screen to finish the verification.
-
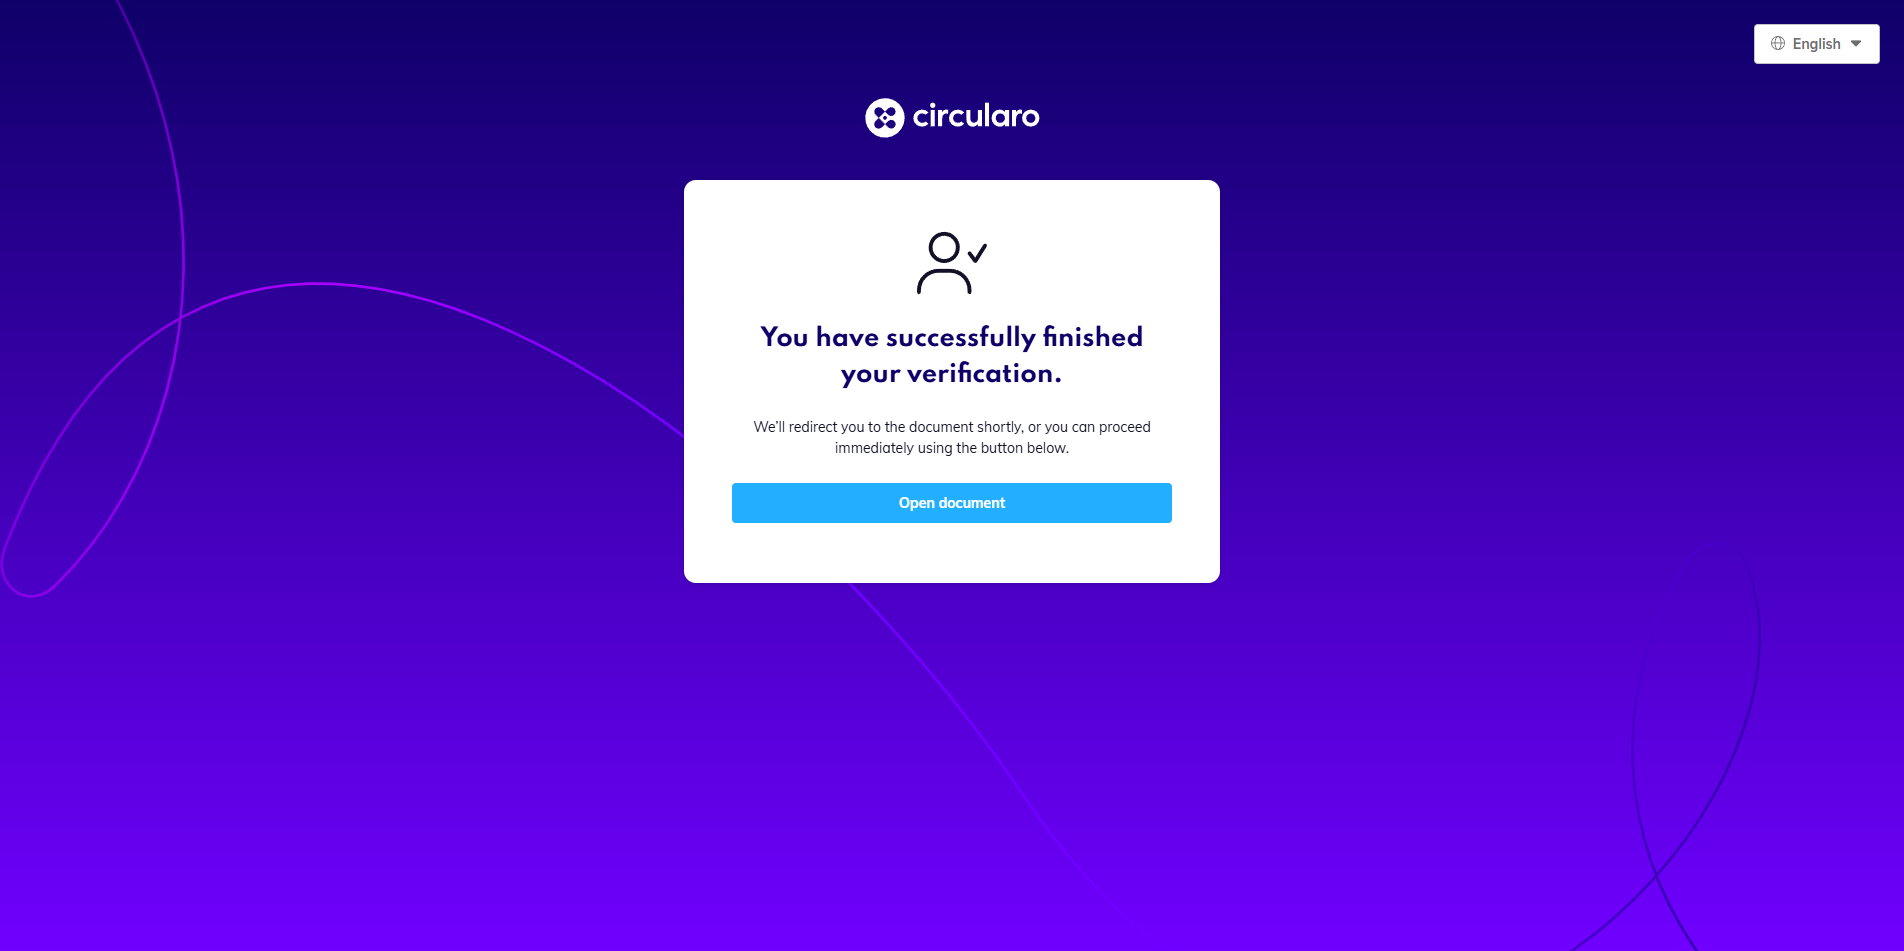
Once successful, click the button to open the document.
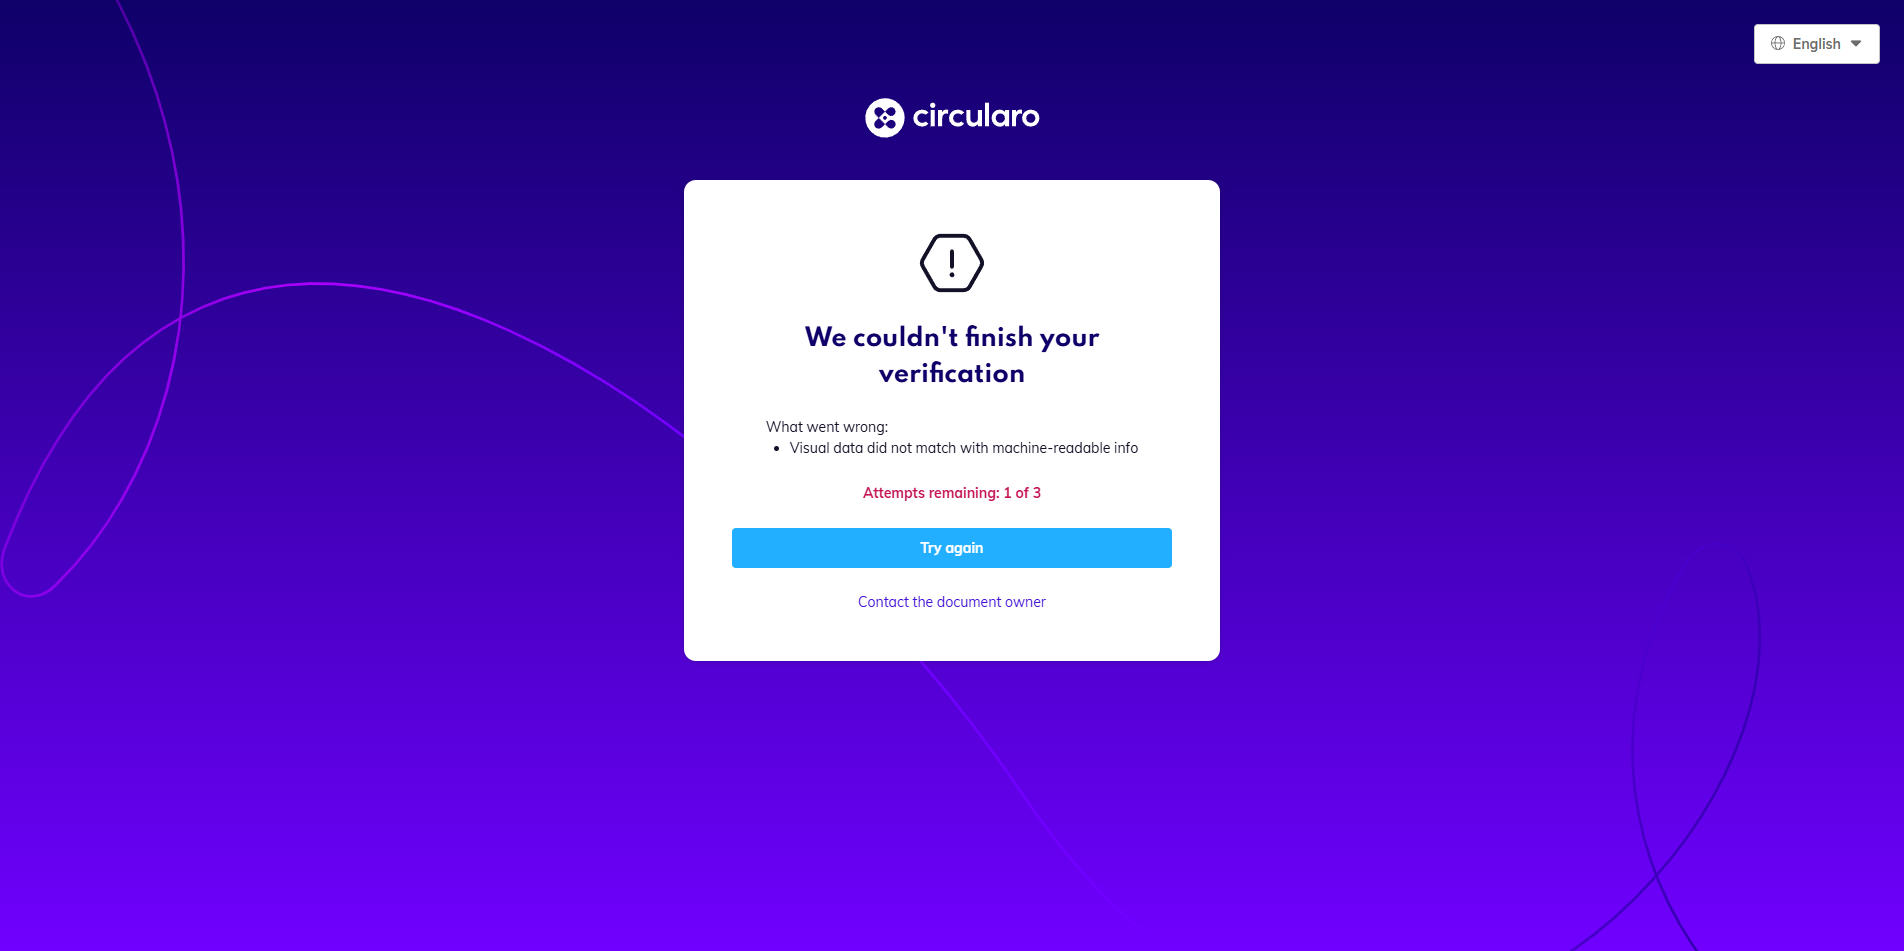
If the system is unable to properly capture everything, or if something is not right, the verification will fail and you will also see the reason for this. You have a total of three tries for the verification to proceed.
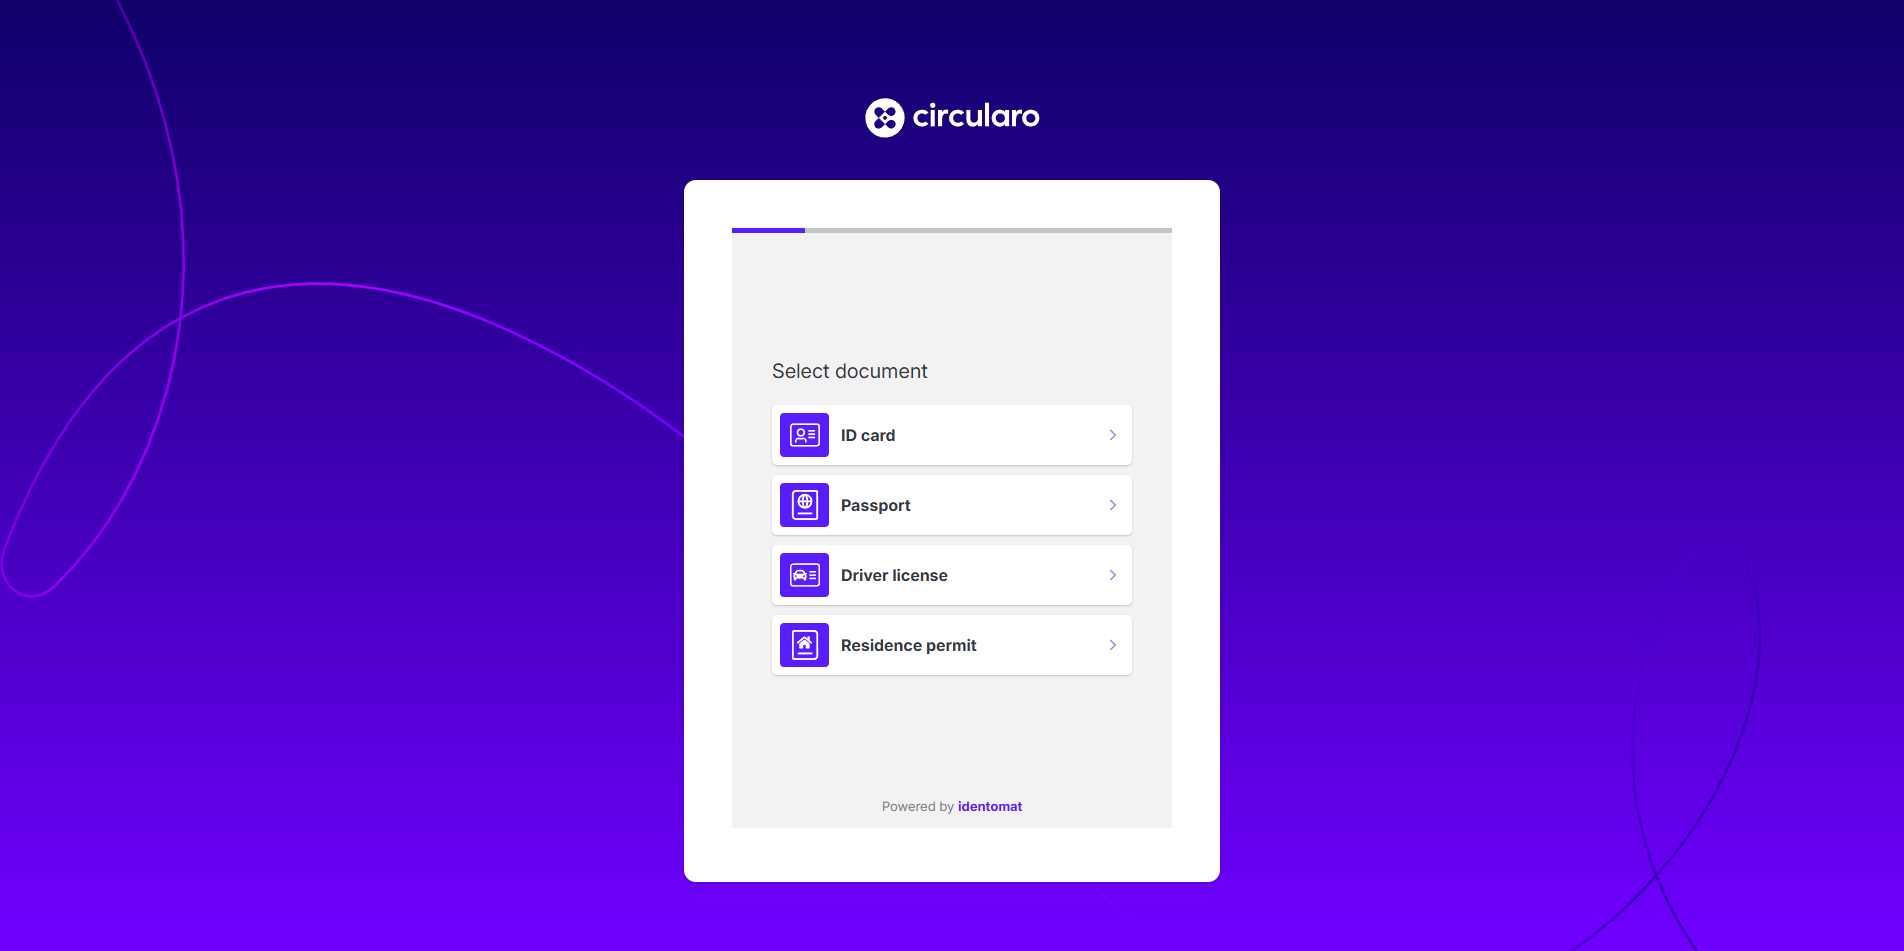
ID verification
-
Choose the document type
-
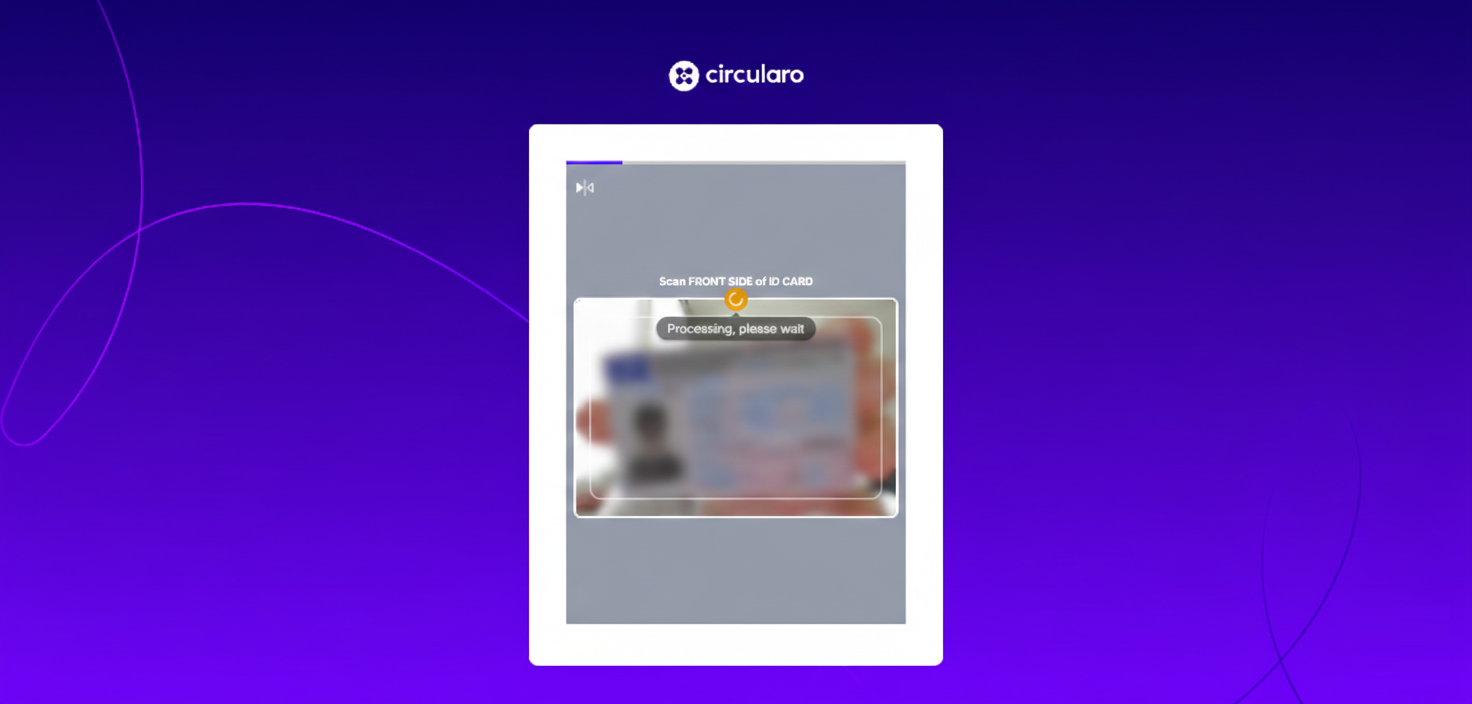
Scan the front side of the document
-
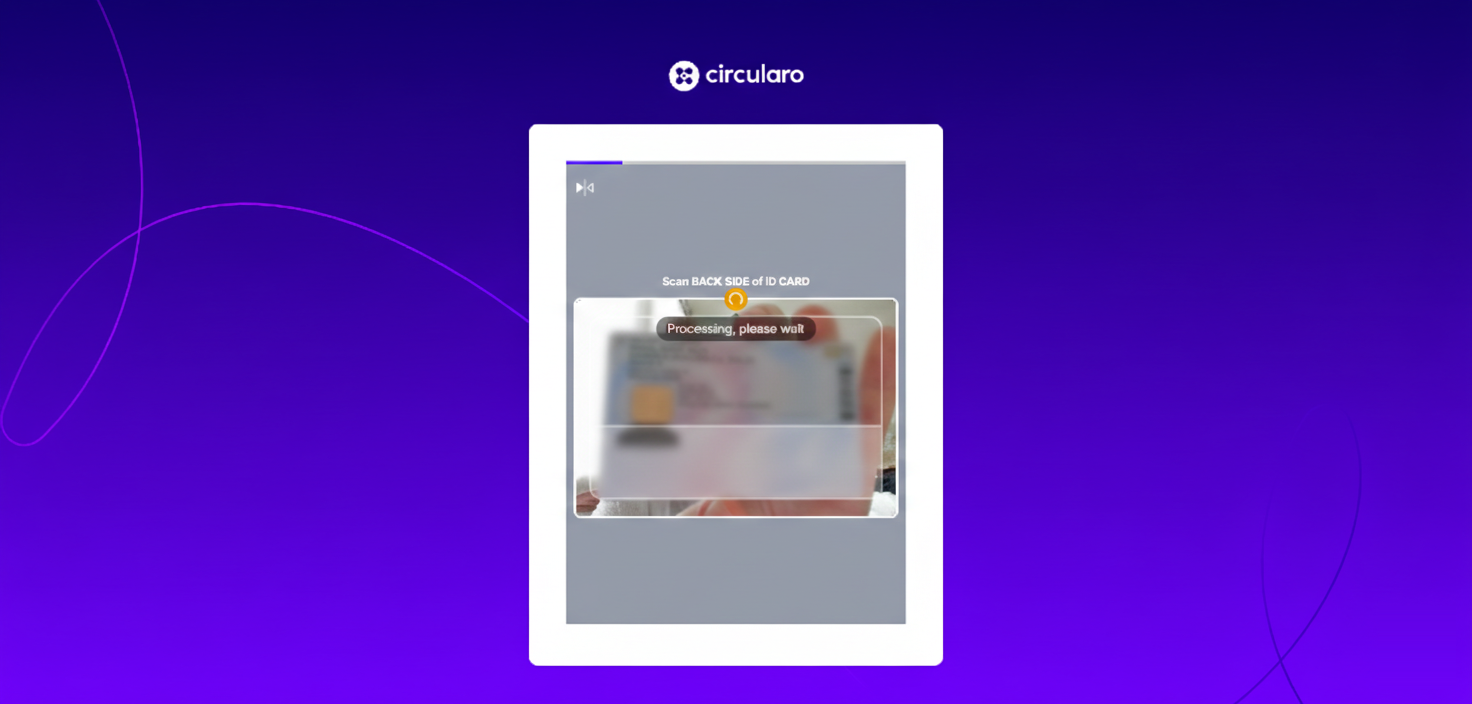
Scan the back page of the document, if necessary
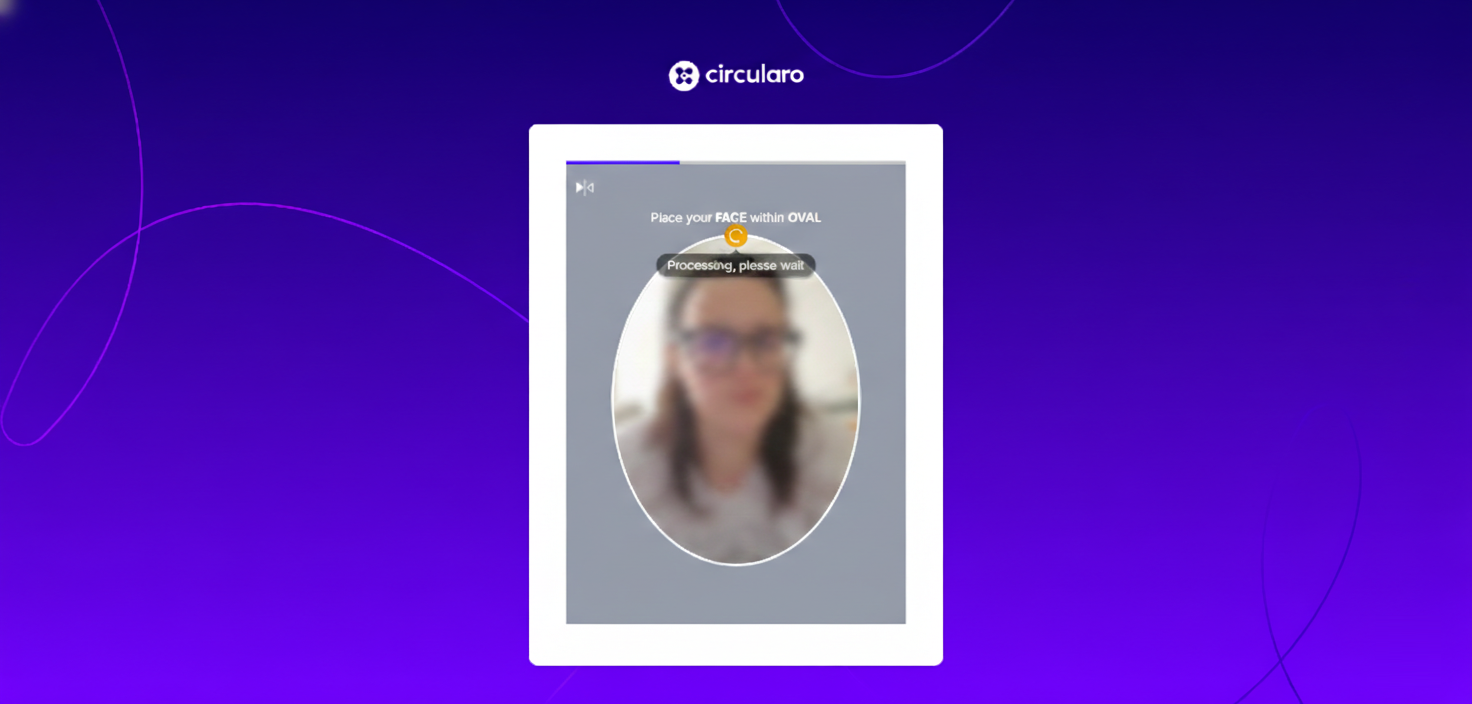
Liveness check
-
Ensure your face is in the oval and follow the instruction on the screen.
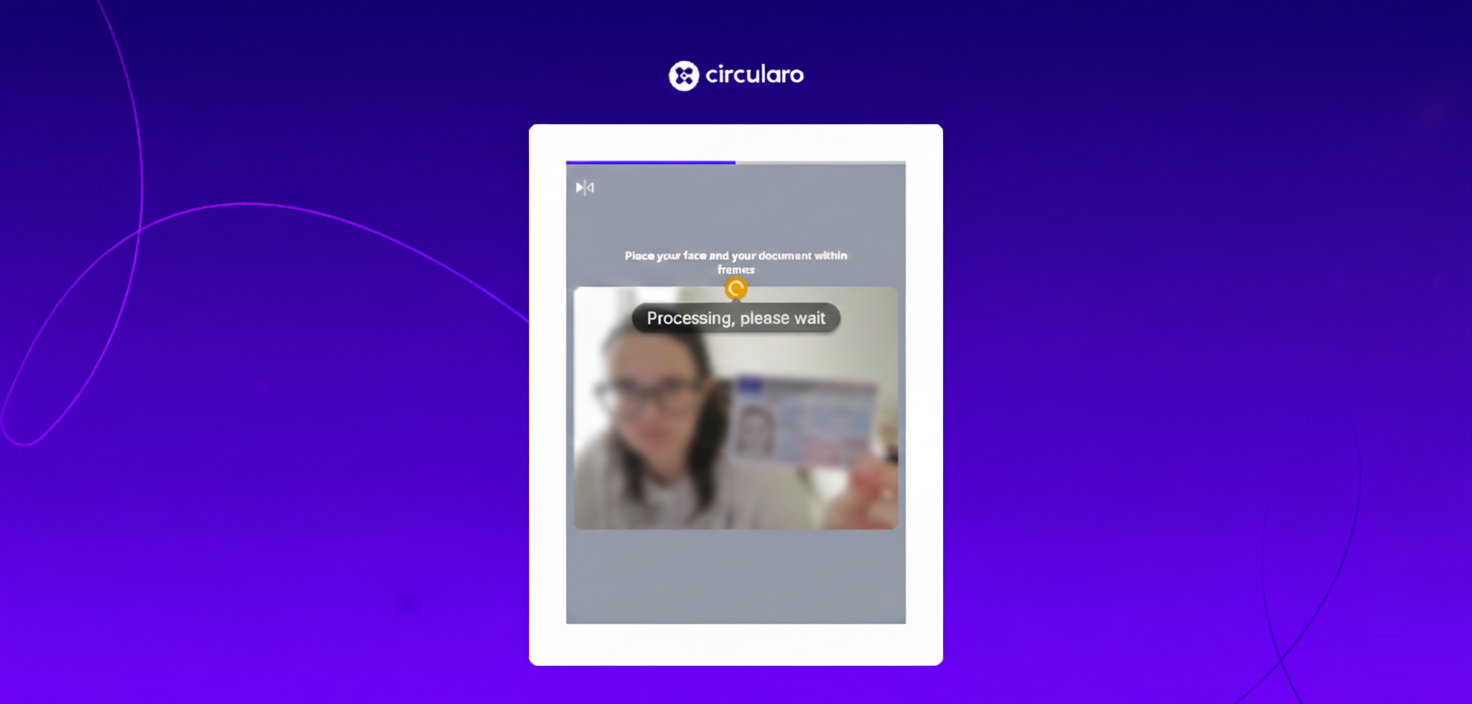
Selfie with ID
-
Ensure your face is in the oval and the front side of your ID document is in the rectangle