Availability: Business and Enterprise
Create private labels to group your documents and folders. Labeling your documents will help you organize them better and make searching for particular folders or documents easier via Advanced Search. You can add as many labels as you want to any document or folder.
There is also an option to create shared labels, which will be visible to other members of your organization when you share the document with them. This can make sorting and searching for shared documents easier and help streamline collaboration.
Create a label
-
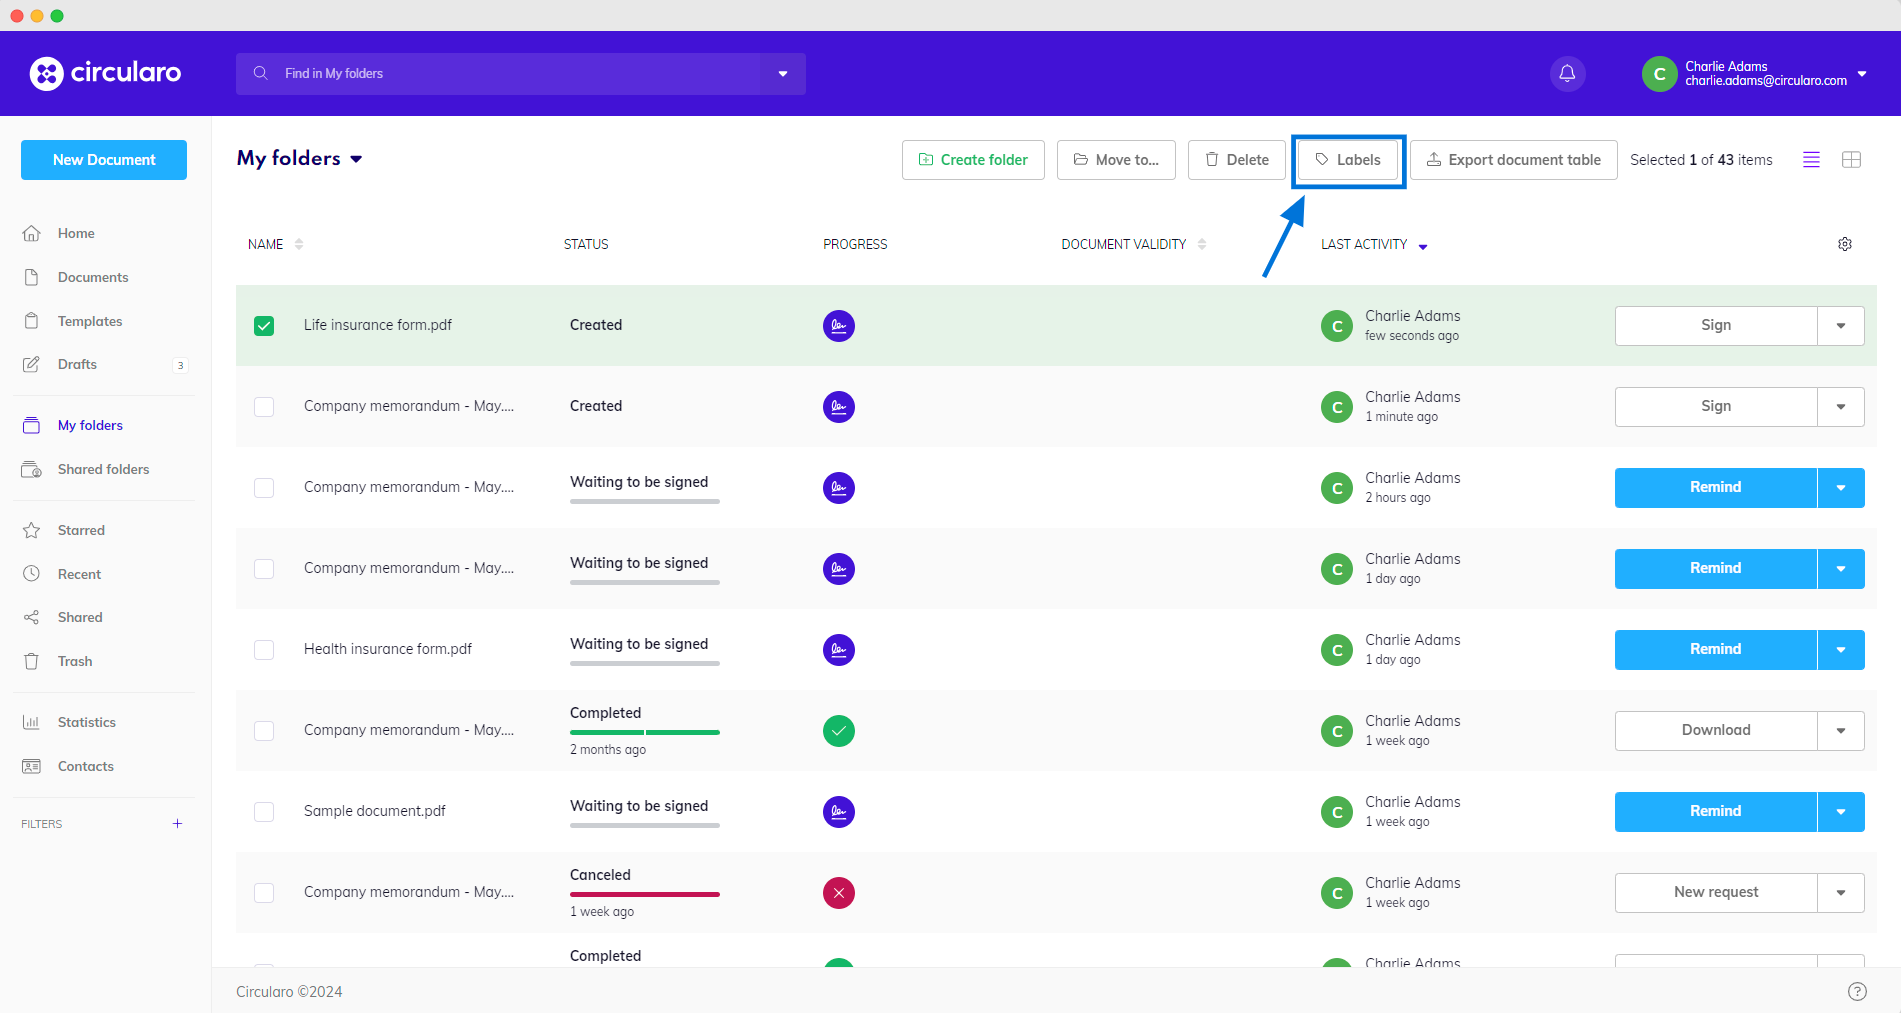
Select a document you want to label
-
Click on the Labels button
-
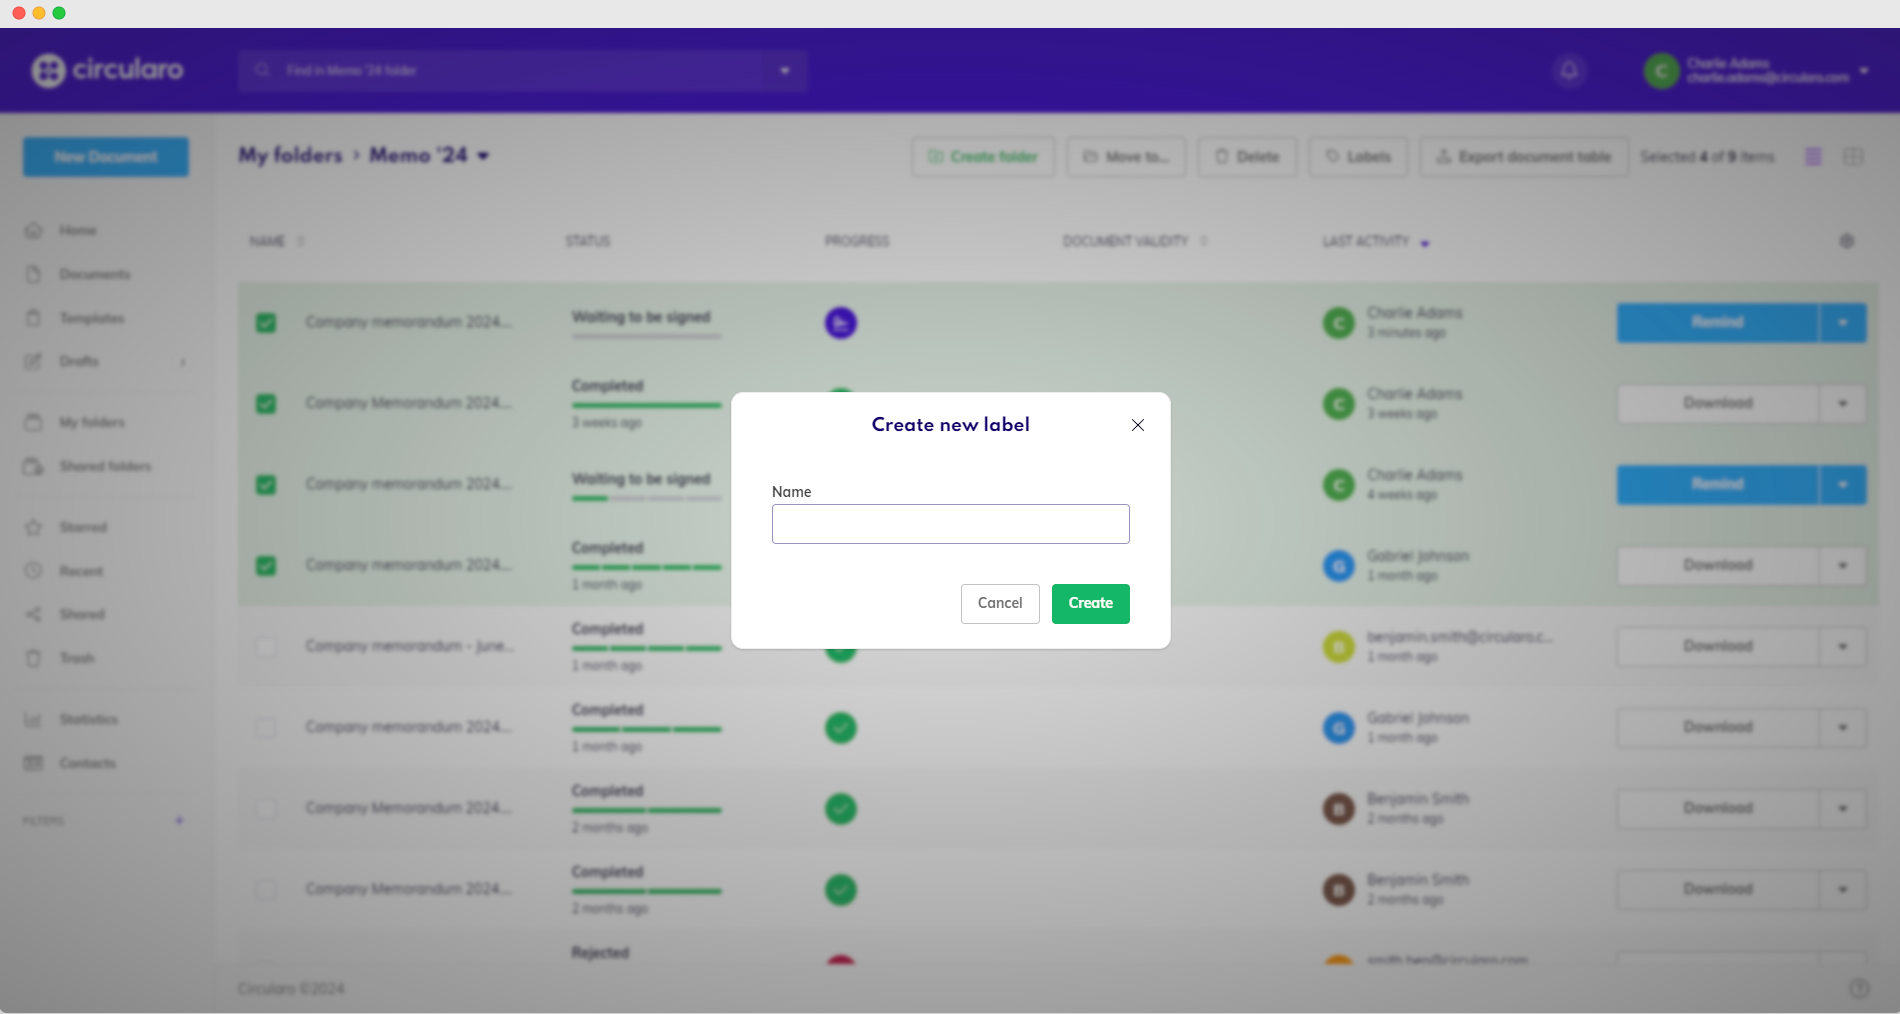
Select Create new label
-
Fill in its Name and confirm with Create - the document will be labeled with your new label automatically
When you create a label, it’s automatically created as both a private and shared label. By default only the version of the label you first chose is attached to your document upon creation, you need to apply the other type of label manually.
Or:
-
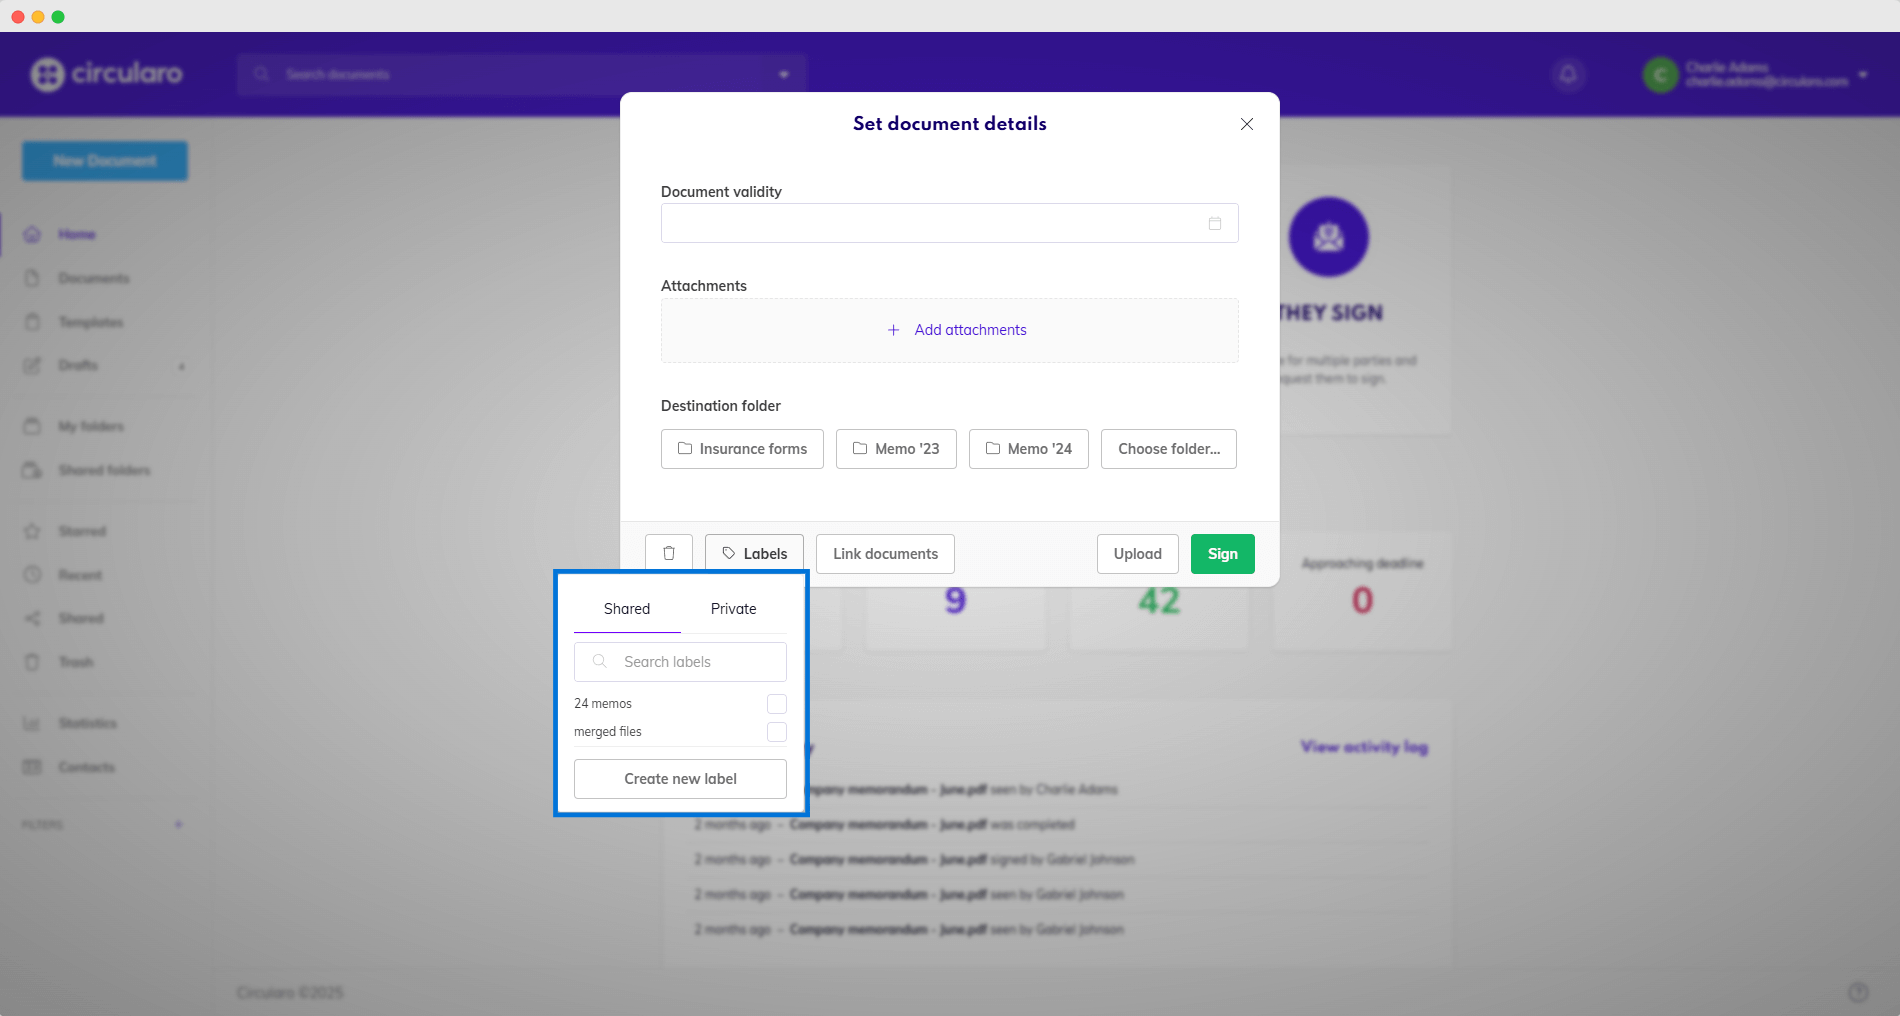
During the upload of a new document when setting document details
-
Click on Labels
-
Create a new label
Add a label
-
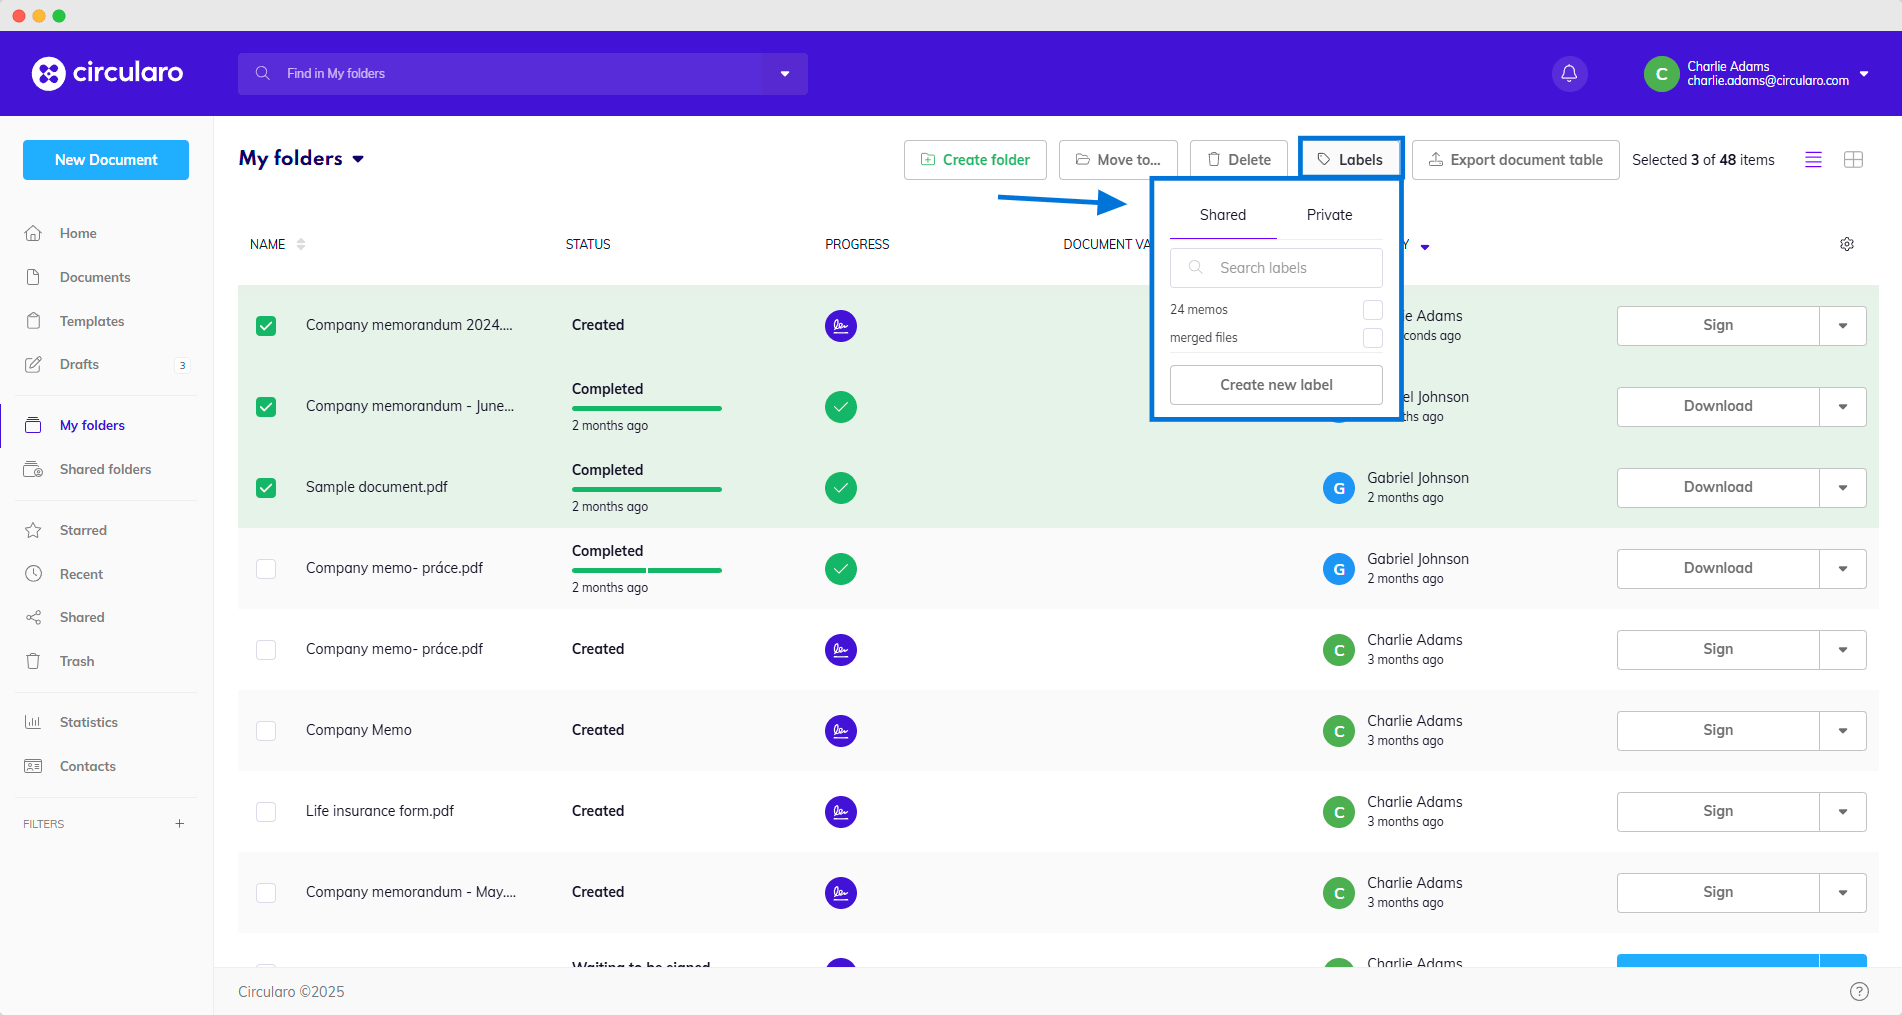
Select the documents or folders you want to apply the label to
-
Click on Labels
-
Choose whether you are adding a private or shared label
-
Tick the label/s you want to add
Remove label
-
Select document with a label
-
Click on the Labels button
-
Untick the desired label
View labels on a document
Labels attached to a document are visible in document preview.
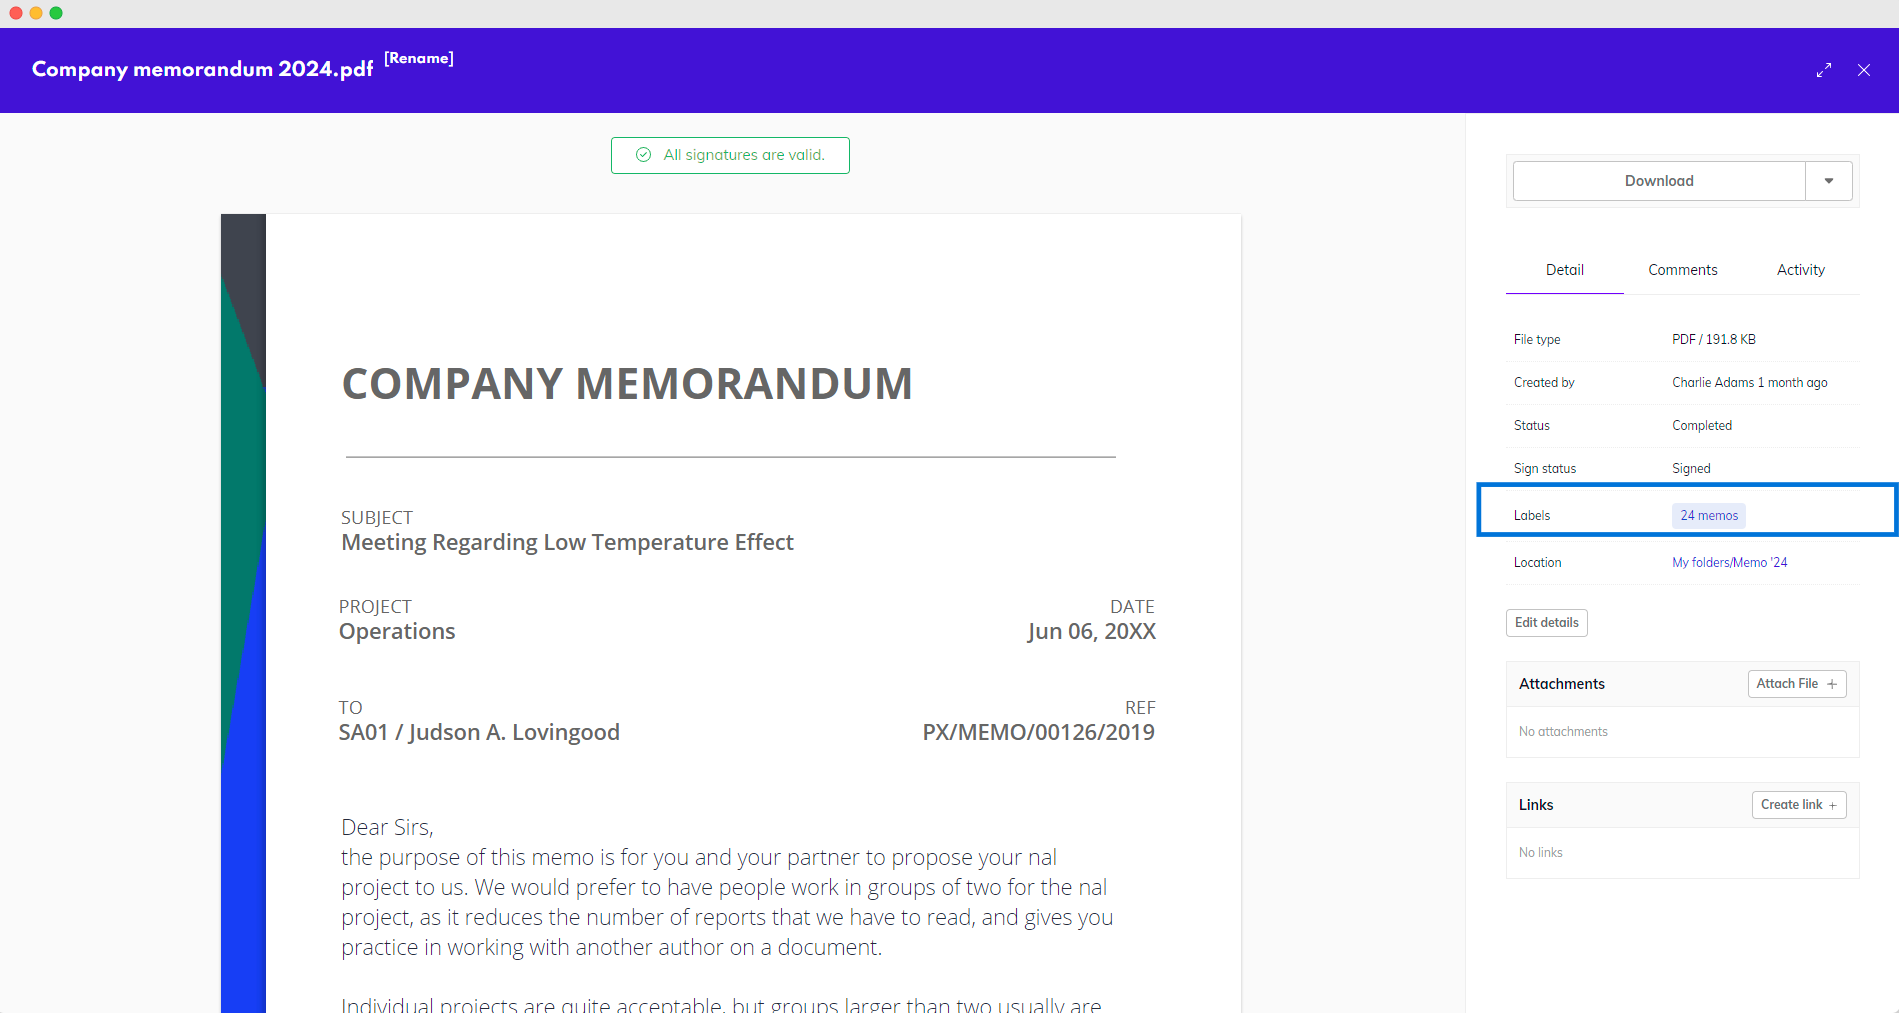
Labels in pale blue are private and labels in green are shared.
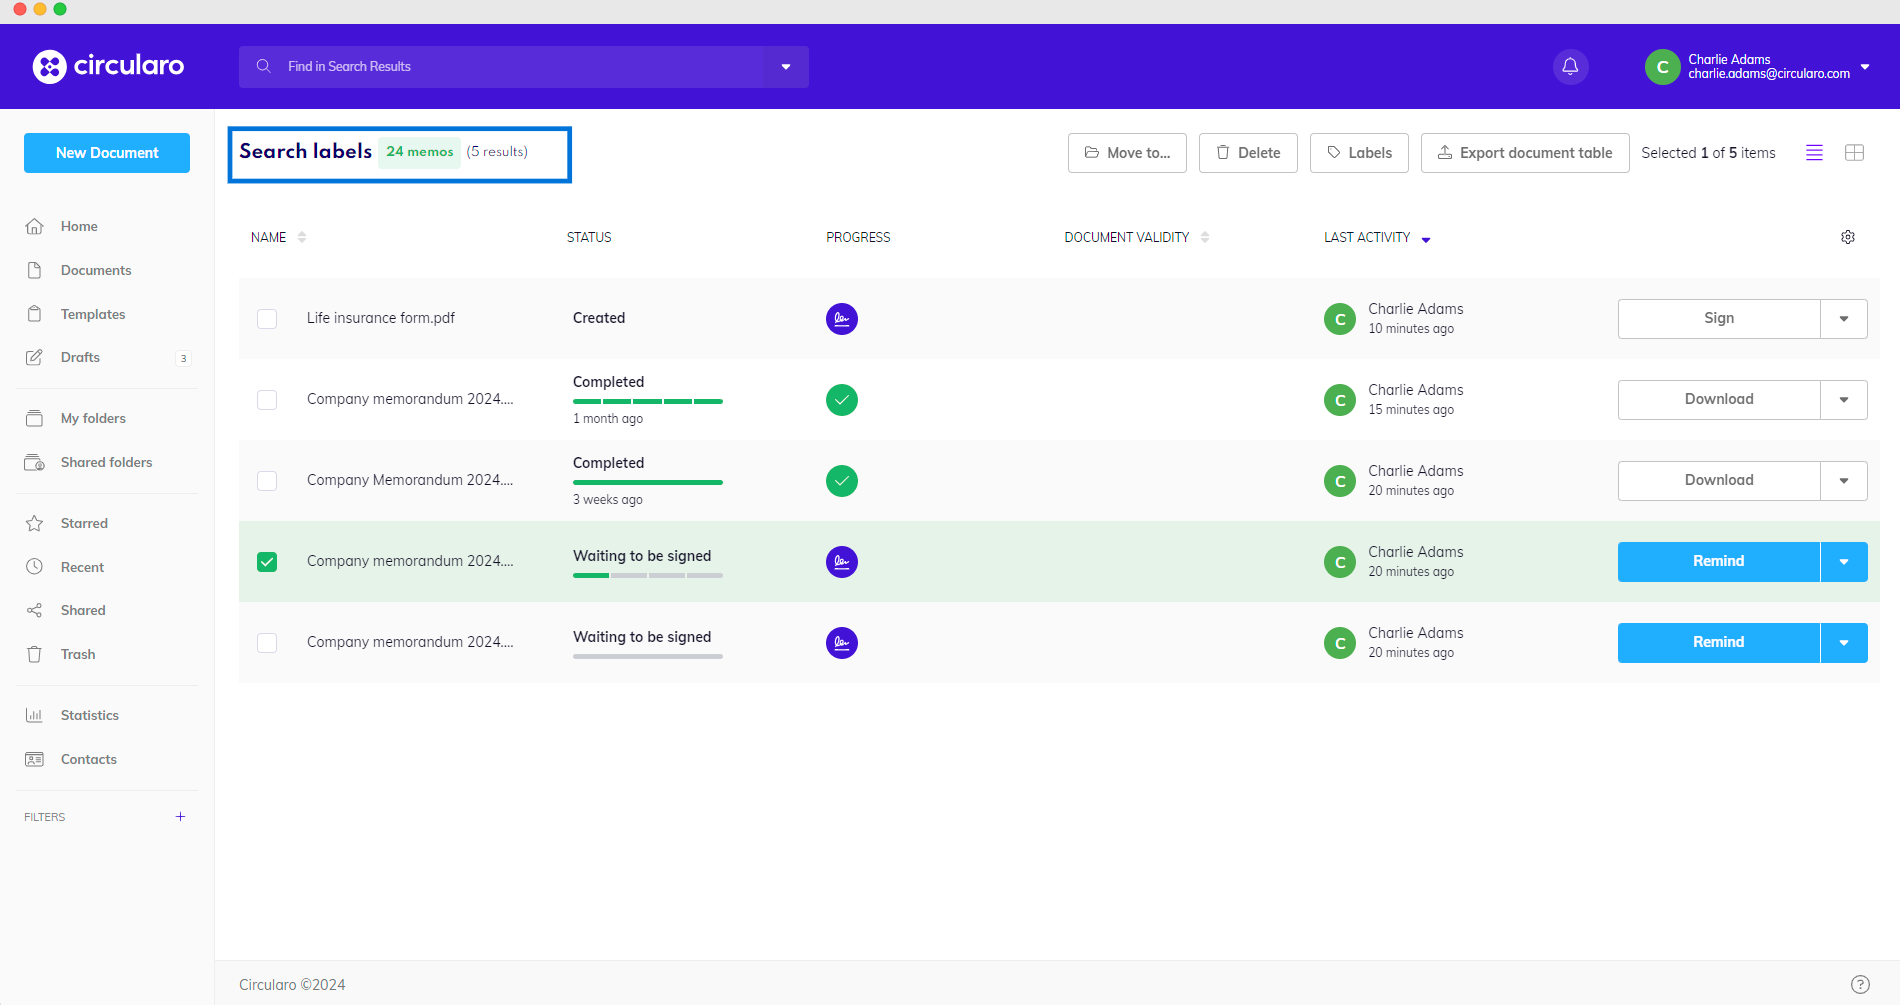
Filter documents via label
-
Select a document with a label
-
Open the document’s preview
-
Click on the label you want to search for
-
All documents and folders with said label are displayed
Labels in pale blue are private and labels in green are shared.
or
-
Open Advanced search
-
Select a label and click Search
Labels can be used to create filters. Learn how to create them on the Searching and filtering page.