In this chapter, we will go over the multiple different methods of adding documents into the Circularo app up until the point where they are ready for further use.
New Document window
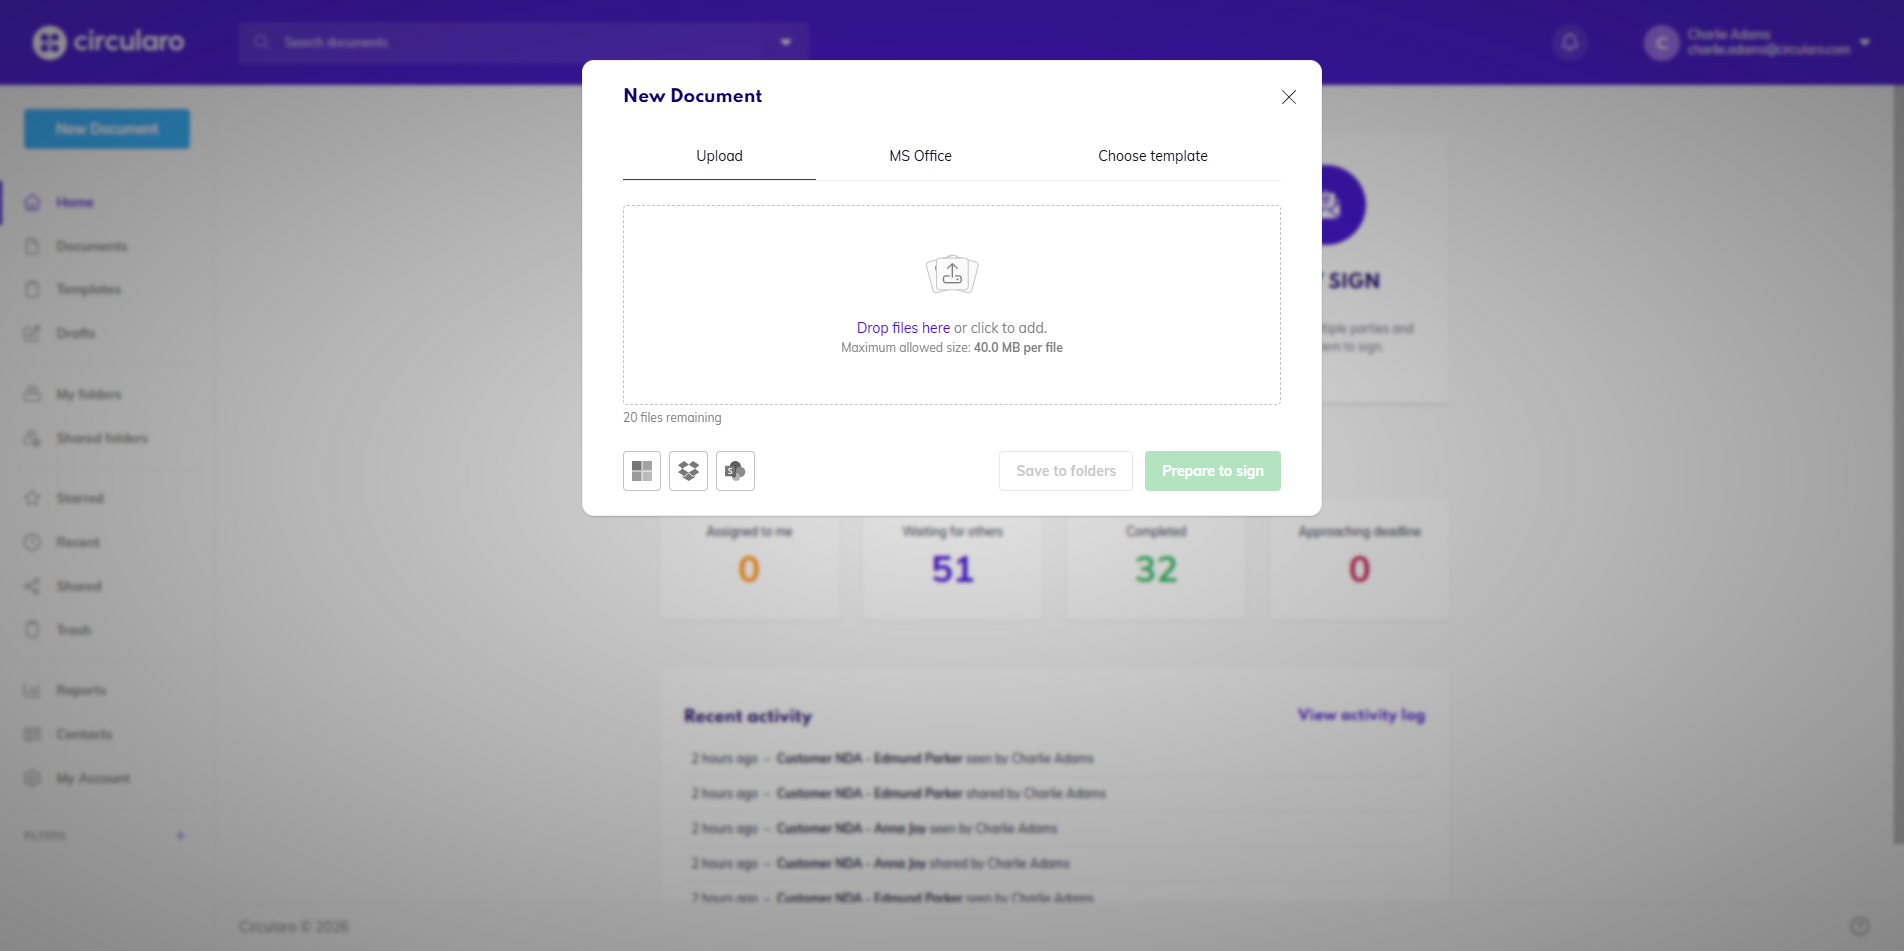
This is where the document creation begins. The New Document window gives you the option to upload documents from your PC or an online cloud service, create new documents from scratch using the built-in MS Office feature, or use previously created templates.
In Circularo Enterprise, there are additional options for creating new documents, such as predefined Circularo eDoc Templates or digitization option for paper documents using Circularo built-in browser-based web scanning capabilities.
Upload
For getting documents from your PC to Circularo, use the Upload option. Drag & drop the files from your computer to Circularo or select them via the click to browse button. Both methods can be used to upload one or multiple documents at once.
These are the supported formats for upload:
-
Portable Document Format (.pdf)
-
Microsoft Word (.doc and .docx)
-
Microsoft Excel (.xls and .xlsx)
-
Microsoft PowerPoint (.ppt and .pptx)
-
WordPerfect (.wp) Text (.txt)
-
Rich Text (.rtf)
-
Graphics (.tif, .jpg, .jpeg, .gif, .bmp, and .png)
-
Web (.htm or .html)
Maximum size for uploaded documents is generally 40MB, but an additional 40MB can be purchased. For more information, contact our sales department.
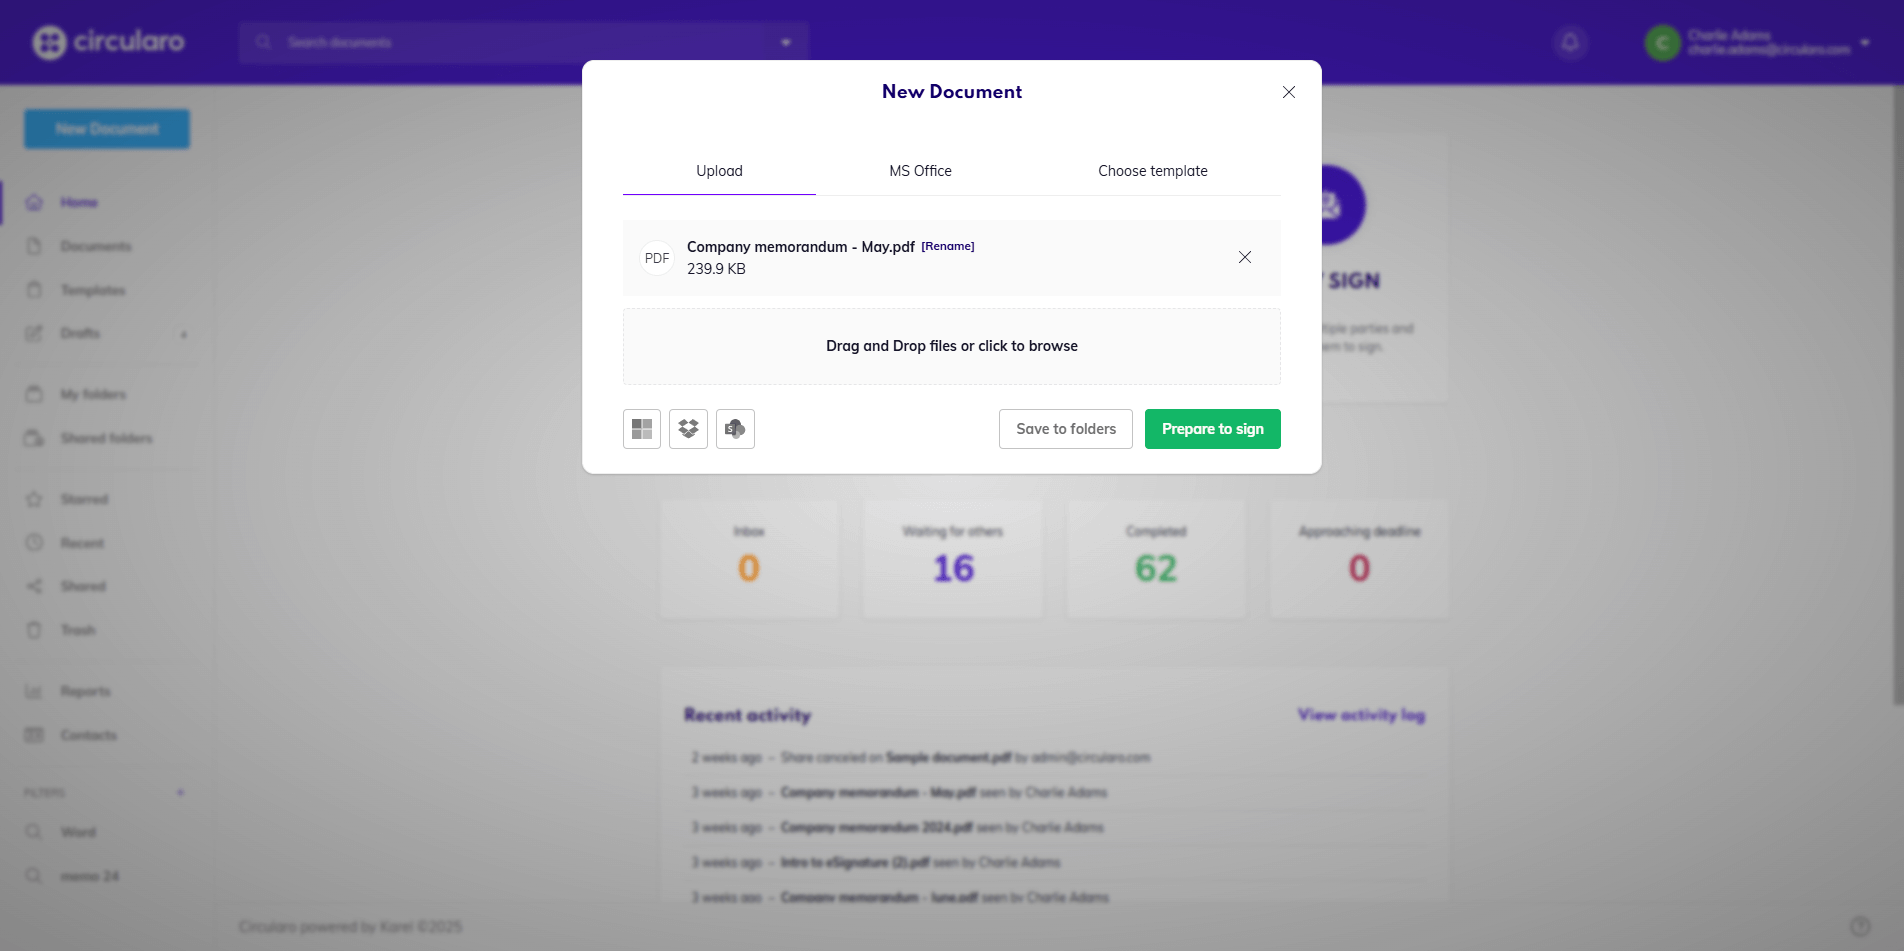
Once you select your file/s, you will be given the option to change the name of your document or documents by clicking on Rename next to the document title.
As we support various languages, the maximum length of a document title may vary from 85 to 255 characters, depending on the characters used.
Titles using the common English alphabet may contain up to 255 characters, but, for example, some Arabic characters take up much more space so the maximum length may go down to 85 characters only.
You cannot use reserved characters such as /, ?, <, >, \, :, *, |, " , etc.
Choose whether you want to just upload your document (Save to folders) or if you want to send it for signatures (Prepare to sign).
In the next screen, you can decide on general details of the document - you can change the name of the document, choose a document category, or select a folder where the document should be saved.
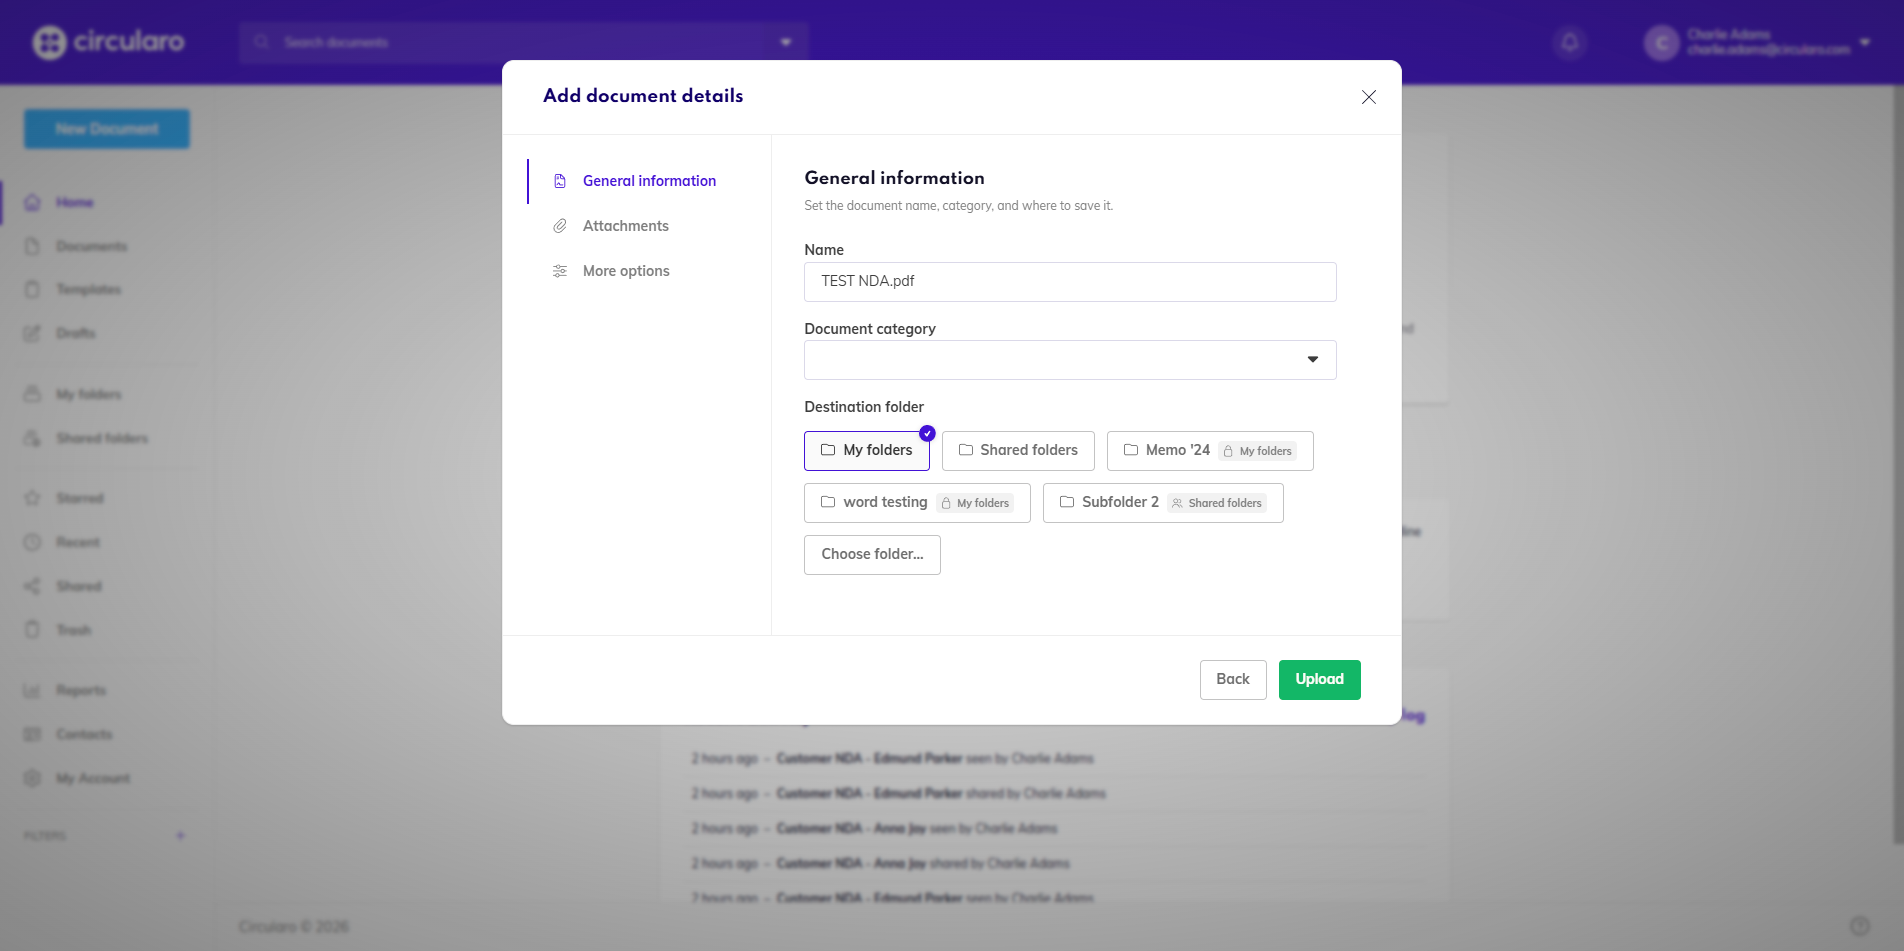
By switching to the next tab, you can upload attachments
By switching to the More options tab, you can set document validity, attach labels, and link related documents that already exist in the system.
To finish this section, click Upload or Next - this depends on what your chosen path is.
Drag & Drop files
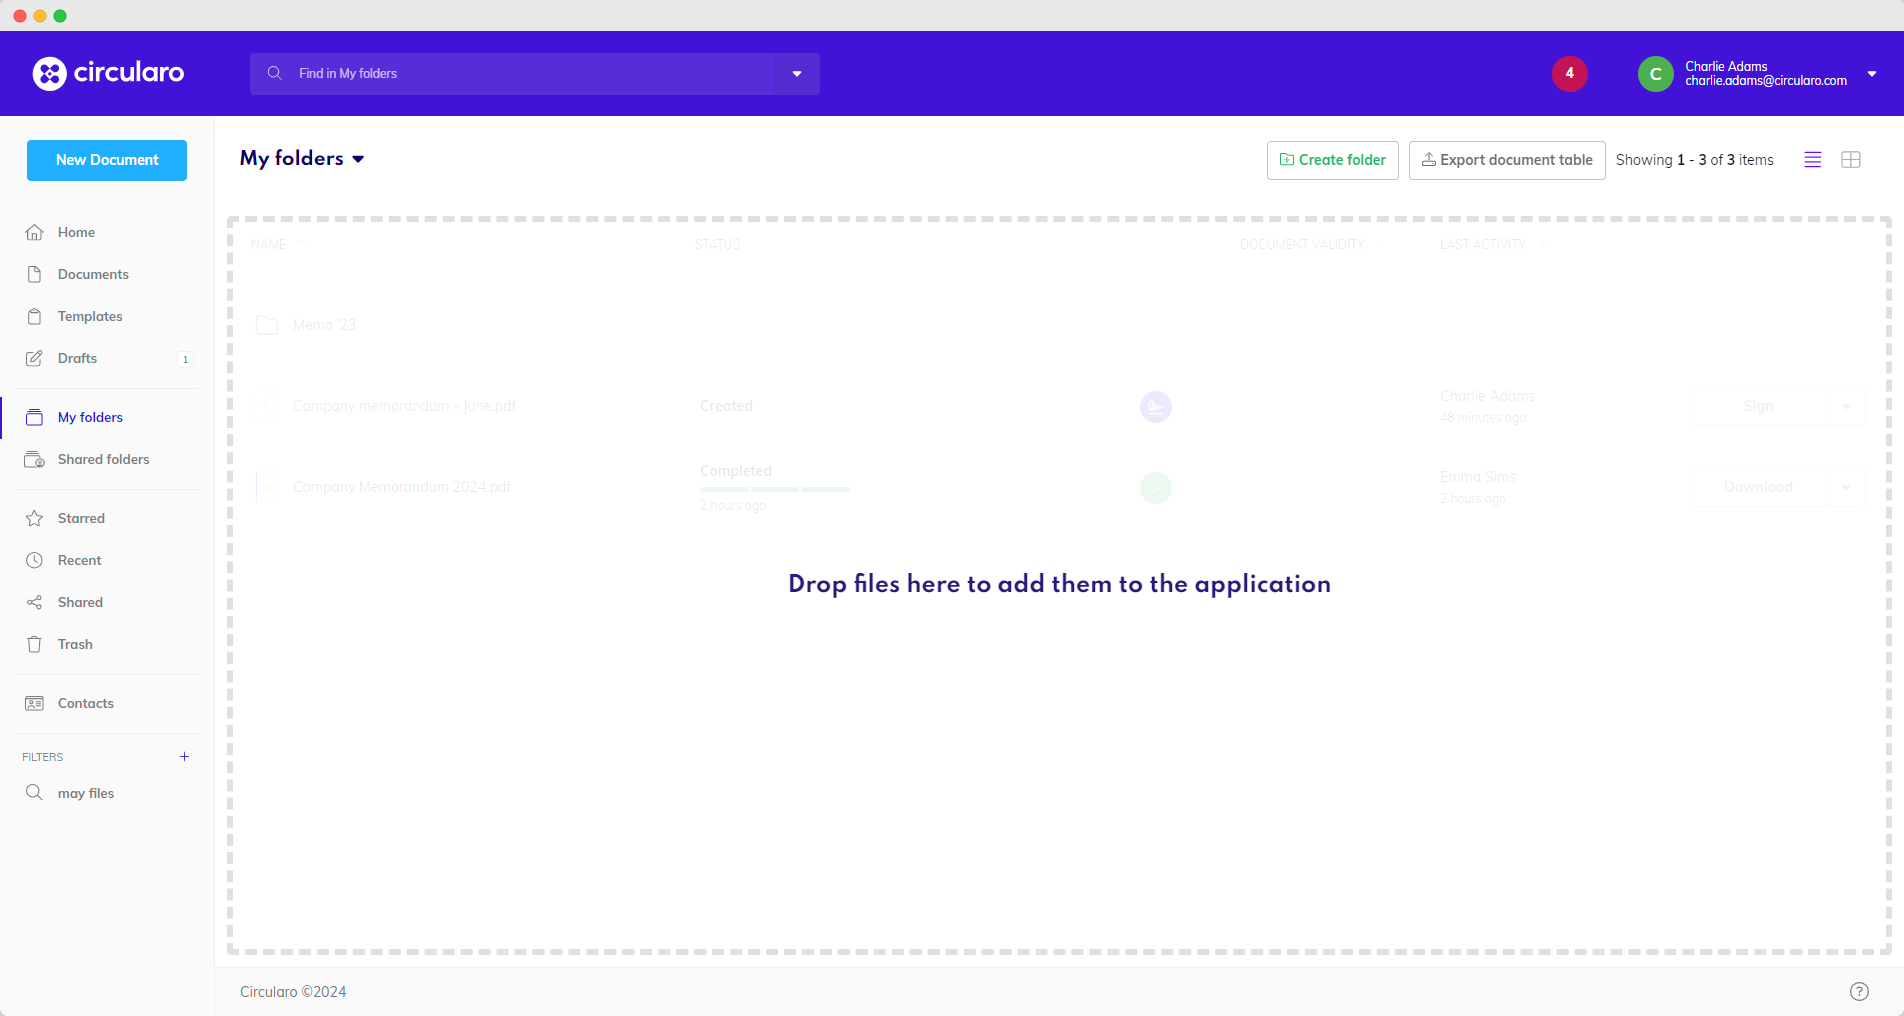
If you want to be really organized, you can upload files directly to folders. To do so, go to either My Folders or Shared Folders section in the Action menu and simply drag and drop your document from your PC to its destination folder in Circularo.
Multi-documument upload and sign
Availability: Business and Enterprise
Circularo offers the option to merge multiple documents into one and sign them all in one step. After uploading and signing a merged document, you will be able to download it, either as one file or in parts (the original documents, now signed).
Merge documents
-
Open New Document
-
In the Upload tab add all the documents you want to merge
-
Set the “Merge files to single document” toggle to Yes and continue by clicking Next.
Switching the toggle to No will lead to uploading multiple individual documents with the same properties. These cannot be signed all at once.
Multi-document upload and merge option is also available for for documents imported imported from cloud services.
The maximum file size also applies to mergedrged documents. The limit is 40MB unless specified otherwise in your organization, and the size of individual documents combined must be within this limit.
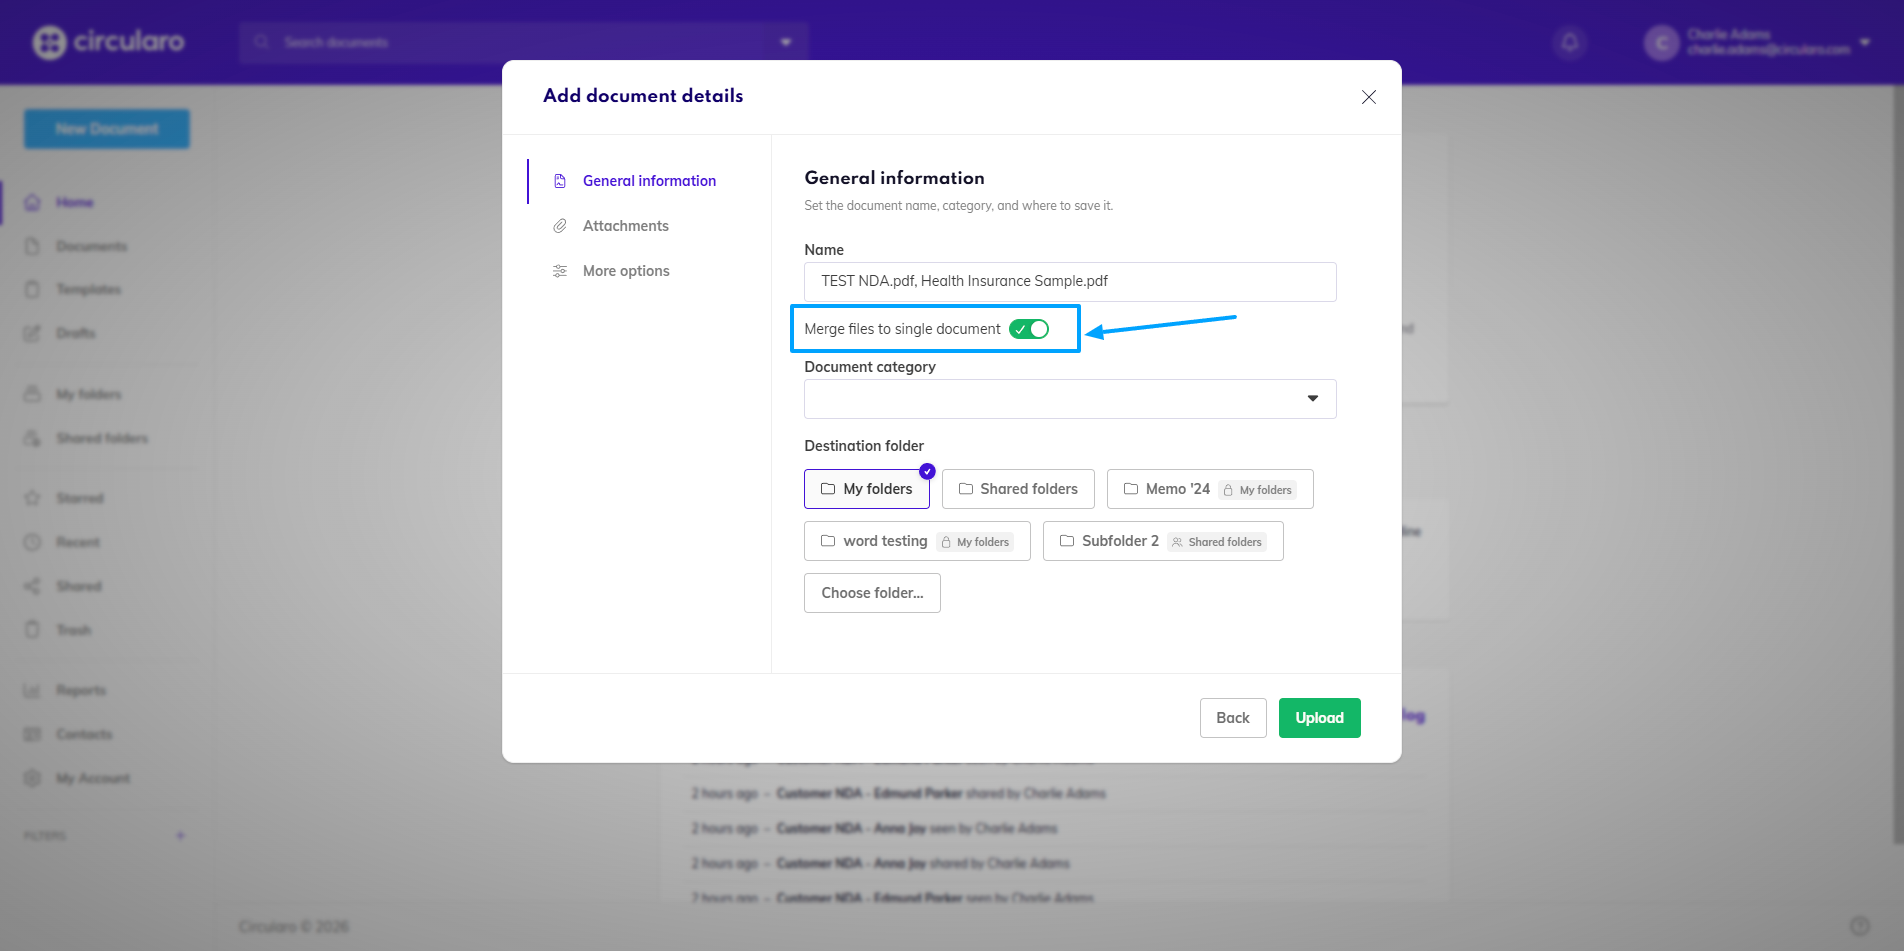
You will then be asked to set the document’s details, just like when uploading a regular document.
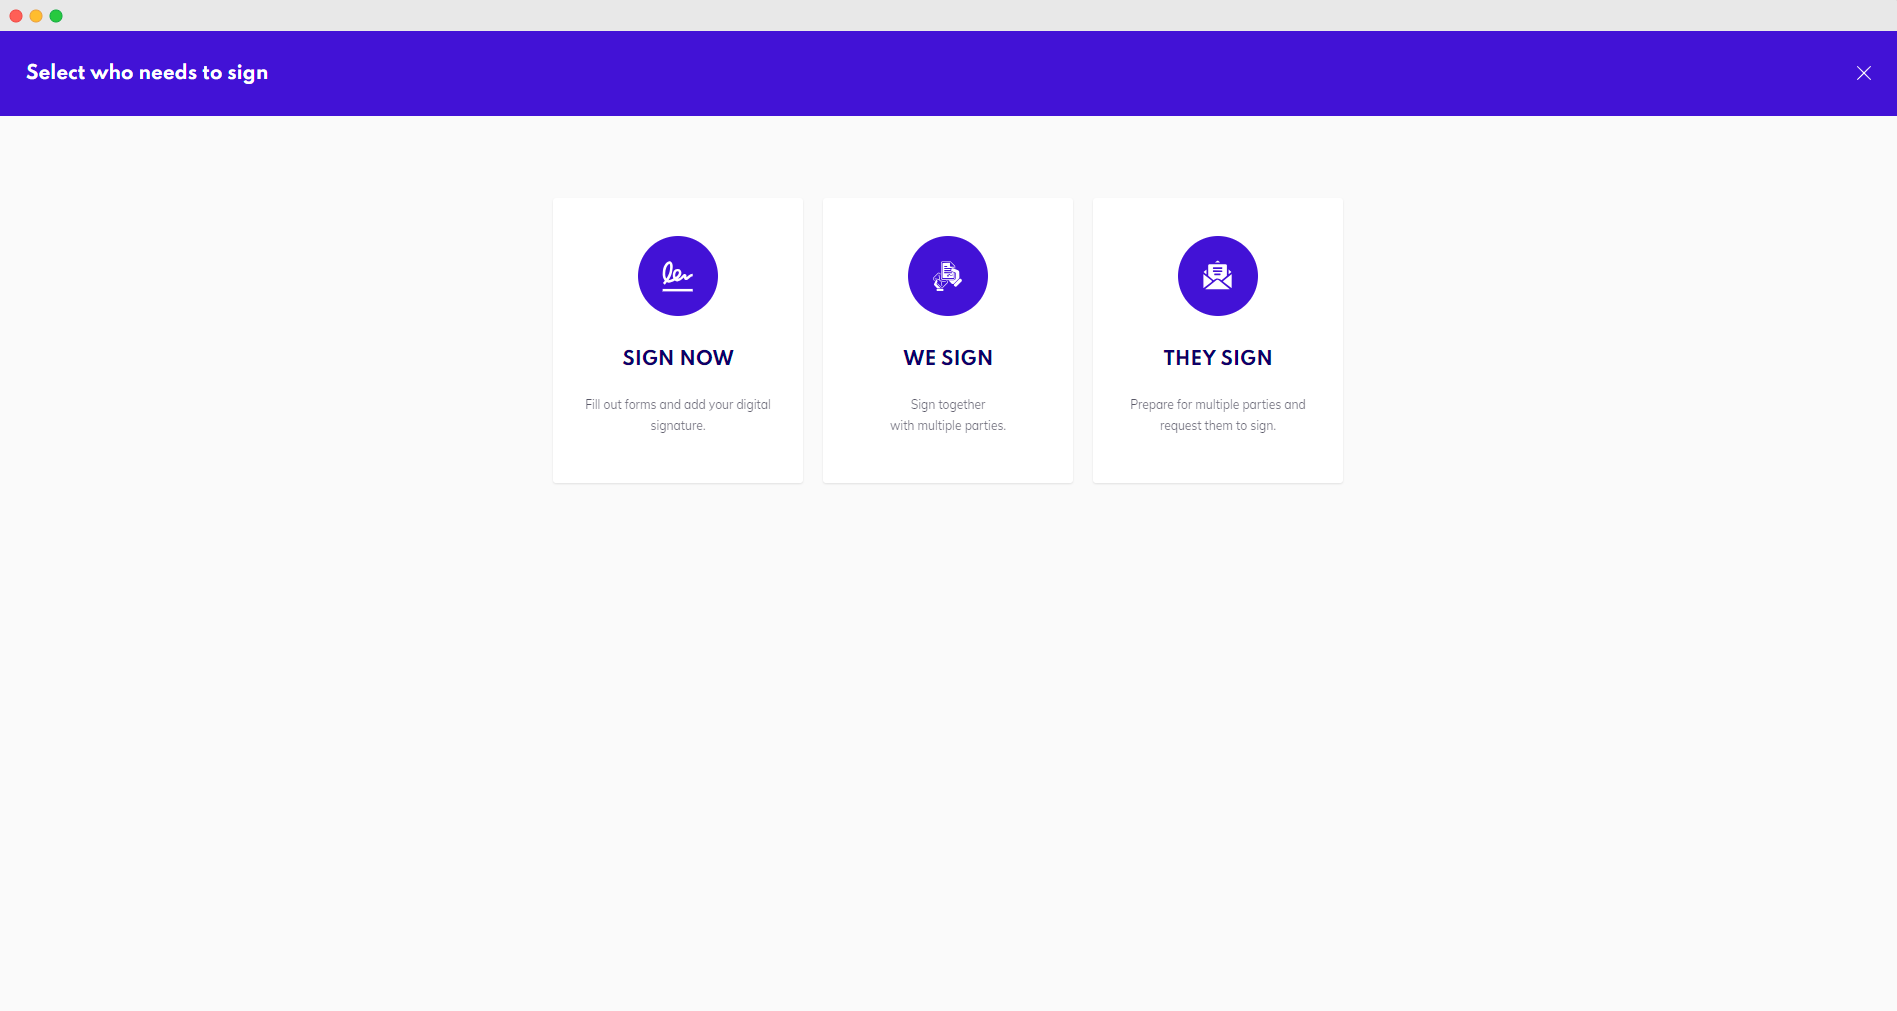
After clicking Next, you will be directed to the page where you choose one of the main signing options. You can continue signing as you know it from there.
We also have a dedicated video tutorial showing you the entire merge, sign, and separate process step by step.
Import from cloud
Circularo enables users to import documents directly from their Cloud services. At the moment, Google Drive,, Google Drive, One Drive, Dropbox and Share Point are supported. You can easily enable or disable these integrations in your Preferences in Integrations.
To import a document from a cloud service, click on one of the icons in the bottom left corner of the New Document window based on which cloud service you are going to be using.
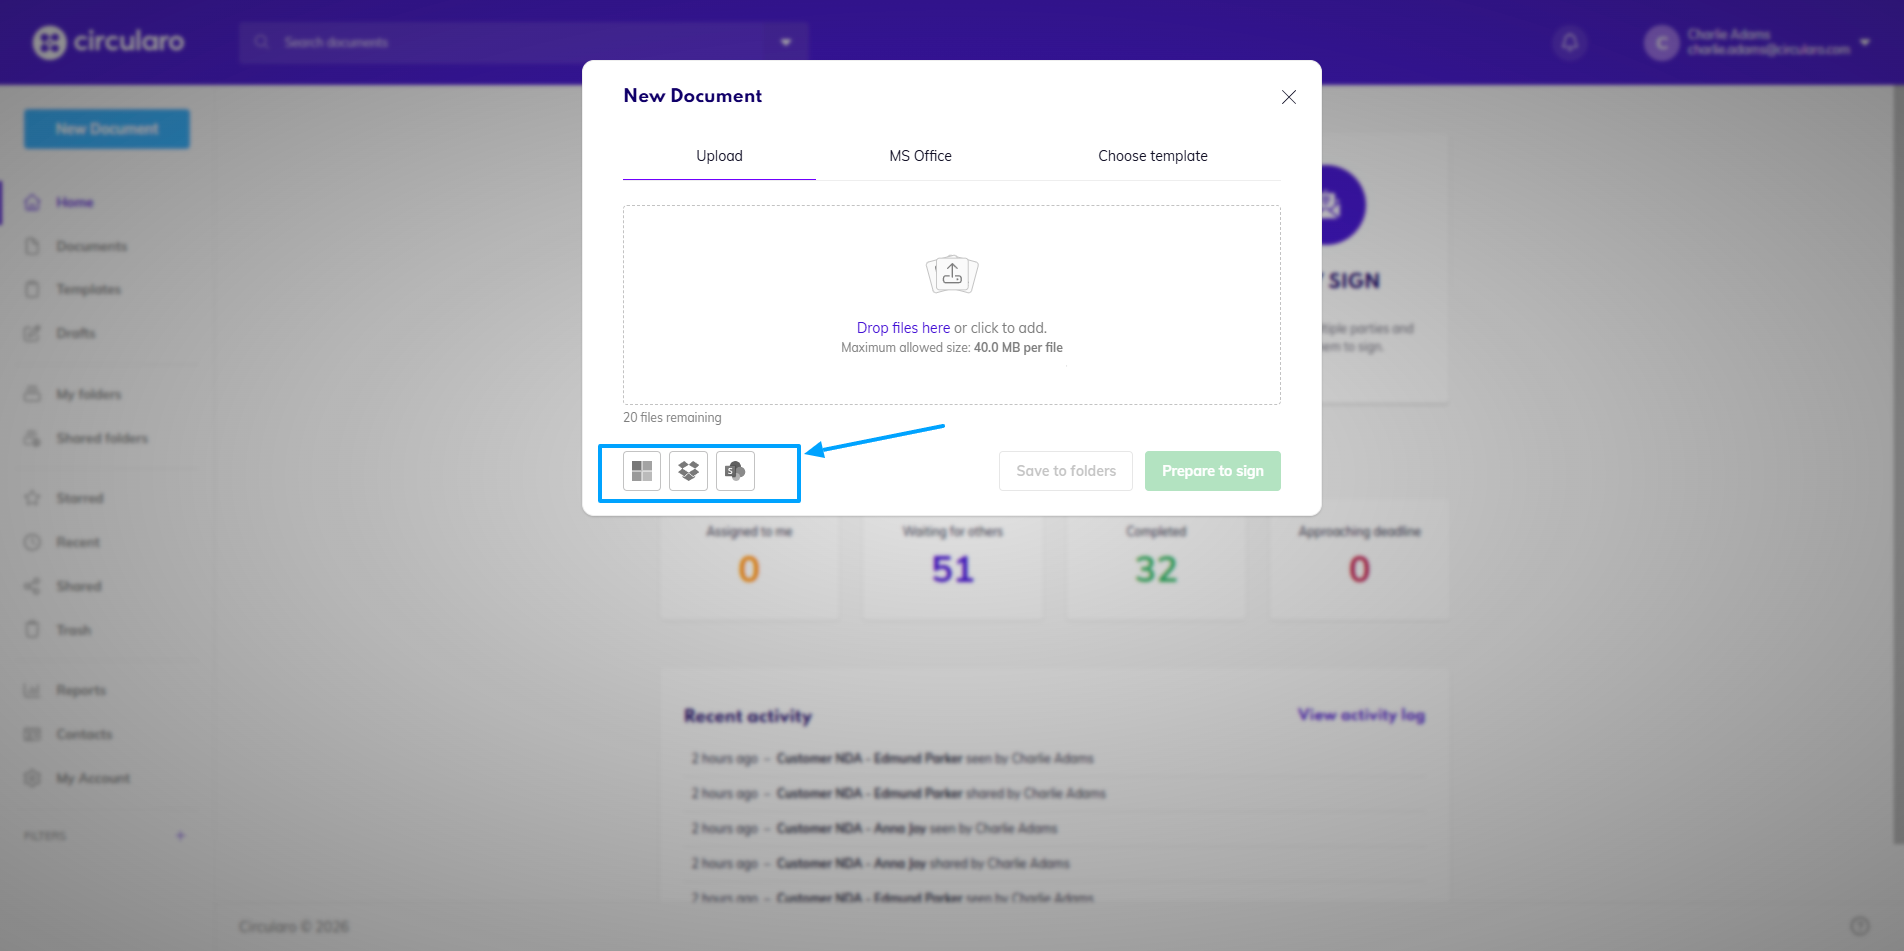
A sign in pop-up of the cloud service will appear, unless you’ve used that service for log in, in which case you will be able to immediately choose a document to upload.
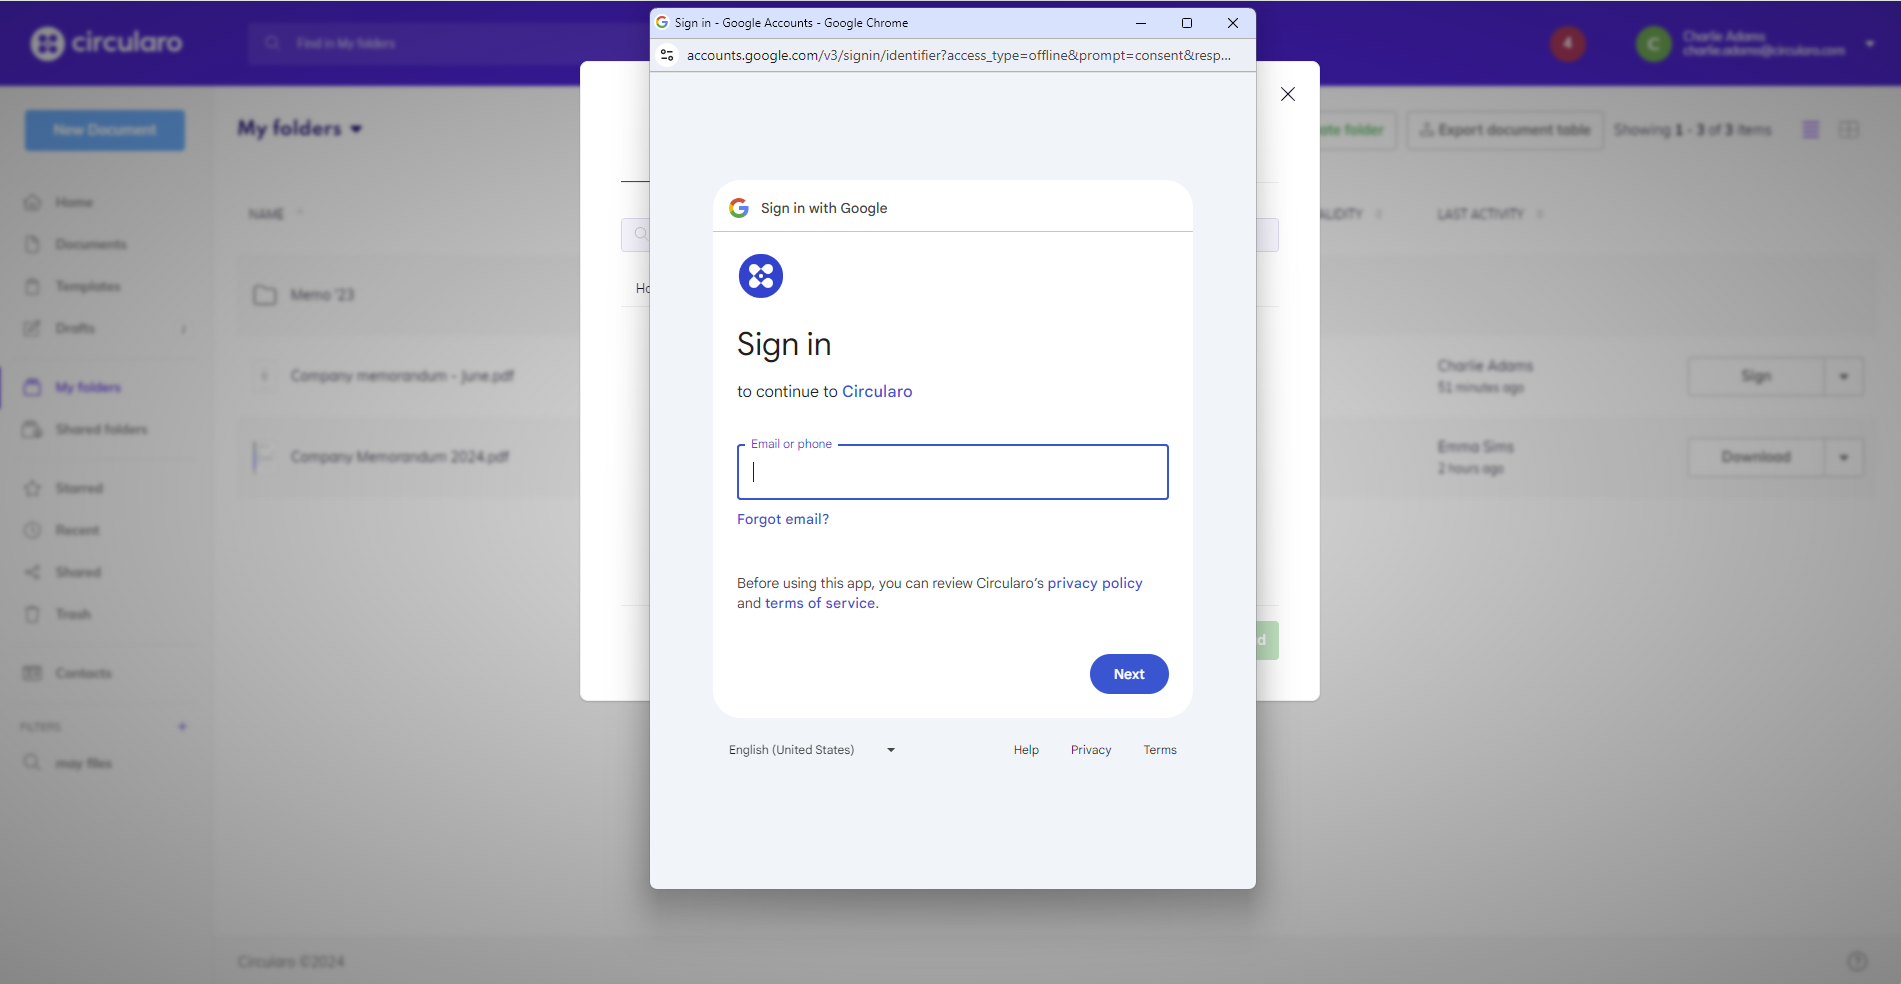
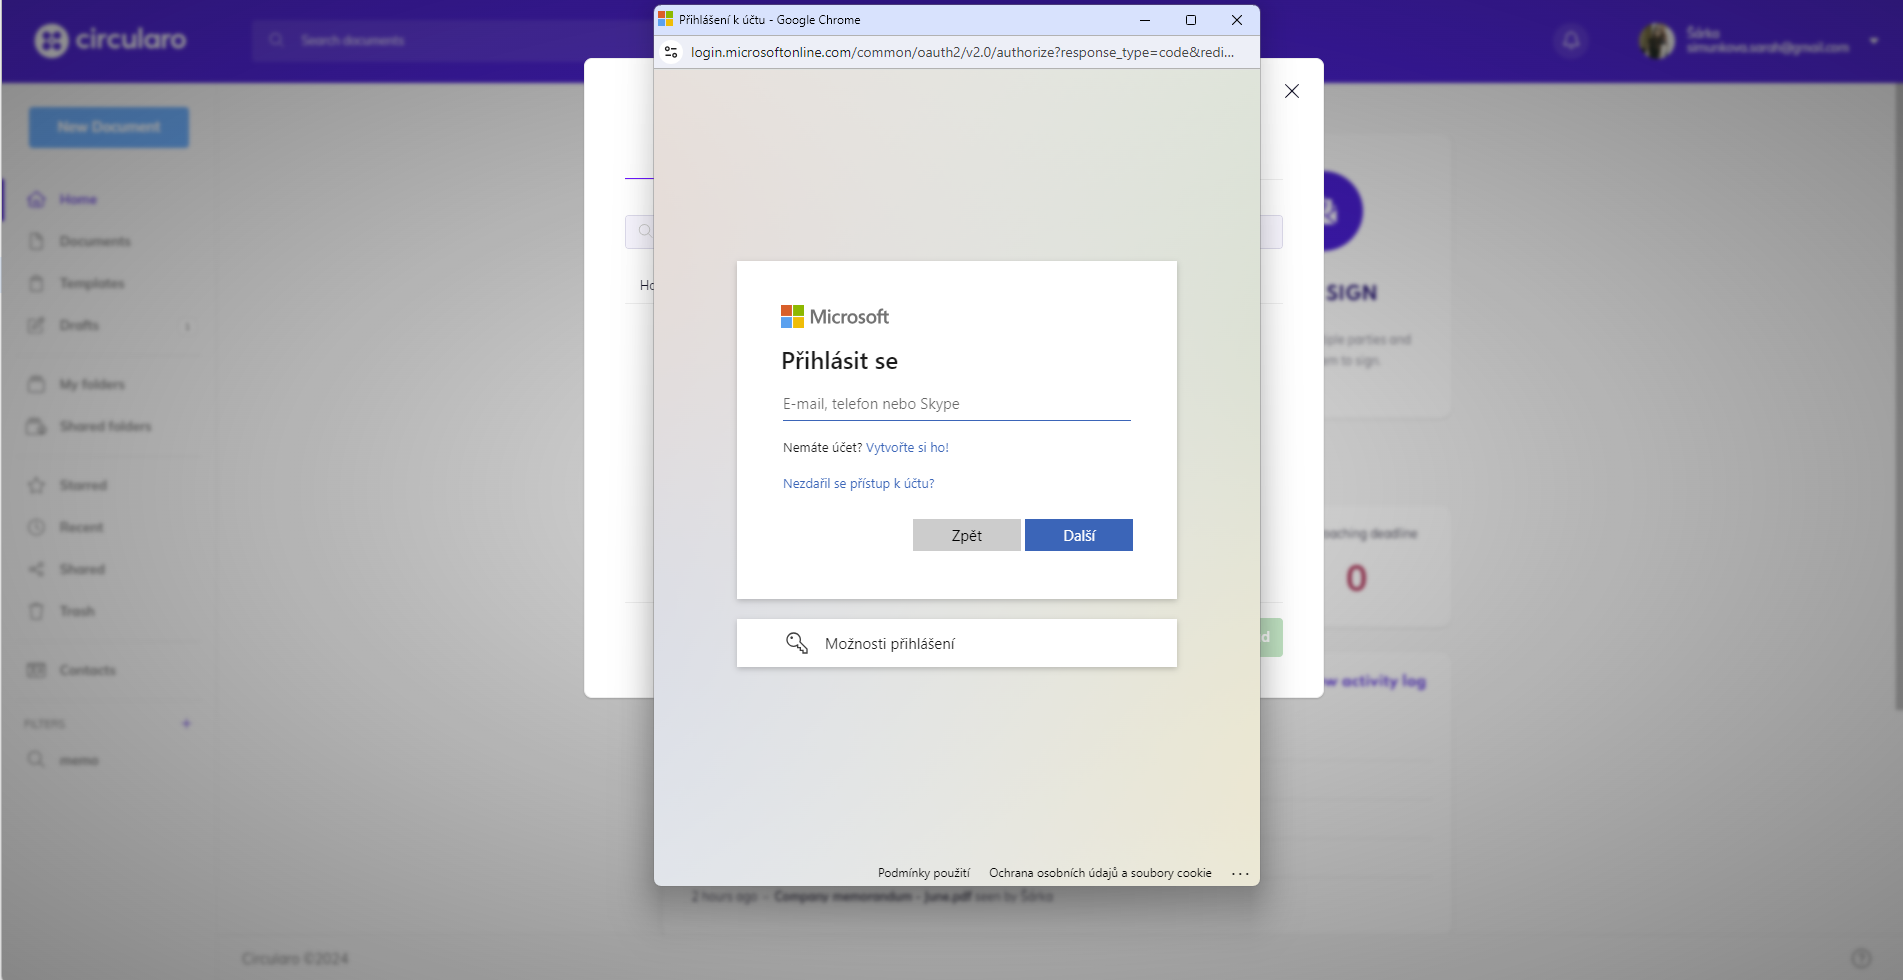
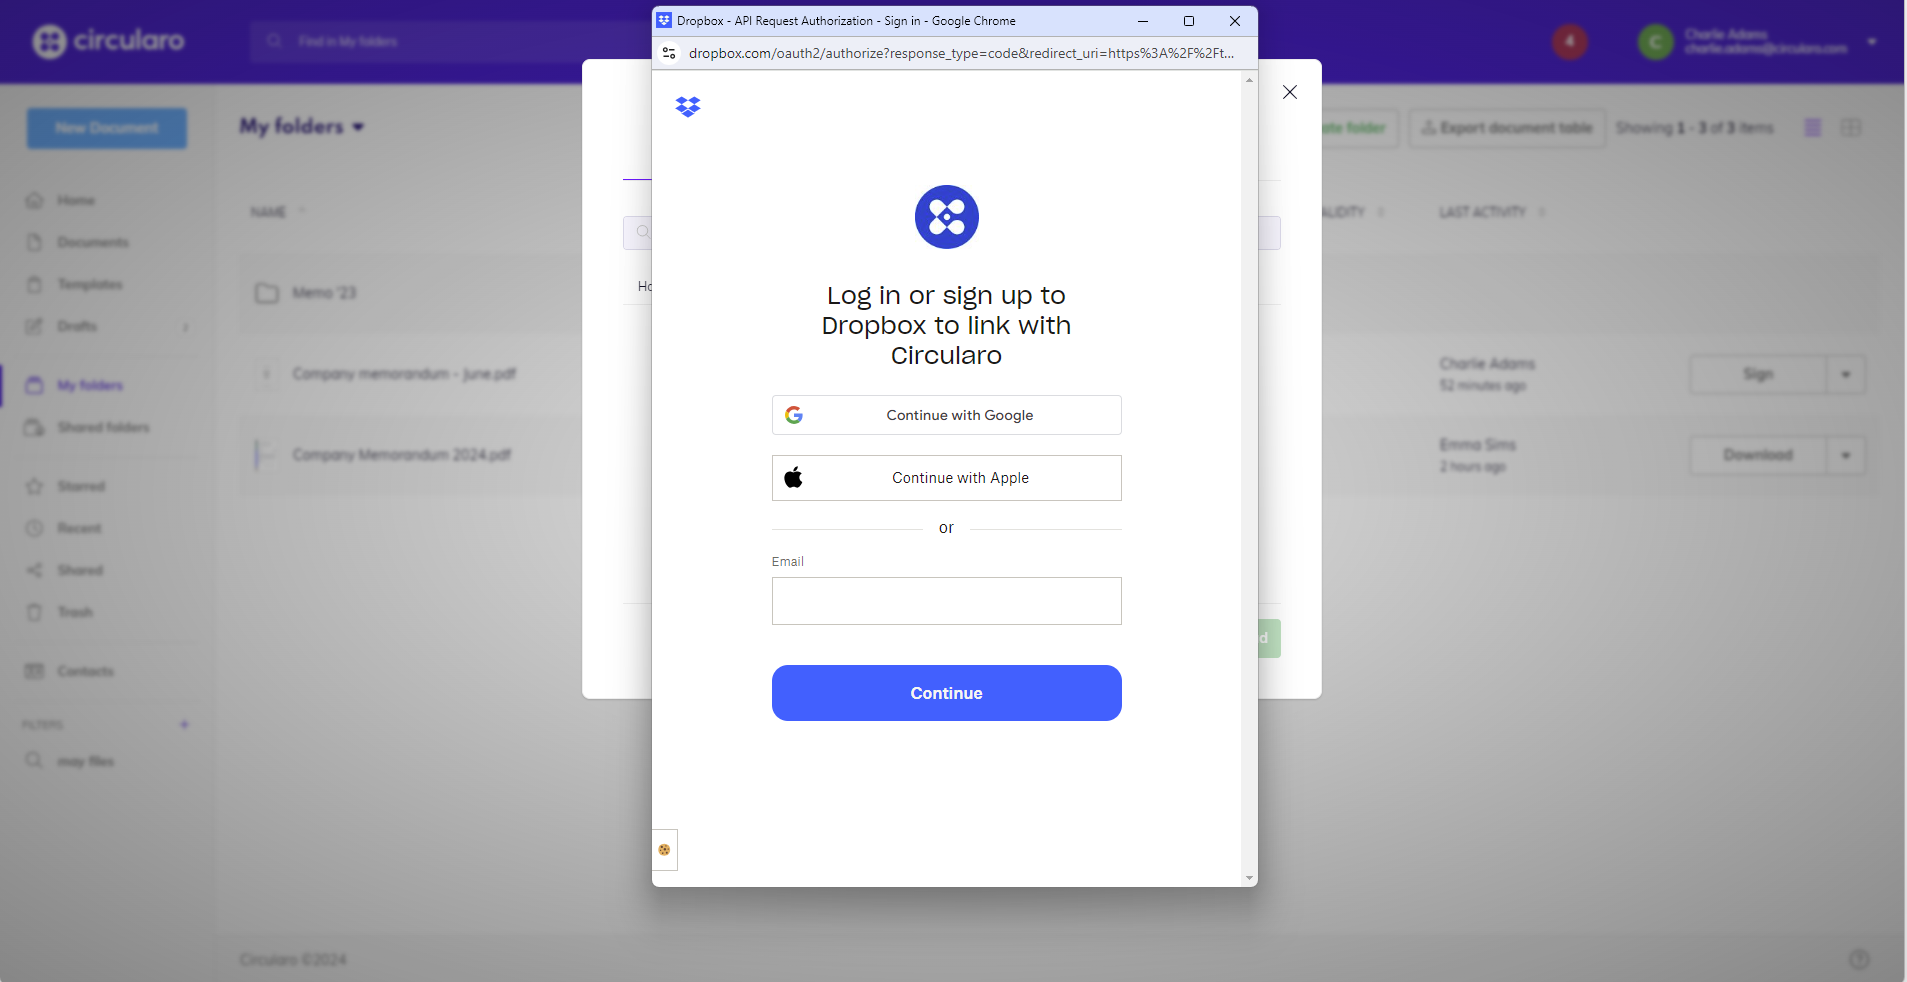
After you have successfully signed in, select the document(s) you would like to upload to Circularo.
Click on Download and from then on, continue as if uploading documents from your PC.
Create MS Office document
Make new documents from scratch directly in Circularo for immediate use. You can create MS Word, Excel, or PowerPoint documents through Circularo in the MS Office tab.
To be able to create or edit MS Office documents online, you need to have a valid MS Office 365 online subscription (business or school MS account).
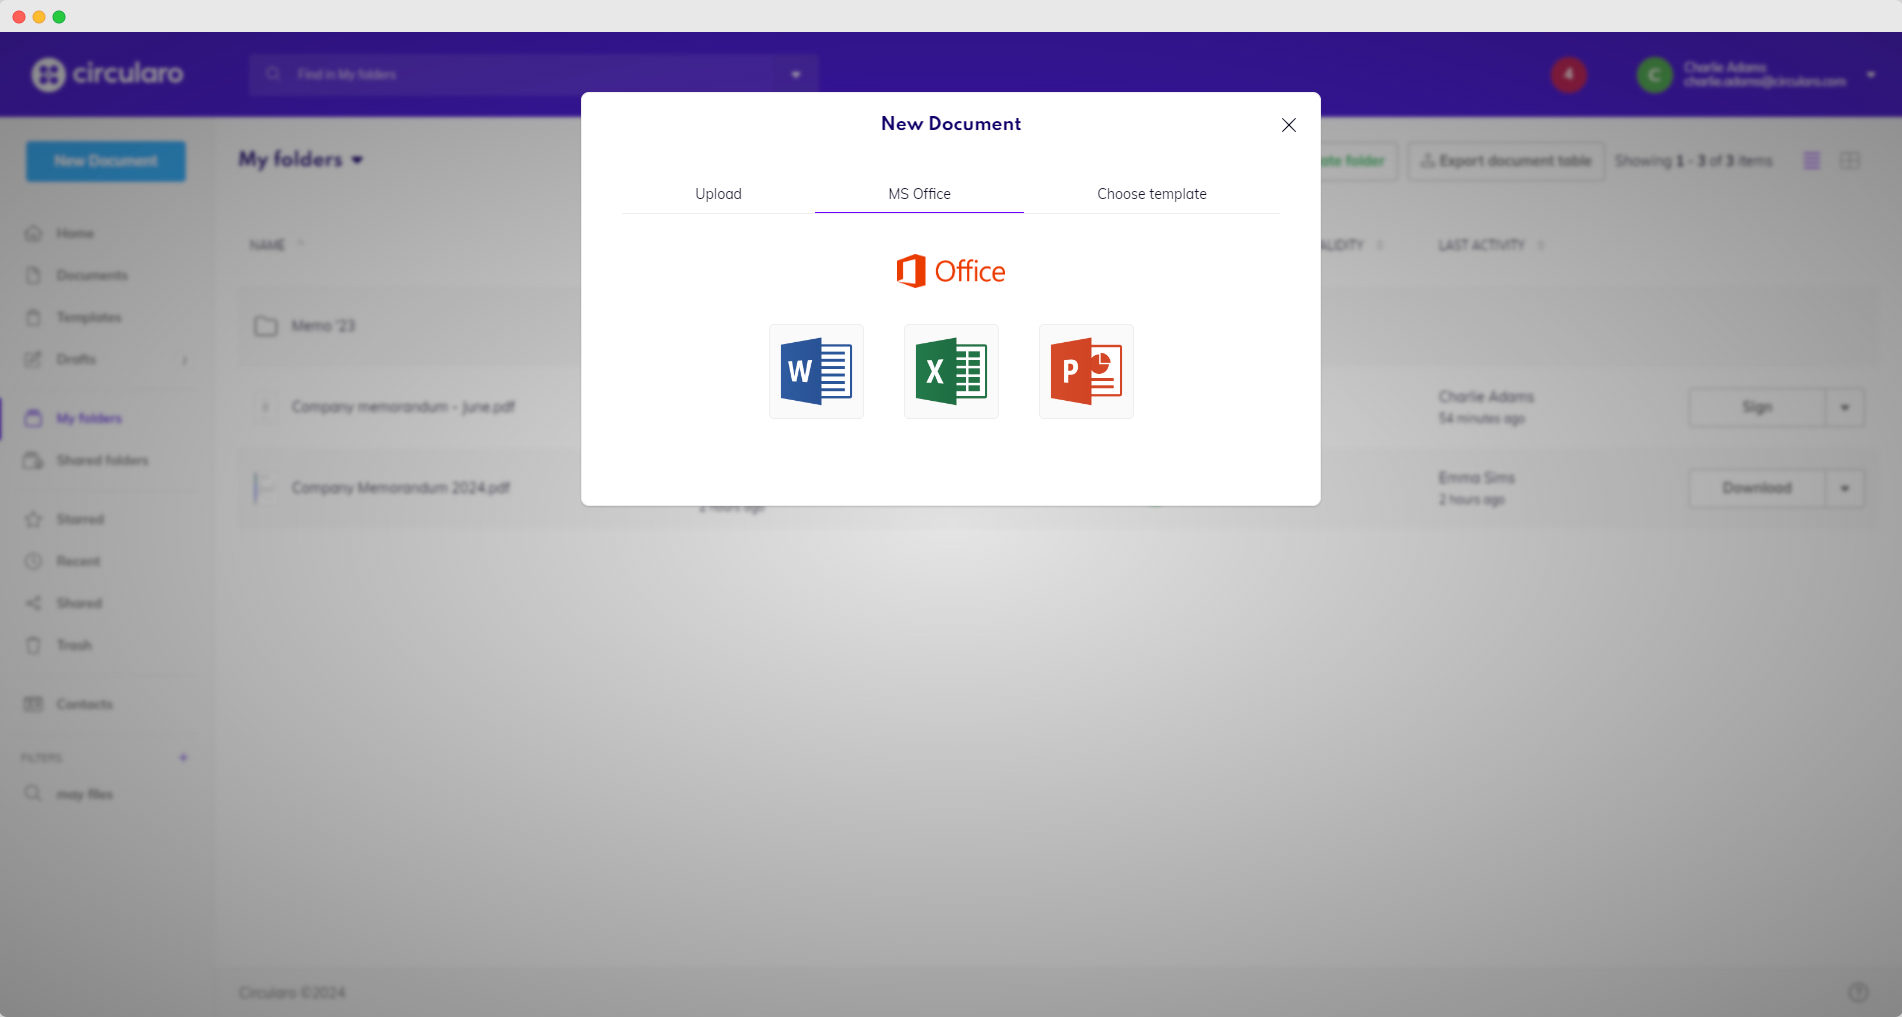
If you aren’t logged into your account already, you will first need to log in to MS Office 365 online using an MS business or school account.
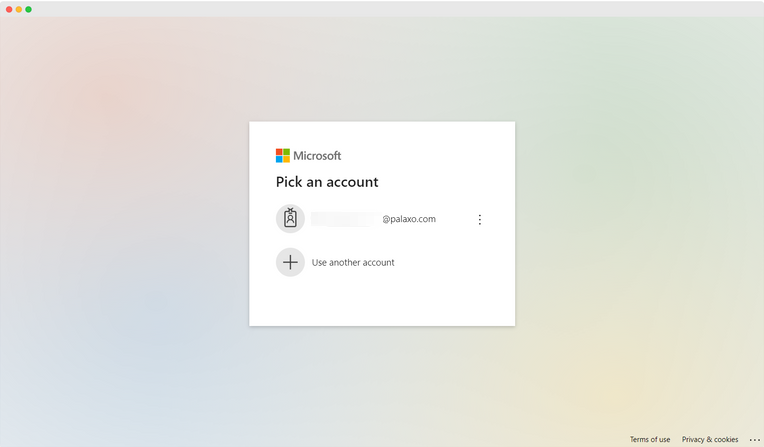
Please make sure to allow pop-ups and redirects in your browser so that everything can run smoothly.
Unknown Attachment
Choose template
If you want to create a new document based on an already created template, go to the Choose template tab where you can see all the templates you have previously saved.
In case you have many templates to browse through, use the search bar in the same window to find the one you are looking for by entering its name.
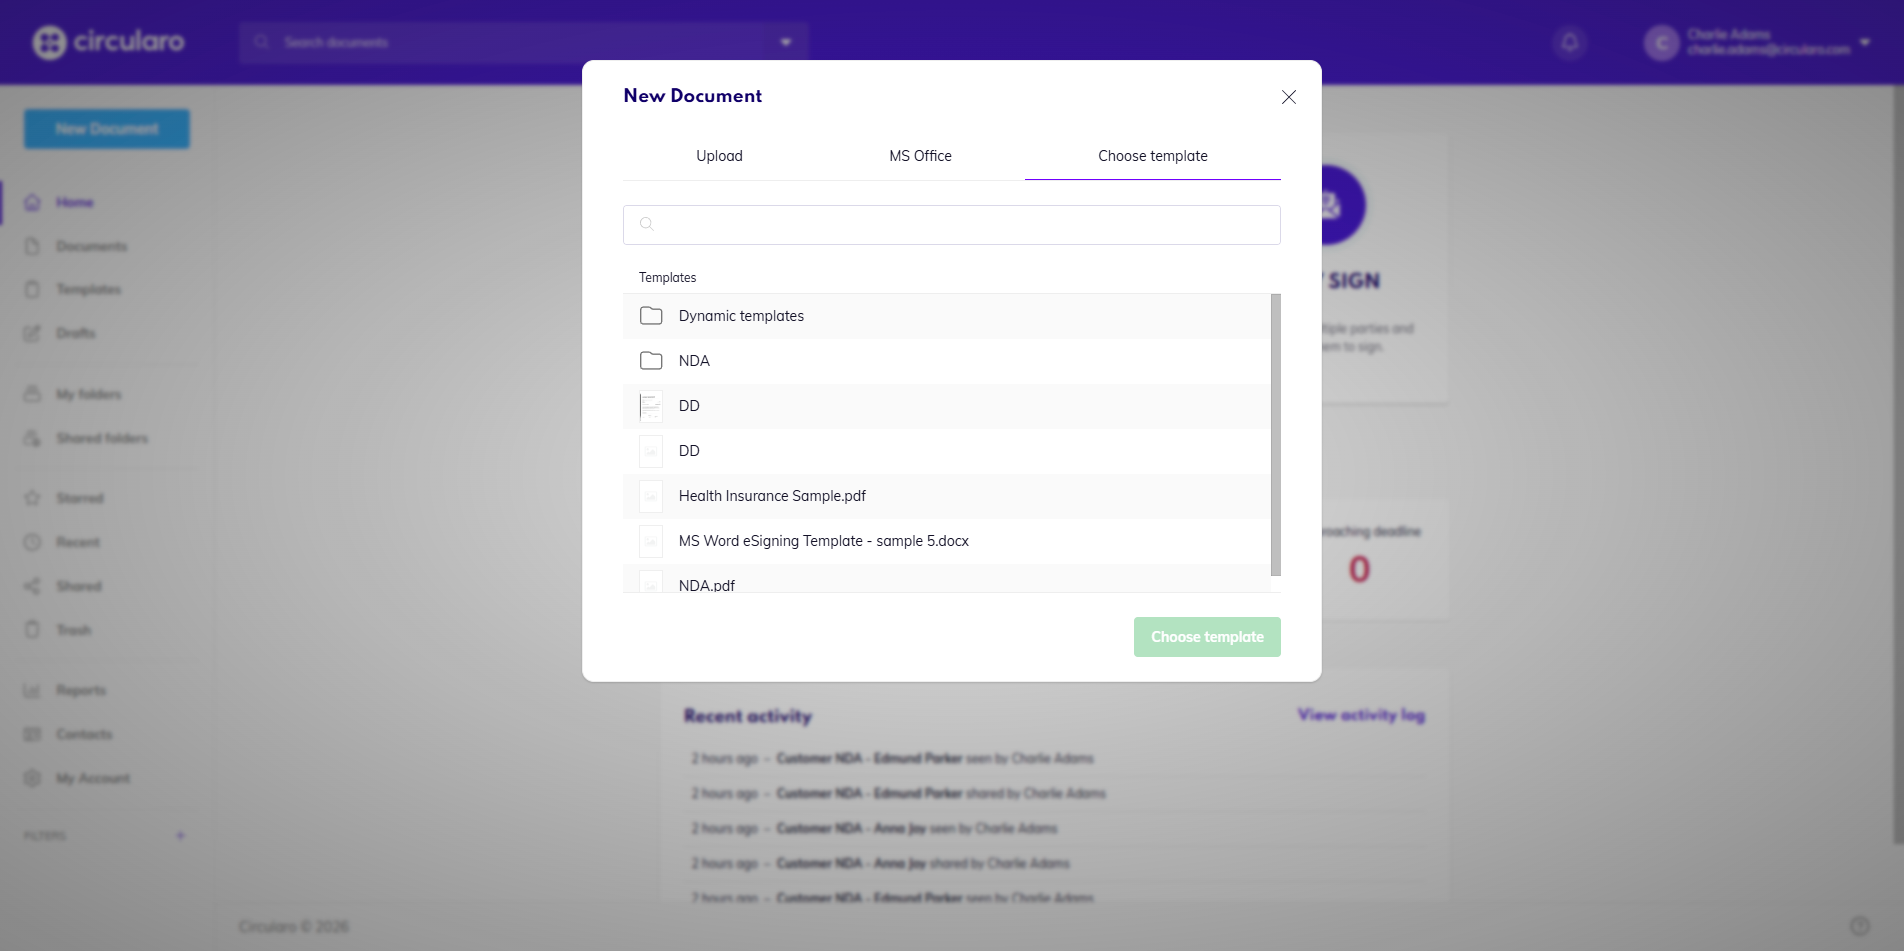
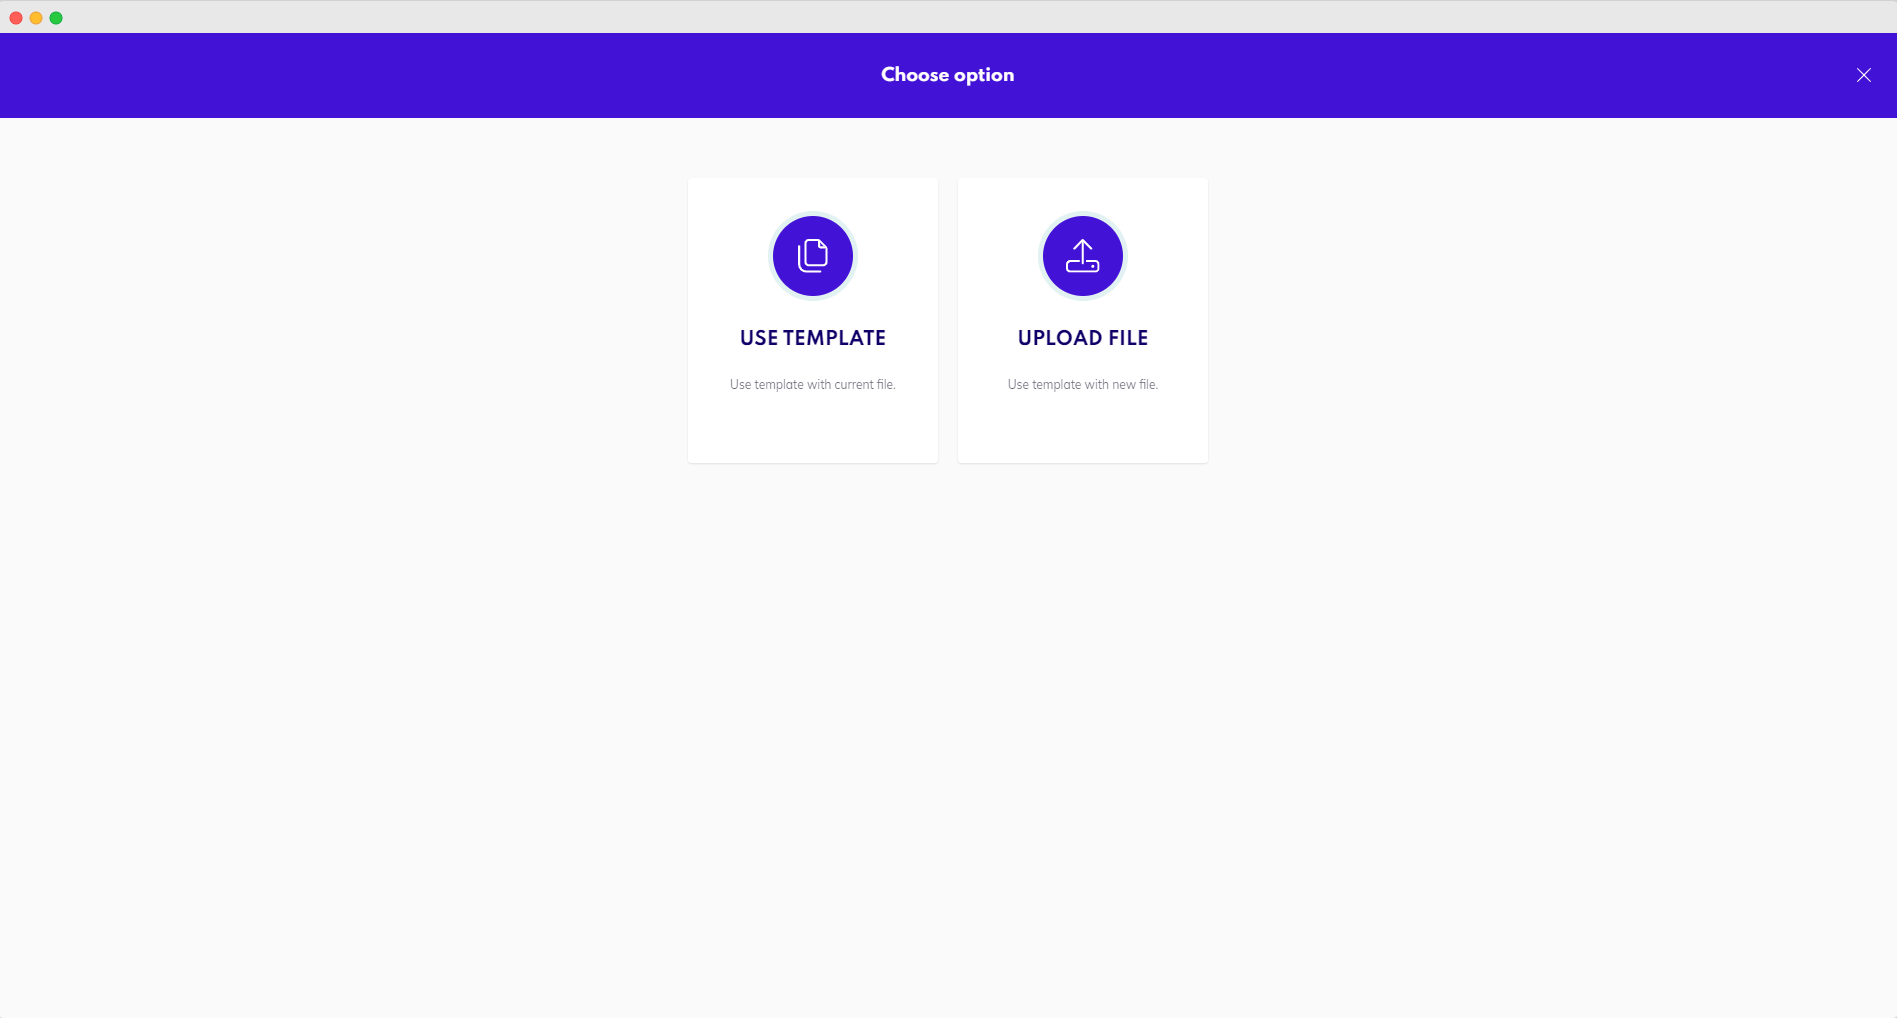
After picking a template, continue by clicking on the green Choose template button. On the next page, you can choose one out of these two options to continue:
-
Use Template - Continue with the same document you used to create the template
-
Upload File - Upload a new file and use the settings ffrom thom the template only