SMTP
Availability: Business as a paid add-on
How to set up your custom SMTP:
-
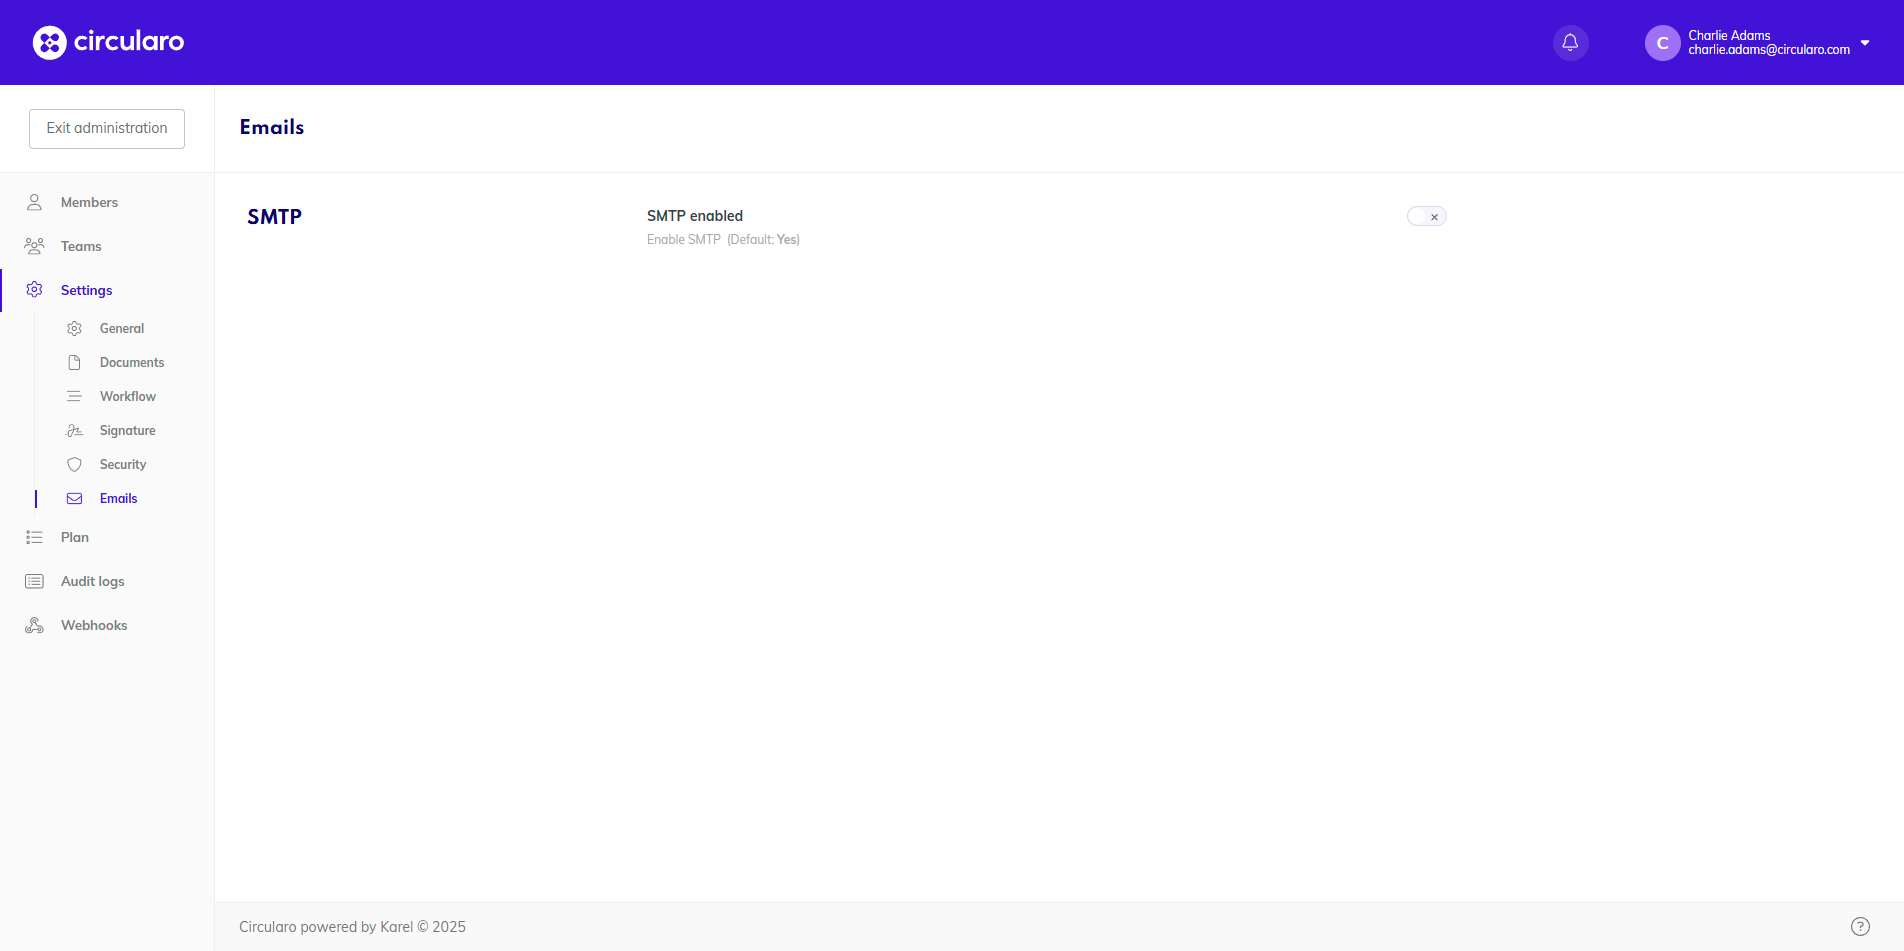
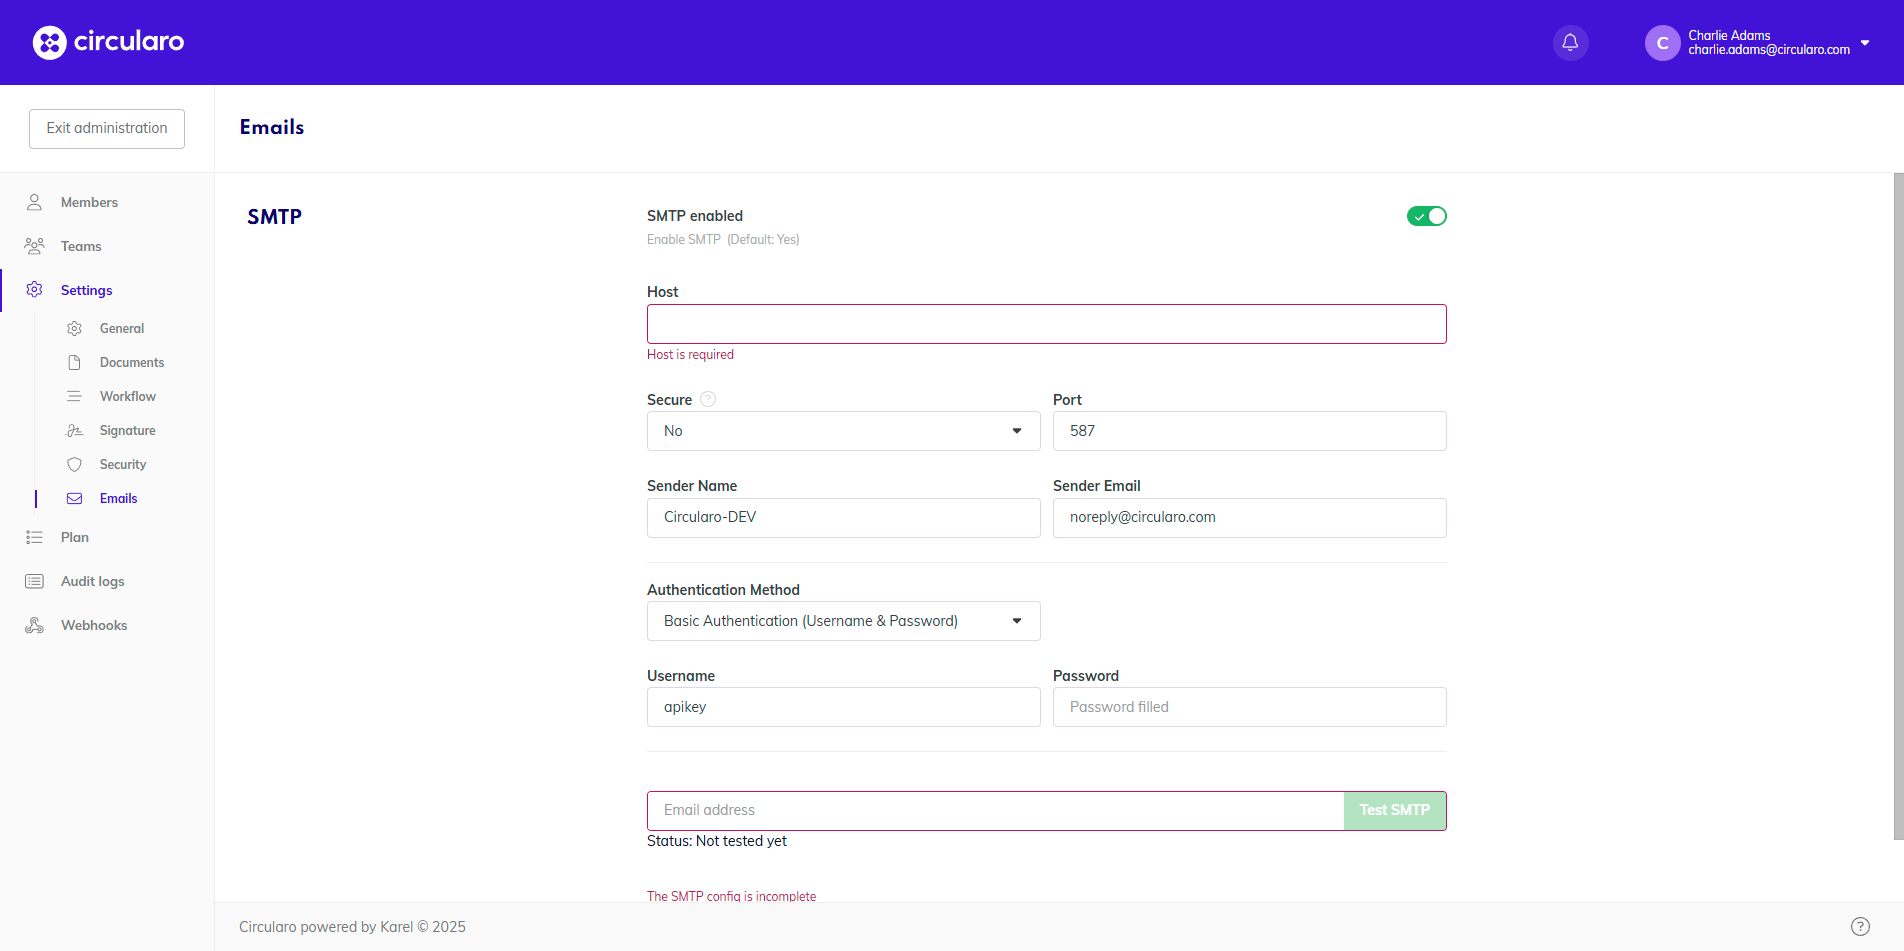
Switch the SMTP Enabled toggle on
-
Fill in the required information
-
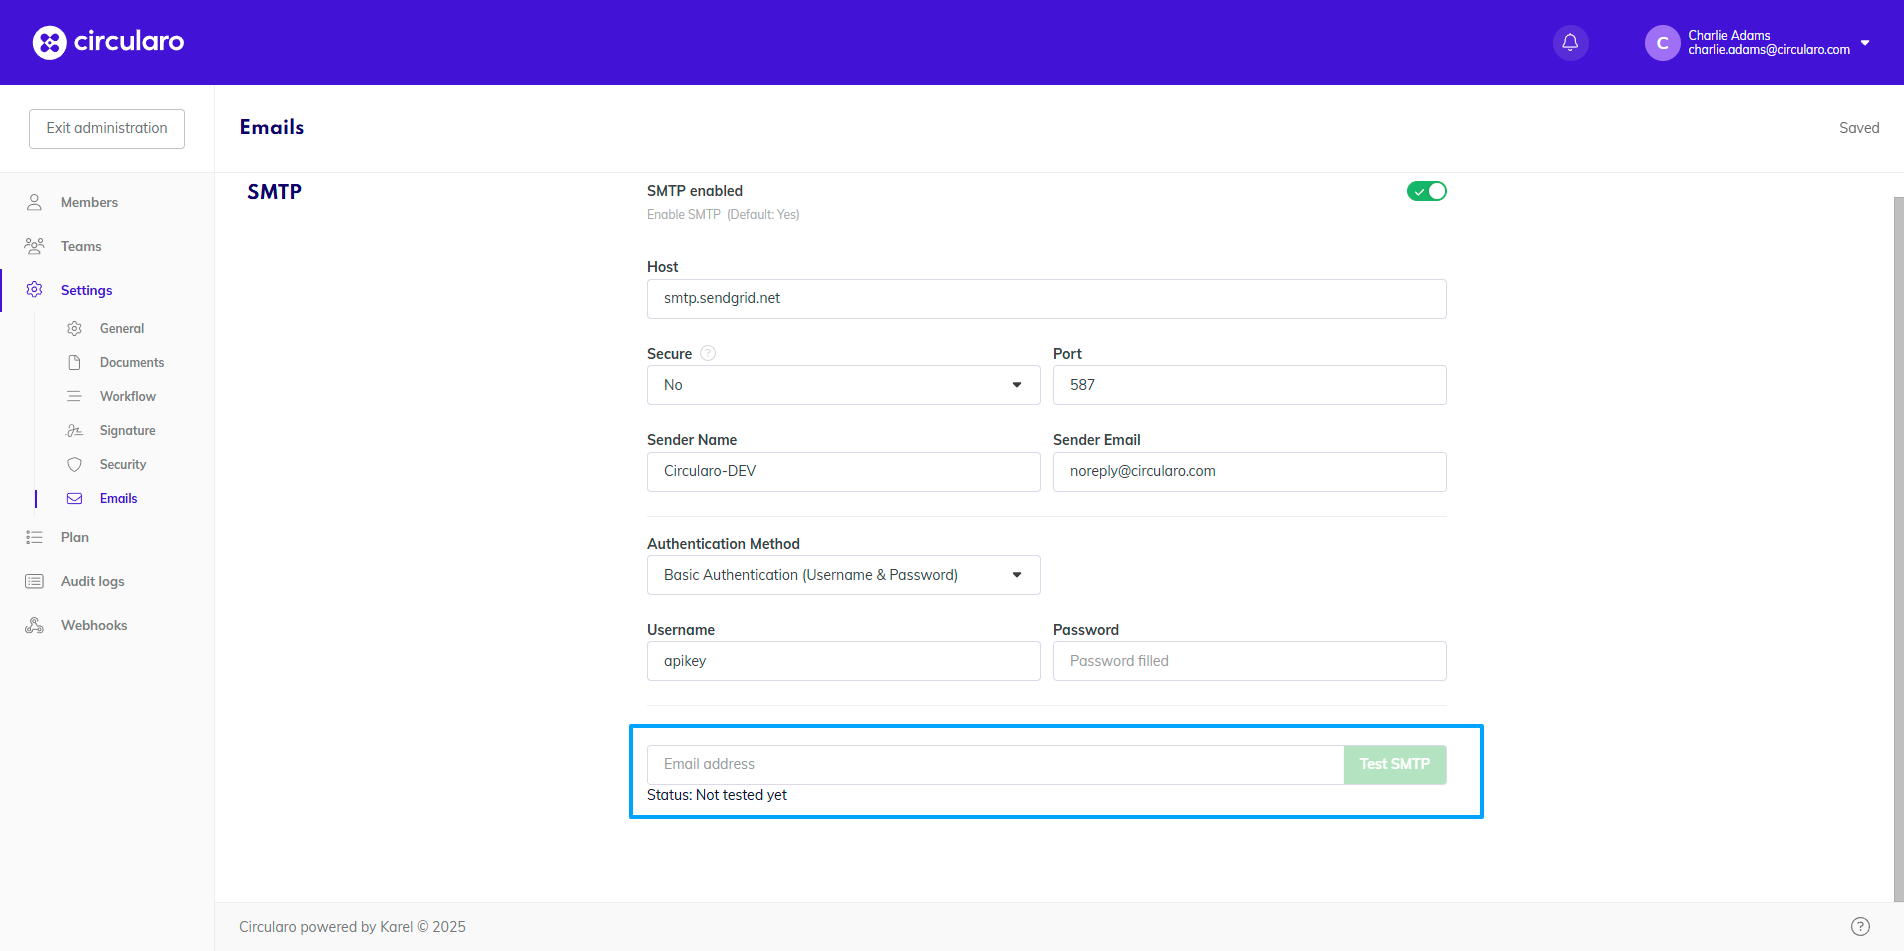
If you want to test the configuration, enter your email address and click Test SMTP
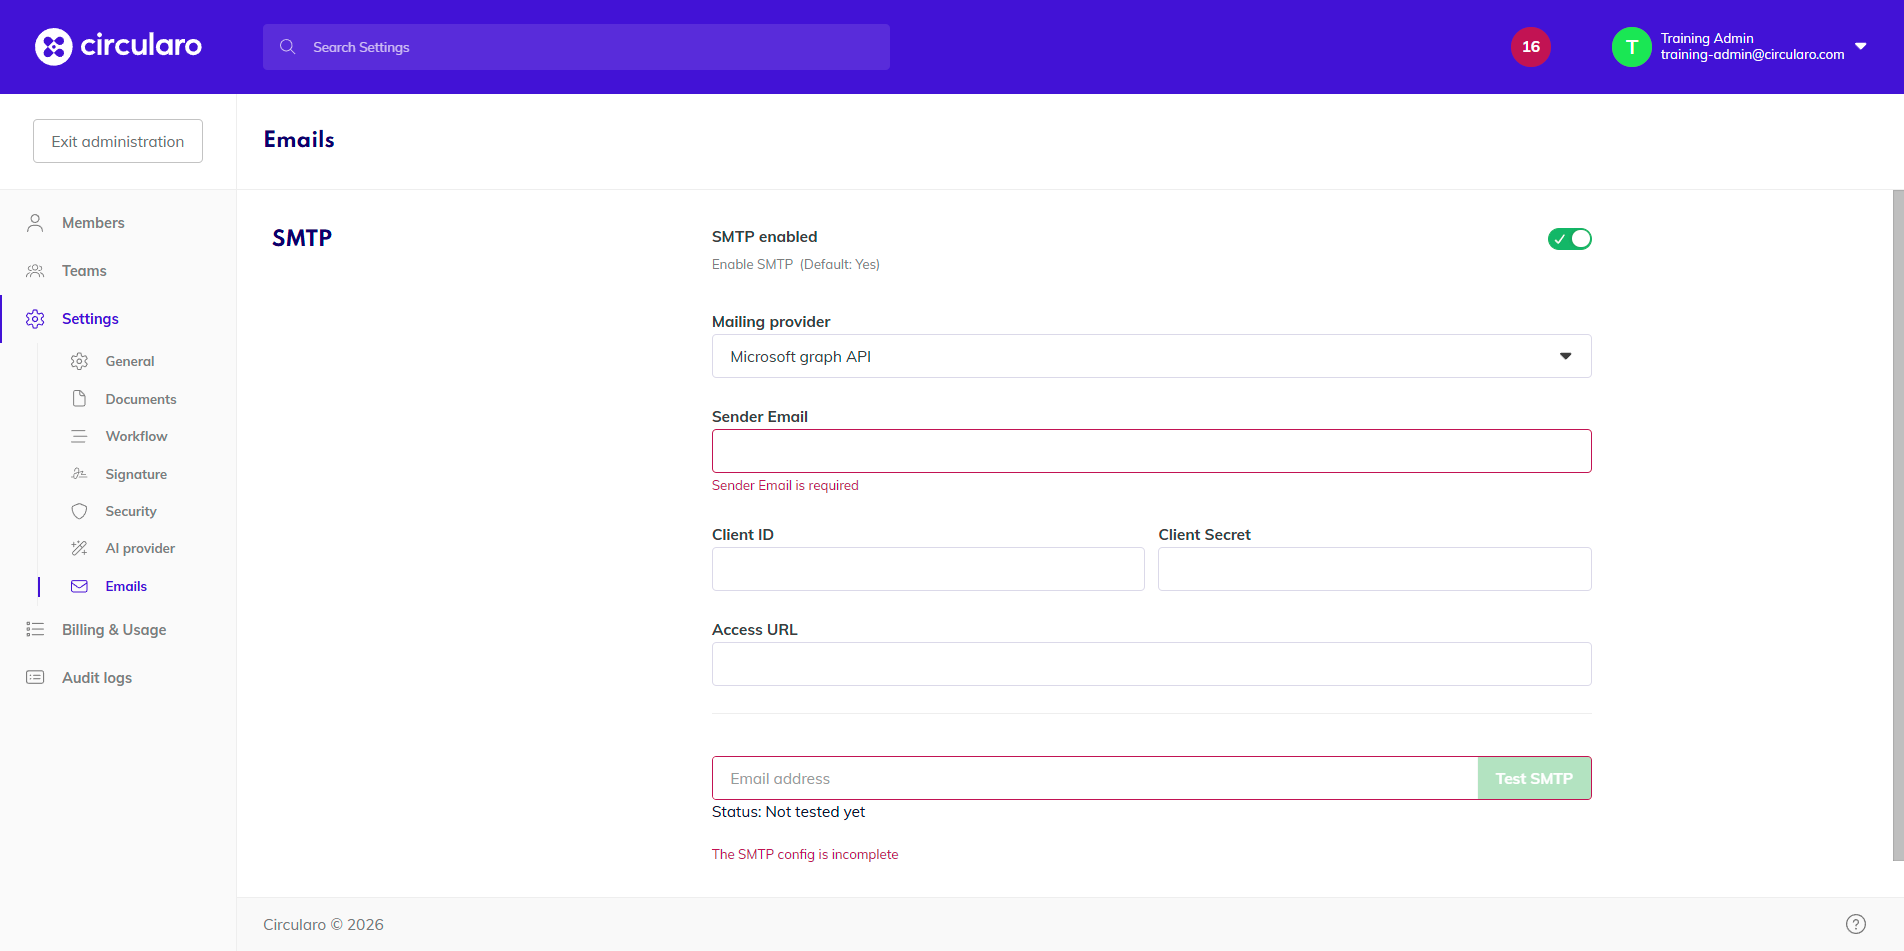
Setting up SMTP with Microsoft Graph API
SMTP can be accessed via Modern Authentication set up in Microsoft Entra ID (formerly Microsoft Azure Active Directory), which uses tokens to access the SMTP from Circularo.
If you are unsure how to proceed or require any assistance, please contact Microsoft support team.
-
The client need to set up a Circularo application in Entra ID (Guide on registering an app in Entra ID)
-
Sign in to the Azure Portal
-
Open the Azure Portal and log in with your credentials.
-
-
Access Azure Active Directory
-
From the left-hand menu, select Microsoft Entra ID
-
-
Create a New Application
-
Navigate to App registrations
-
Click + New registration
-
Enter a name for the application and click Register
-
-
Configure the Application
-
From the left-hand menu select Manage → API Permissions
-
Click Add permission
-
In the pop-up window select Microsoft Graph → Application Permissions
-
Search for Mail.Send permission and add it
(NOTE: Once the API permission is added, the tenant admin needs to grant their consent by clicking Grant admin consent for <directory_name>)
-
-
Create Client Secret
-
From the left-hand menu select Certificates & secrets
-
Click New client secret
-
Choose preferred secret expiration and give the secret a name
(NOTE: When the secret expires, new secret needs to be generated and entered in Circularo) -
Click Add
-
Copy the Value of the secret
(NOTE: The secret value is displayed only once during the creation of the secret, if you don’t manage to copy it, you will need to create a new secret)
-
-
Configure credentials in Circularo
-
Navigate to the organization settings
-
Under Emails (or Emails → Settings for super admin) enable the SMTP enabled toggle
-
From the Mailing provider dropdown select Microsoft graph API
-
Fill in the following details:
-
Sender email → Email of the service account that will be used to send Circularo notifications
-
Client ID → Can be found in the Azure app registration under Overview as Application (client) ID
-
Client Secret → The secret value that we copied earlier
-
Access URL → Can be found in the Azure app registration under Overview → Endpoints as OAuth 2.0 token endpoint (v2)
-
-
-
Once all the details are configured, you can fill in your own email in the Email address field and send a test email, if everything was configured properly, you should receive the Success message