Status Overview
In the Documents section, you get a complete overview of your documents and their statuses.
The number displayed next to the tab name is the total number of unread documents.
Your documents can have several different statuses:
Created - Document has been created and no other actions are pending.
Waiting to be signed/approved/reviewed/accepted… - Document is waiting for the next recipient to sign/approve/accept/review.
Waiting for you… - Document sent to you, waiting for your action.
Completed - All actions required for this document have been completed.
Expired - Time for signature has expired (for anyone who should sign the document).
Canceled - Document processing request canceled by its initiator.
Rejected - One of the recipients rejected to sign the document.
The colors of the status bar of each document also indicate the status of its progress. The bar will be split into sections according to the number of recipients of the document. Green color indicates a successful signature/approval/review. Grey indicates the signatory has not seen the document yet and orange means they have opened the document. Red stands so Rejected/Expired/Canceled. Hovering a mouse over each section will show details of the action taken/waiting for.
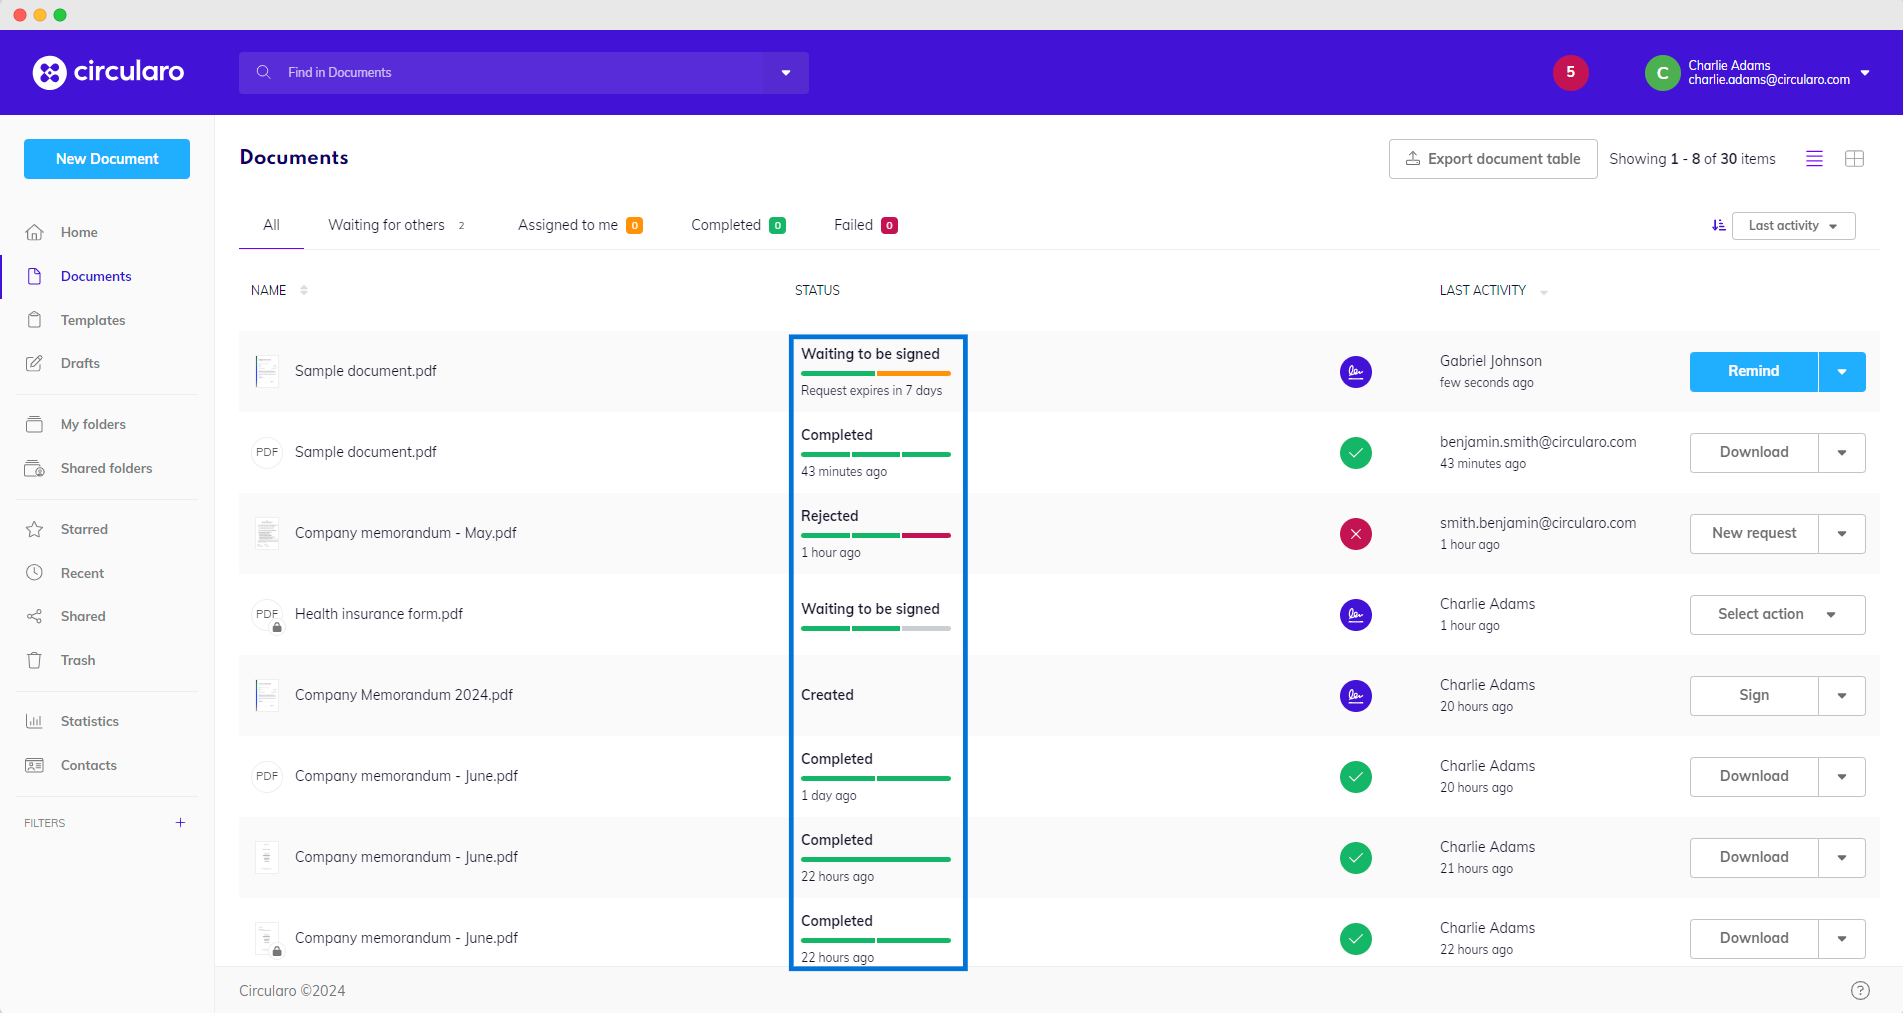
Status bar
Documents can be filtered into 5 default categories based on their status and you can apply other filters and save them as custom Views to make finding specific documents easier:
All
Displays all documents.
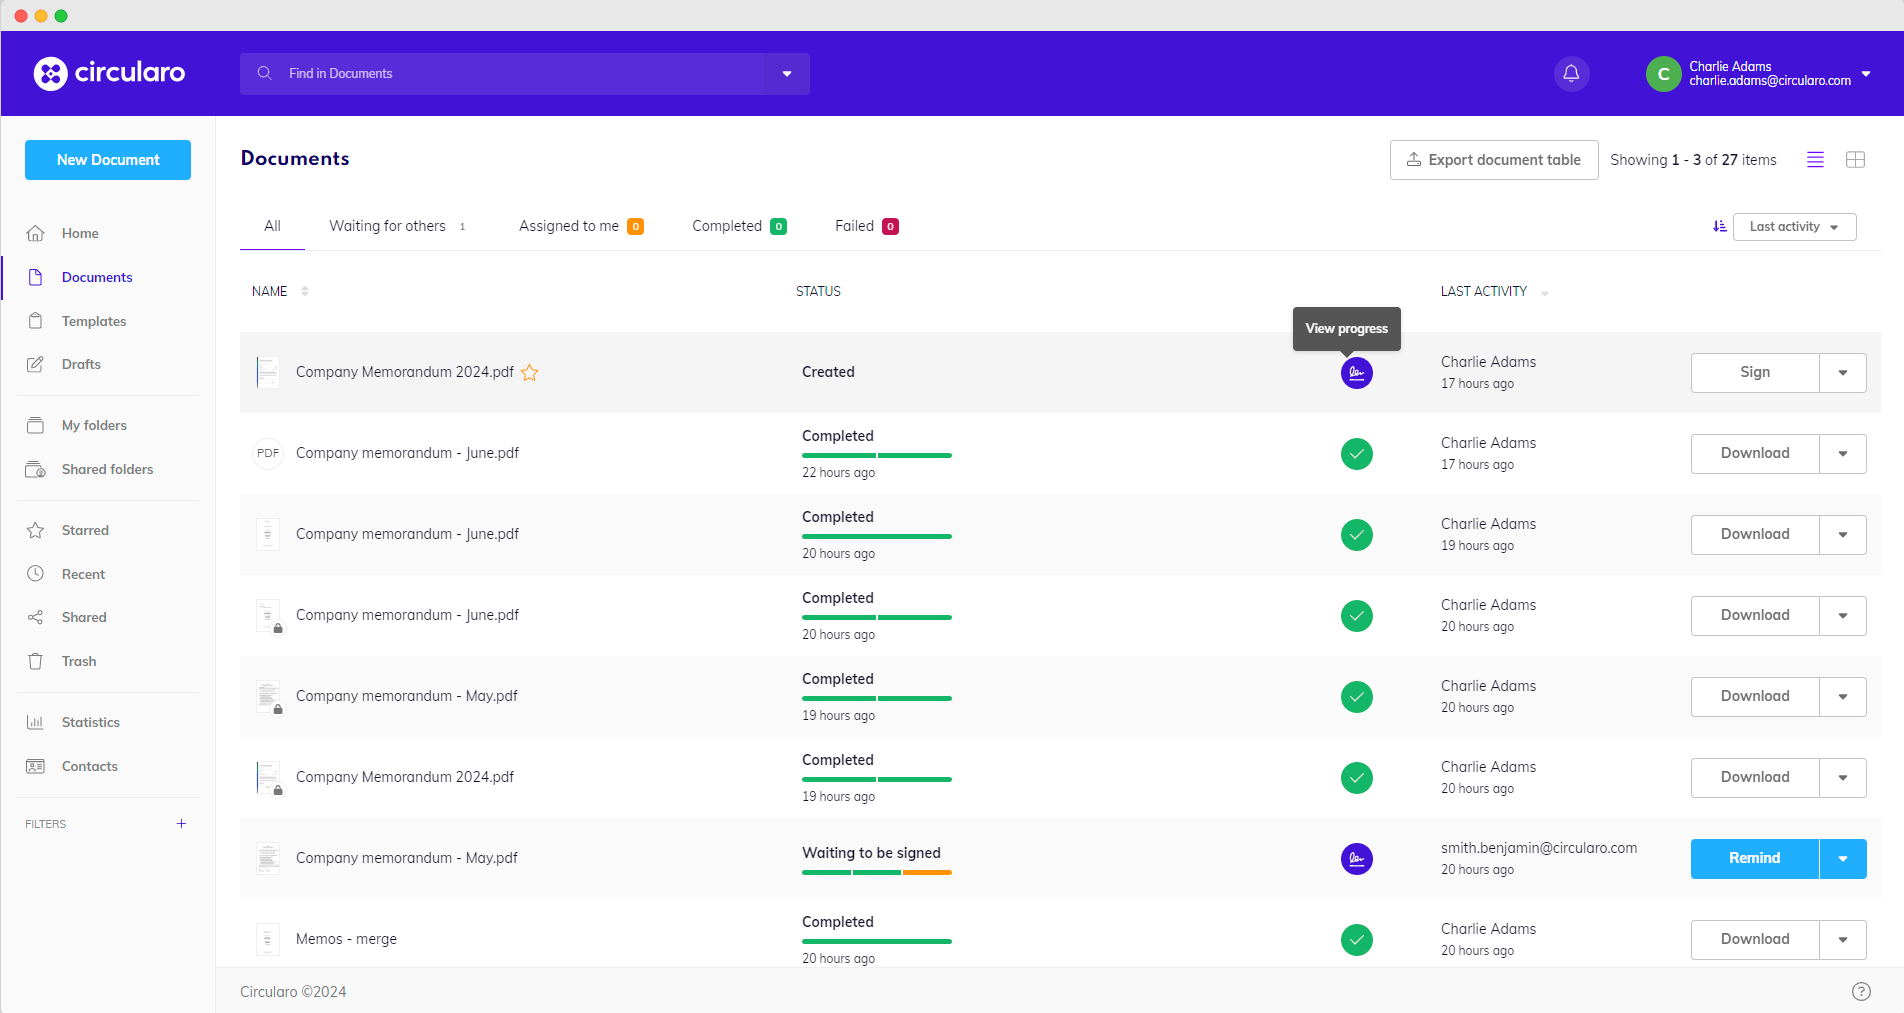
All documents
To make looking for specific documents easier, you can use labels and configure custom filters.
Waiting for others
Displays documents which are assigned to other users for you to check their details and progress - how many recipients have signed, how many signatures are pending, etc.
You have the option to send a reminder to everyone who still needs to sign a particular document. There are also several actions available in the Context menu, such as Share, Send to cloud, Download or Add to Starred. The person who initiated the signing process has a few more options for managing the document.
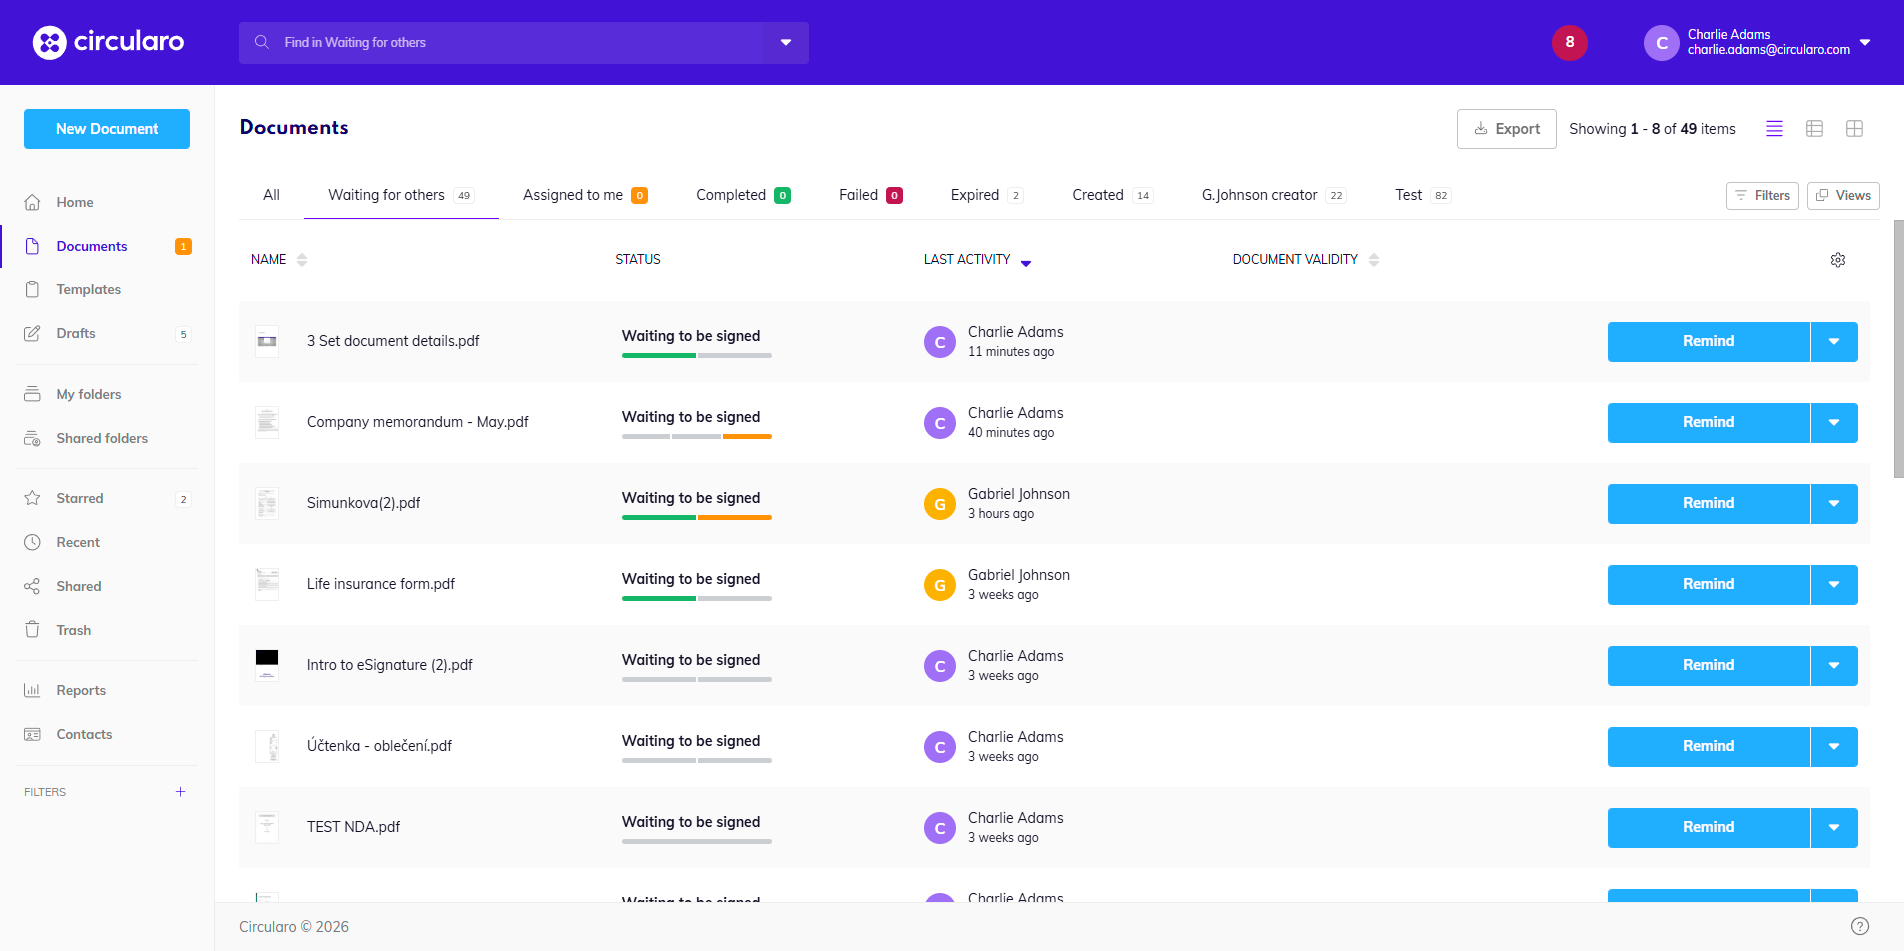
Waiting for others
Assigned to me
Displays documents which have been assigned to you to process.

Assigned to me
Completed
Displays documents which have been signed or approved by all parties and do not require any further action.
You are, however, able to initiate a New request for a completed document. A new copy of the document will be created and you will be able to send it to other users.
Download is usually the first action visible in the Context menu.

Completed
Failed
Displays documents which have been Canceled, Rejected, or have Expired.
There is no way to continue the signing process once a document has failed. The only option is to initiate a New request with a copy of the failed document.
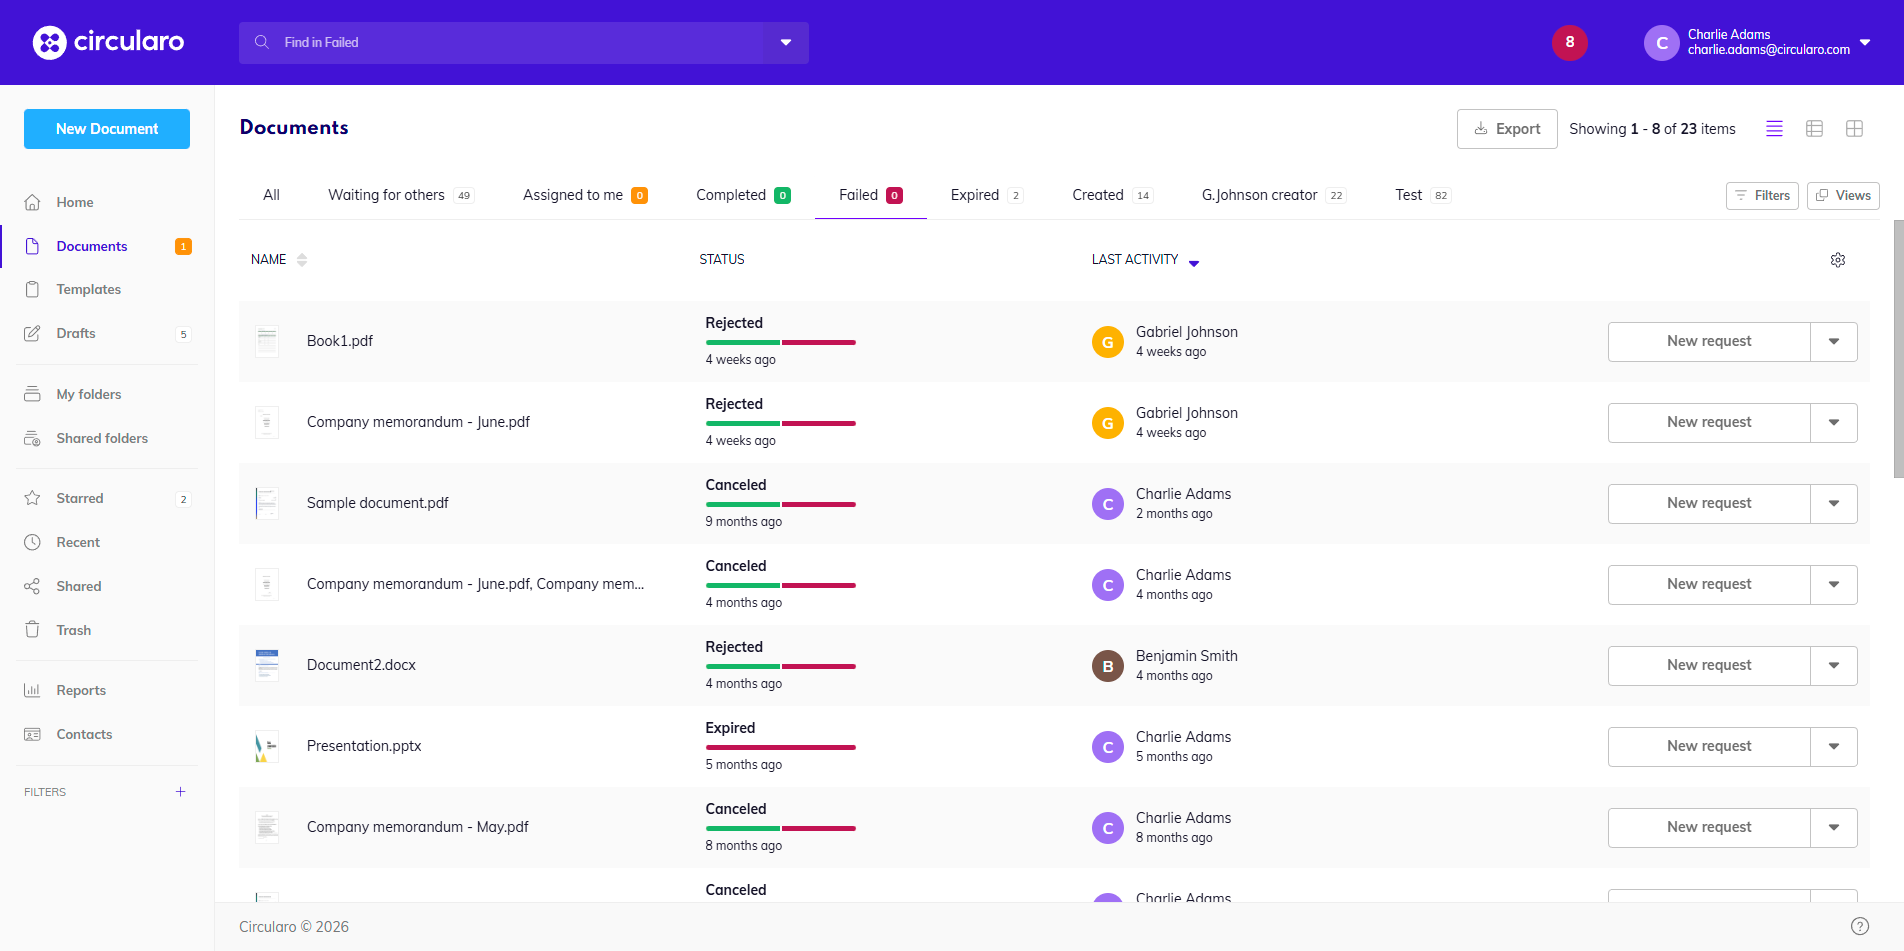
Failed
Adjusting table columns
You can customize which document details you see in the document table.
When you click on the settings icon on the right side of the screen above the dropdown menu, you will see all the available columns. You can pick which ones you want to see and then move their position by dragging it up or down to your chosen place.
A few columns have a set position which cannot be changed. It is the document name, the checkbox that lets you check a document, and the dropdown context menu.
The default columns are:
Name - current name of the document
Status - Current status of the document
Progress - The status symbol that takes you to the progress timeline
Last activity - Shows the last person to take an action with the document and when it took place
Context menu - dropdown with all available actions for a document
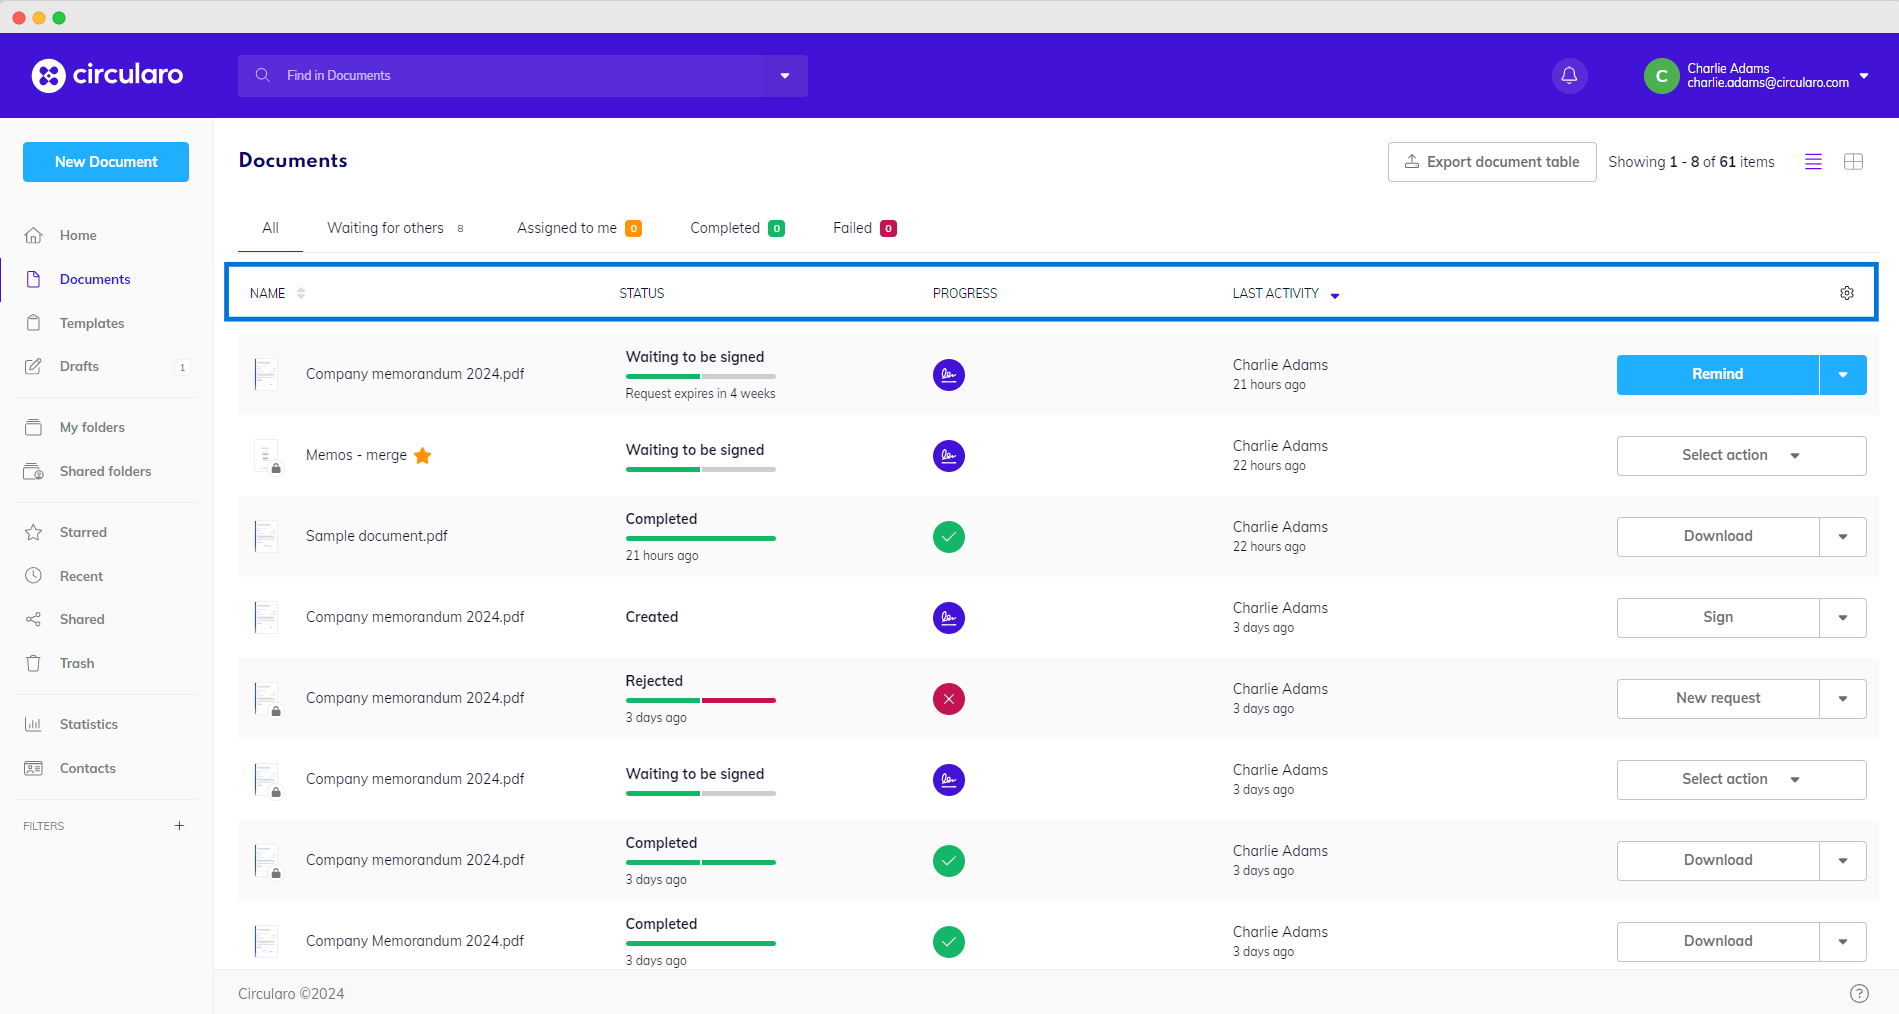
Default columns
Other available columns:
Template - shows the type of template (usually for Enterprise templates)
Assigned by - the last user that shared the document with you (through the Share function or by sending it forward through a workflow)
Created - shows the creator of the document and when it was created
Signed - remains blank when unsigned and shows Signed when the document contains a signature (the document does not have to be completed)
Recent activity - shows the type of the last activity on the document and when it happened
Shared with - contains symbols for recipients of the document; if you hover over it, it shows their details along with their required action and its current status
Shared by - the last user who shared the document with you (regardless of the required action)
Expiration - shows when the request expires relative to user’s current time
Shared by (public link) - shows the user that created a public link for the document
Document validity (date) - shows the end date of the document’s validity in the format Day/Month/Year
Document validity (relative time) - shows time until the end of the document’s validity based on the user’s current time - ex. in 2 months
Document validity (date and time) - shows the date and time of the expiration of document’s validity
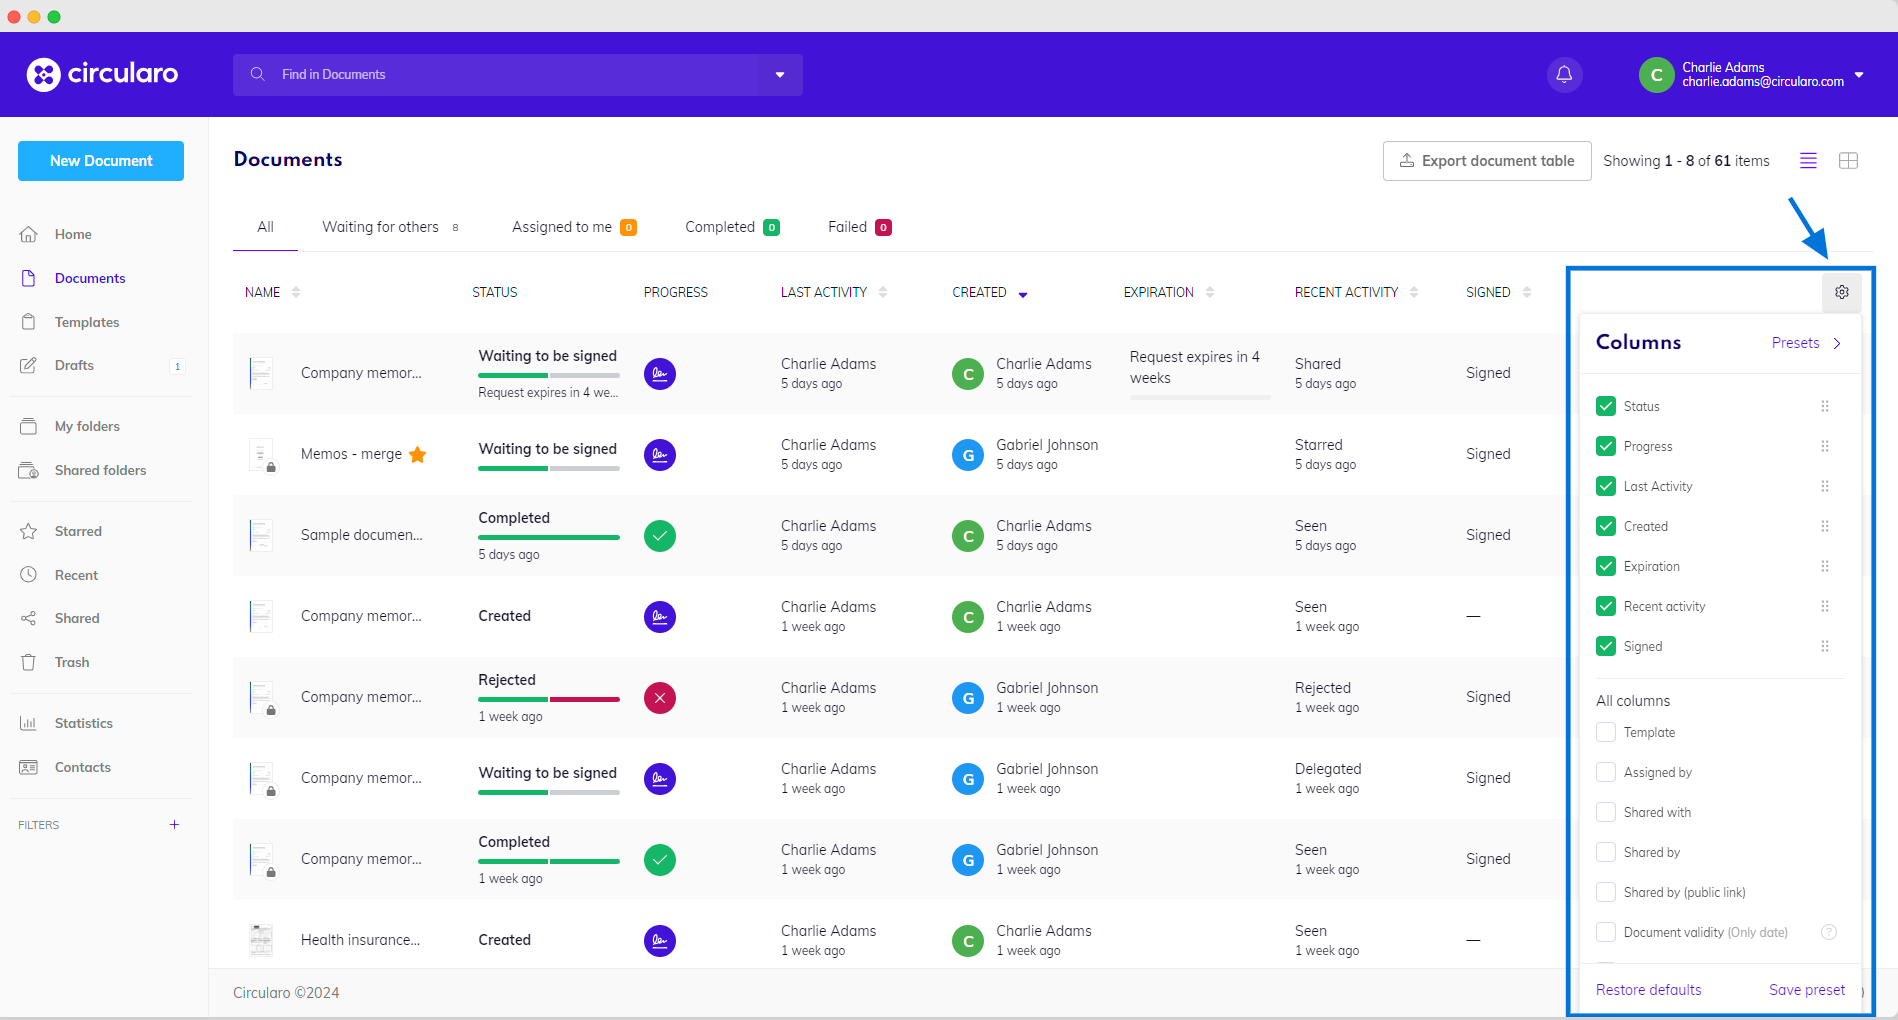
Column settings
When you’ve chosen which columns you wish to have visible, on the bottom right corner of the column setting is a button Save preset, which lets you save your customization for the future.
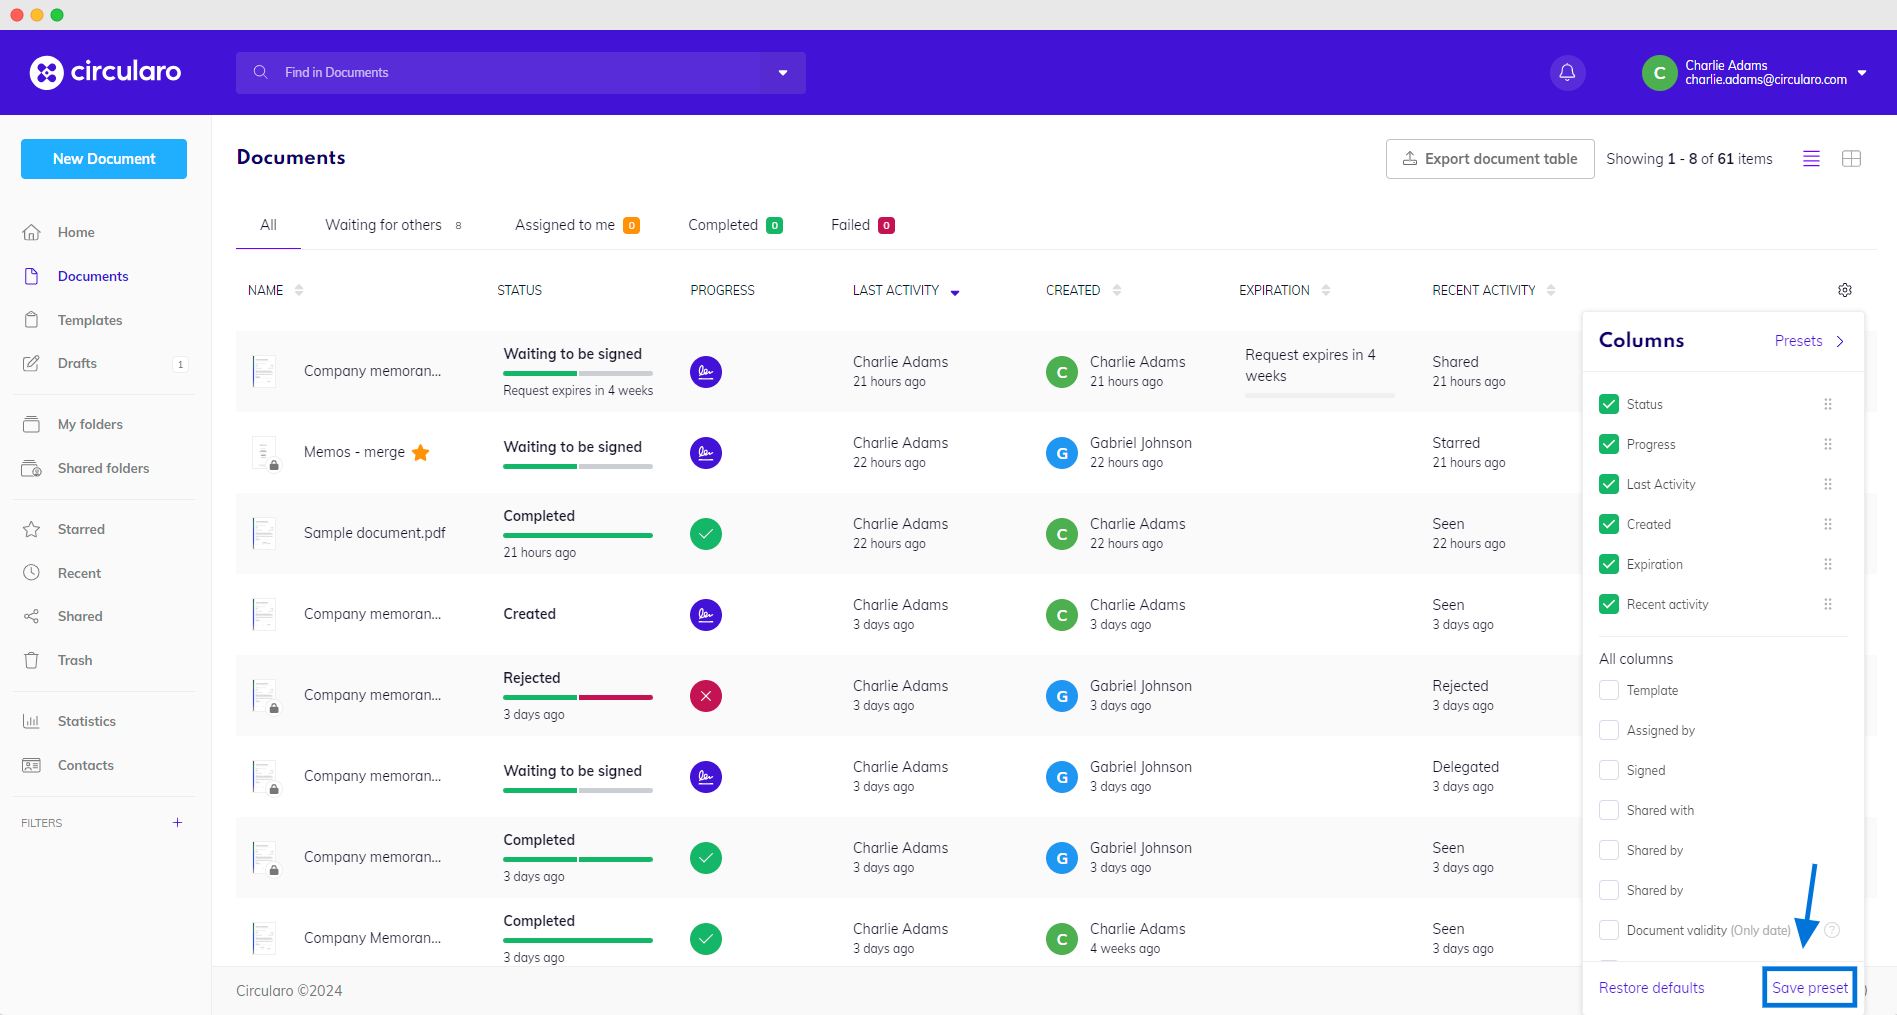
Save preset
Select a name for the setting and save it.
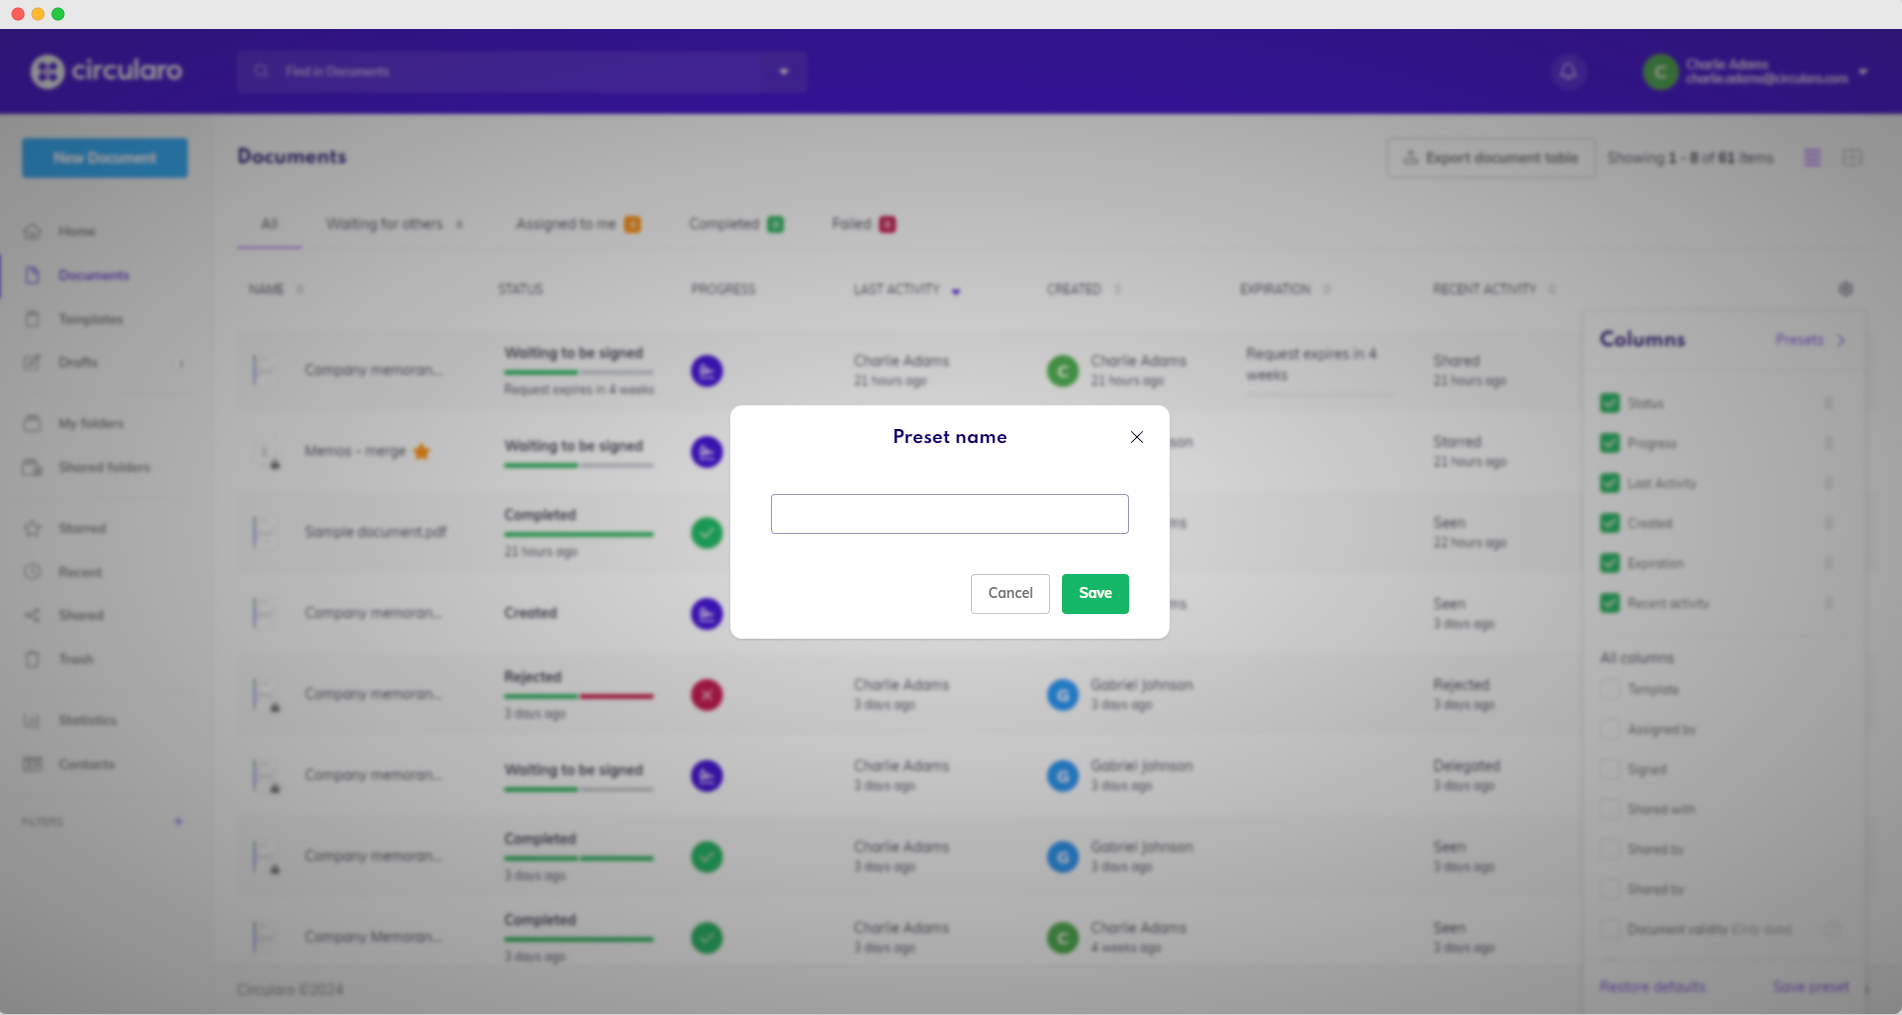
Name a preset
You will then be able to find it under a button Presets in the top right corner of the columns settings.

Presets
You can apply a preset to different document pages as well. They include My folders, Shared folders, Starred, Recent, and Shared. On the page click on the column settings icon, go into saved Presets and choose the preset you want to apply for the page.
When you open the column settings, at the bottom is the option to Restore defaults which will restore both default columns and their widths.
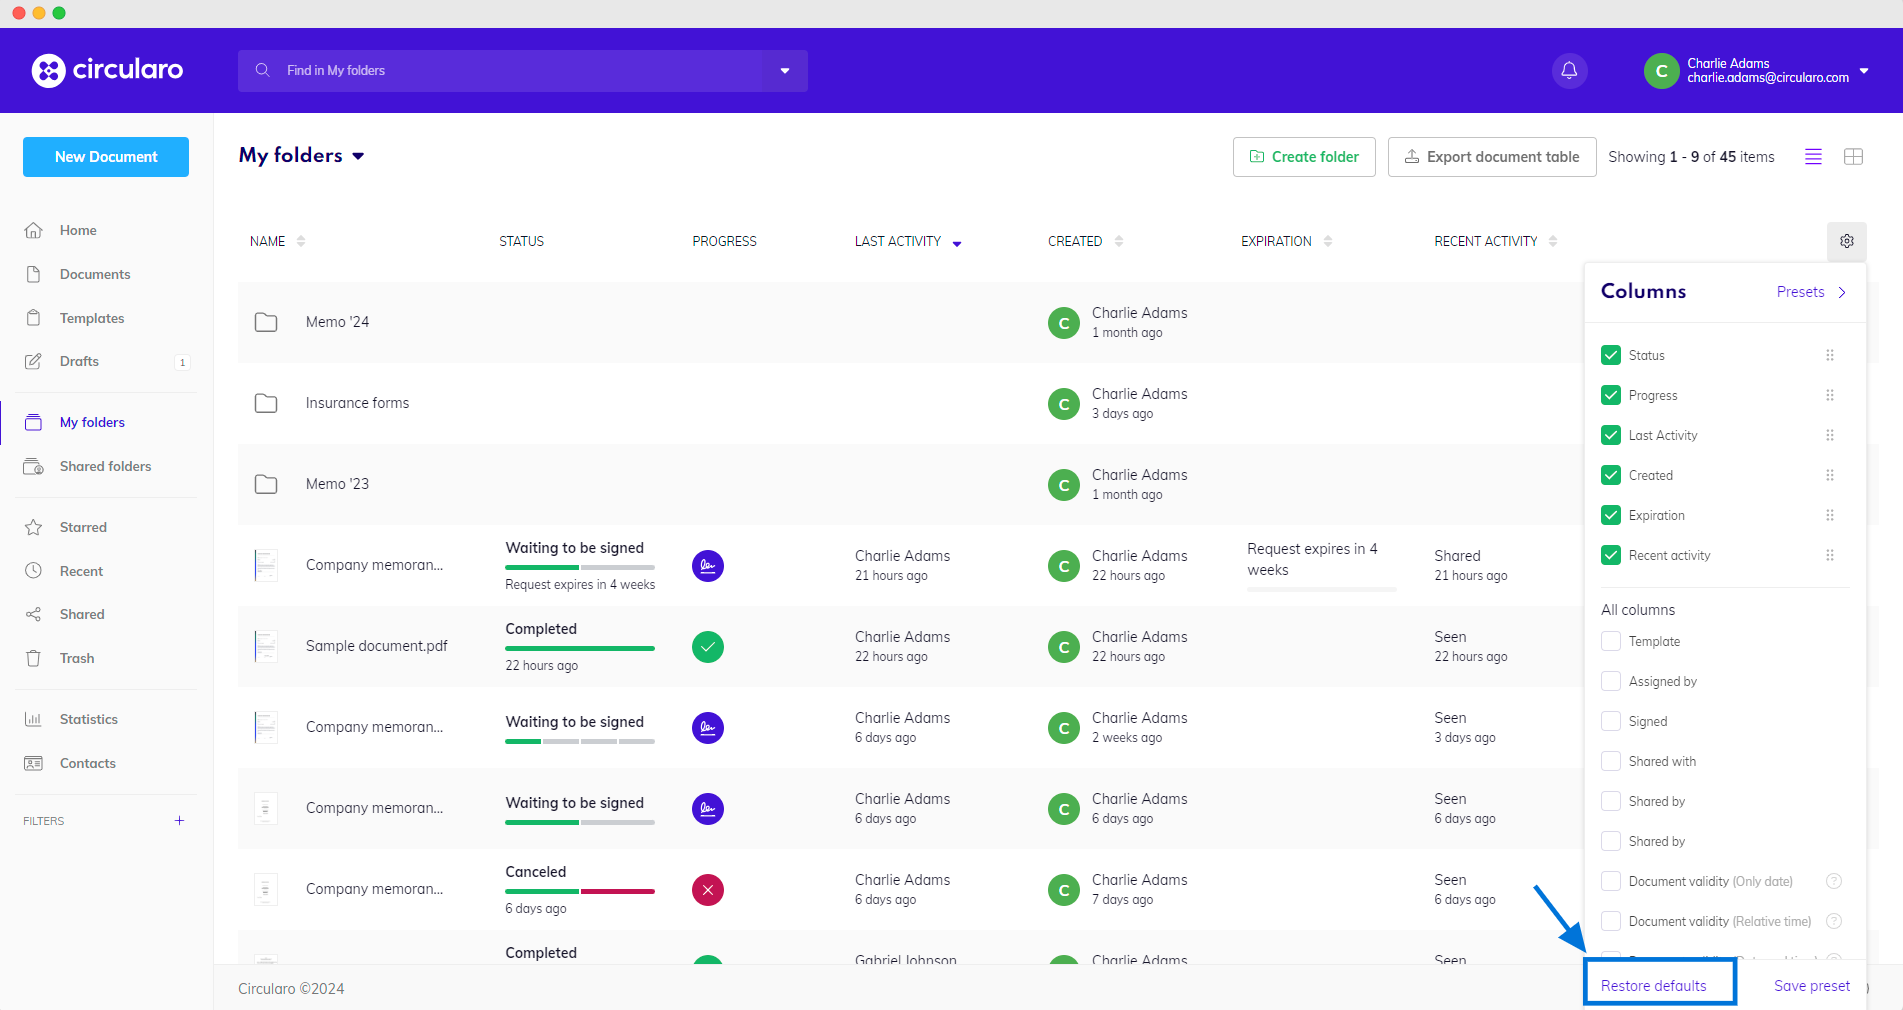
Restore defaults
If you need to adjust the width of a column, you can hover your mouse near the column name and click and drag the divider to the side.
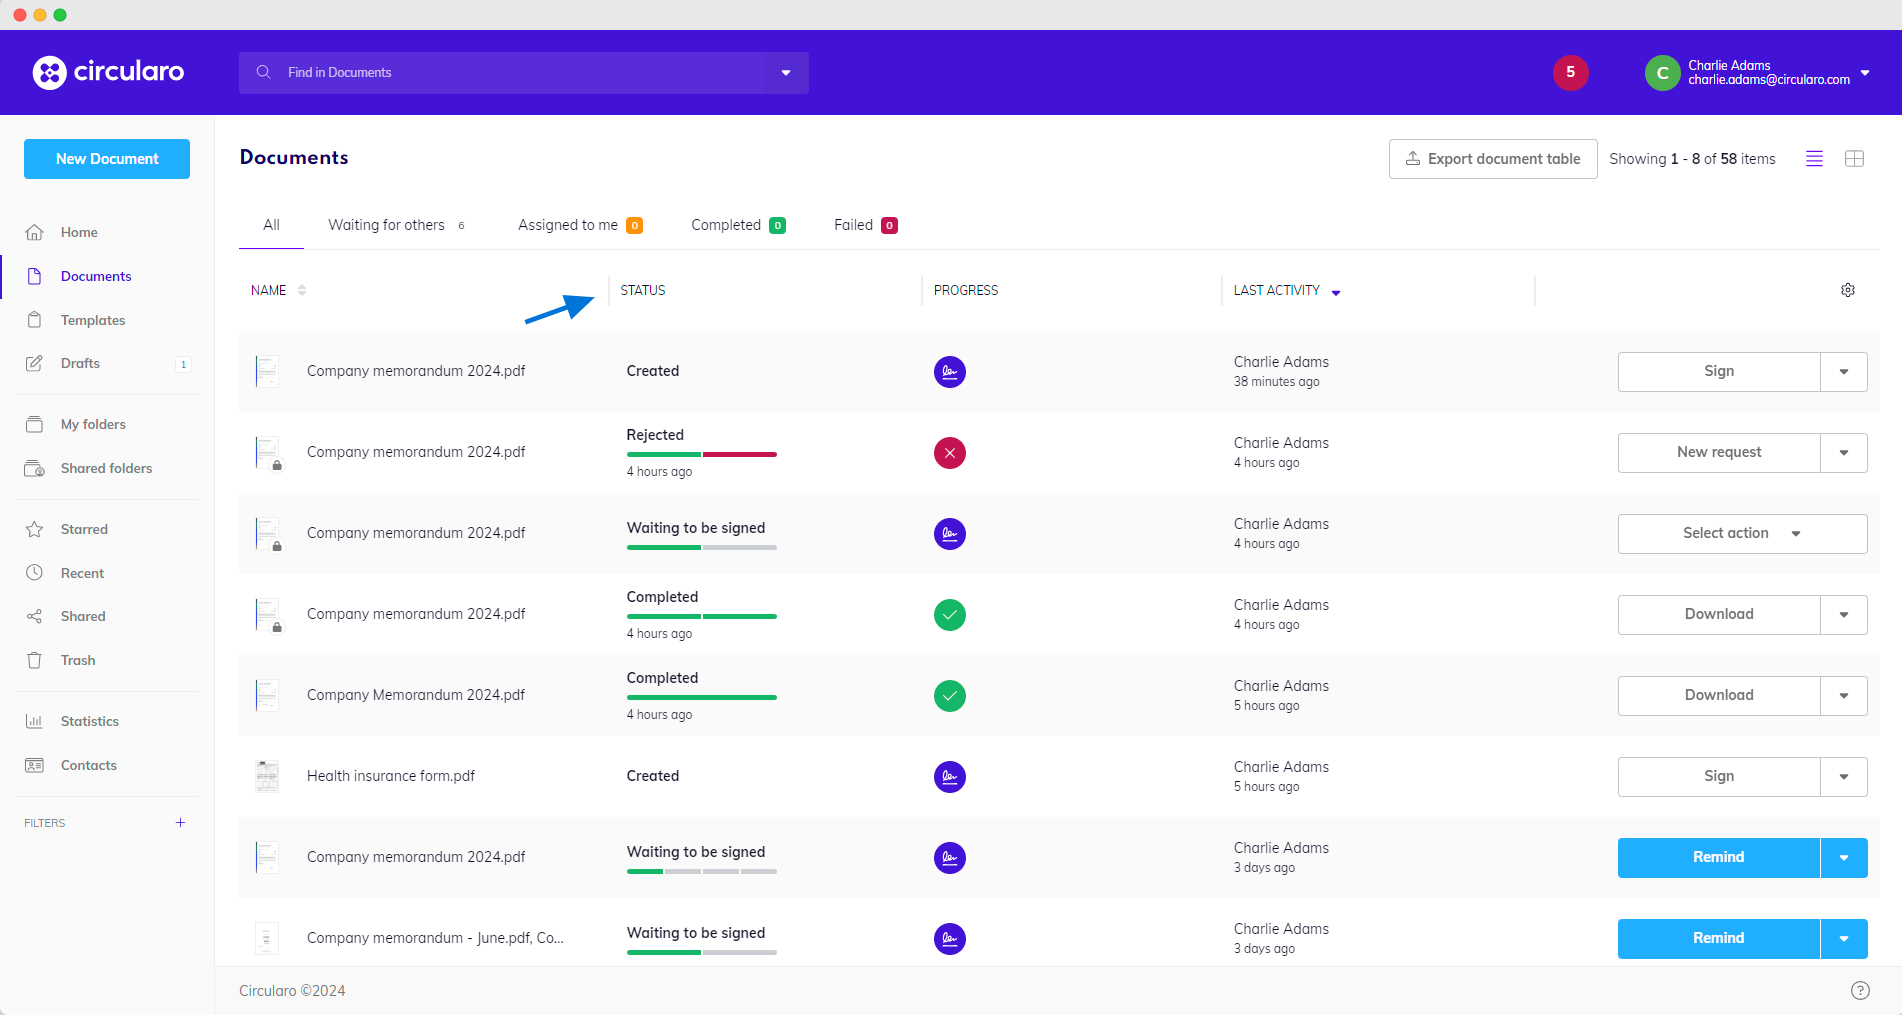
Column borders
Sorting documents based on columns
Most columns have the option to sort your documents based on the criteria the column is showing. Next to the column name you will see a symbol for sorting, either in ascending or descending order. For columns like Signed ascending means unsigned documents will be at the top and descending means signed document will be at the top.
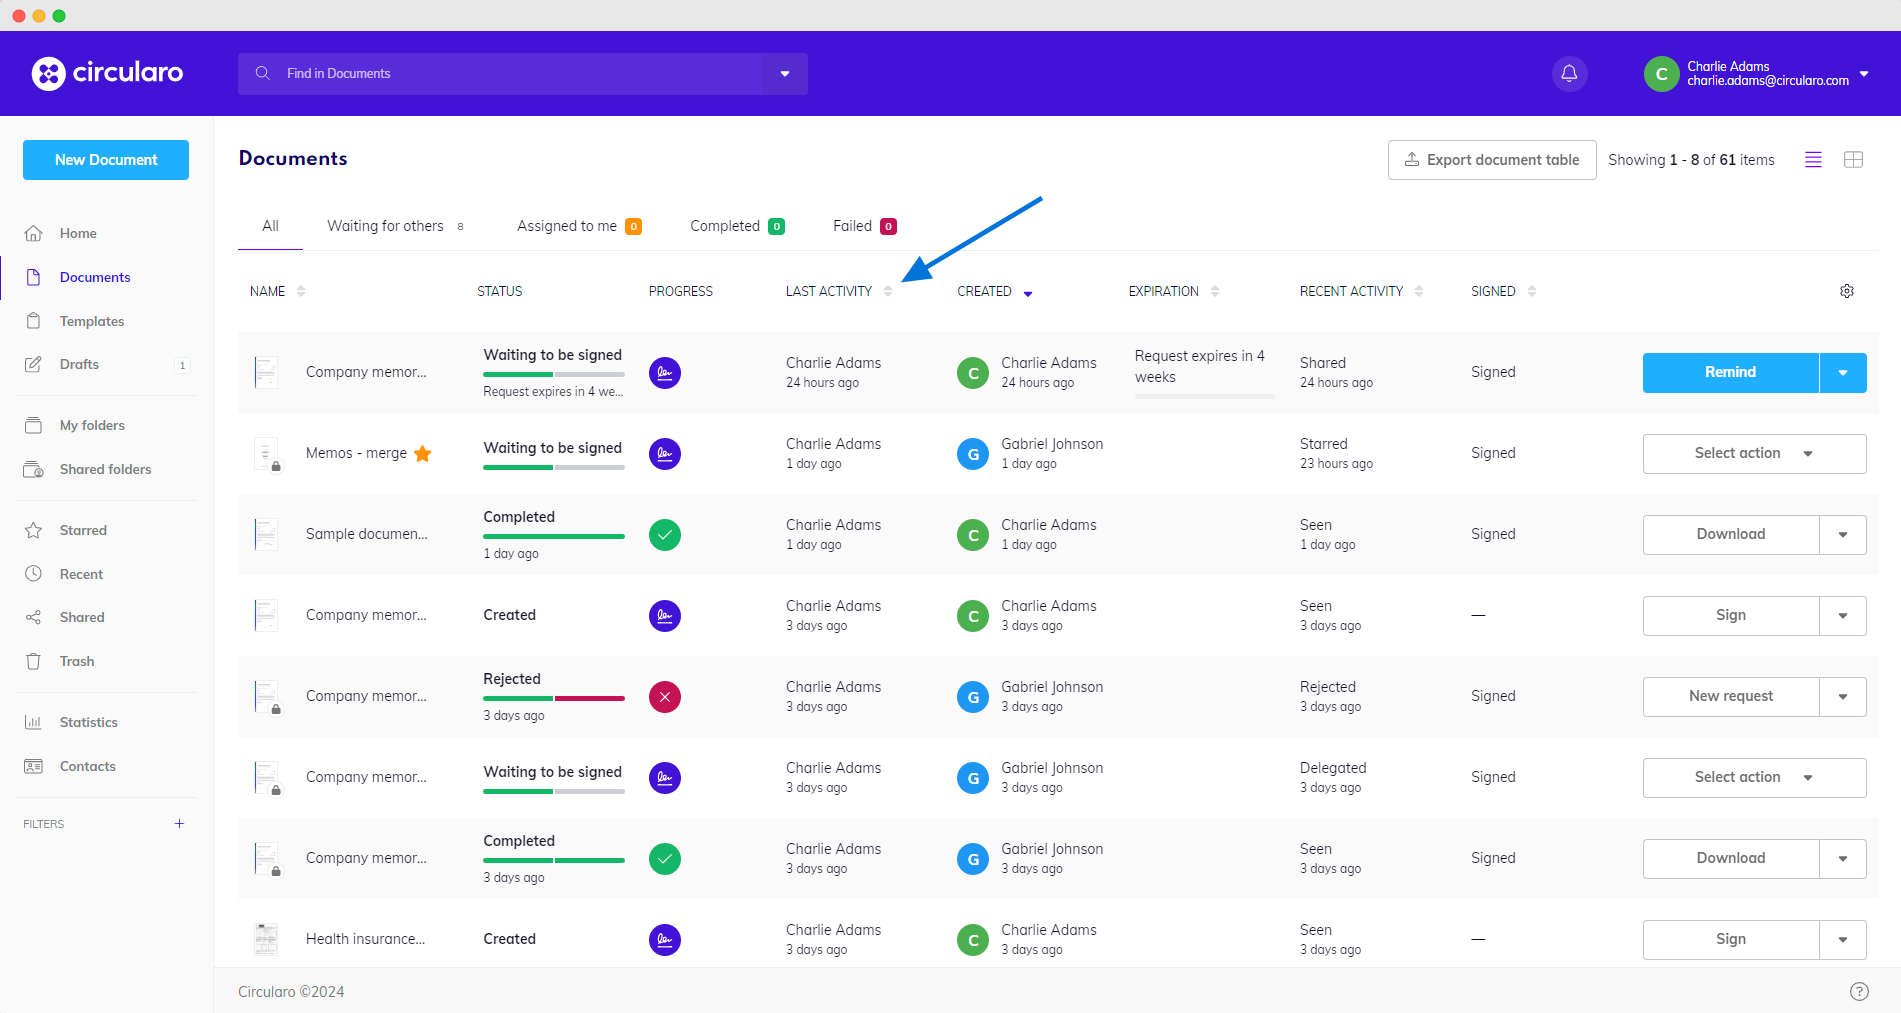
Sorting documents
