How to: Qualified Timestamps
This page shows a guide on adding a Qualified Timestamp to your document. The advantages of Qualified Timestamps and more information about what we offer are detailed in the linked articles.
Using a Qualified Timestamp
When you are preparing a document, and timestamps are enabled for you, you will see a new section “Signature options” in the left hand side panel - right below the recipients and above the actual fields.
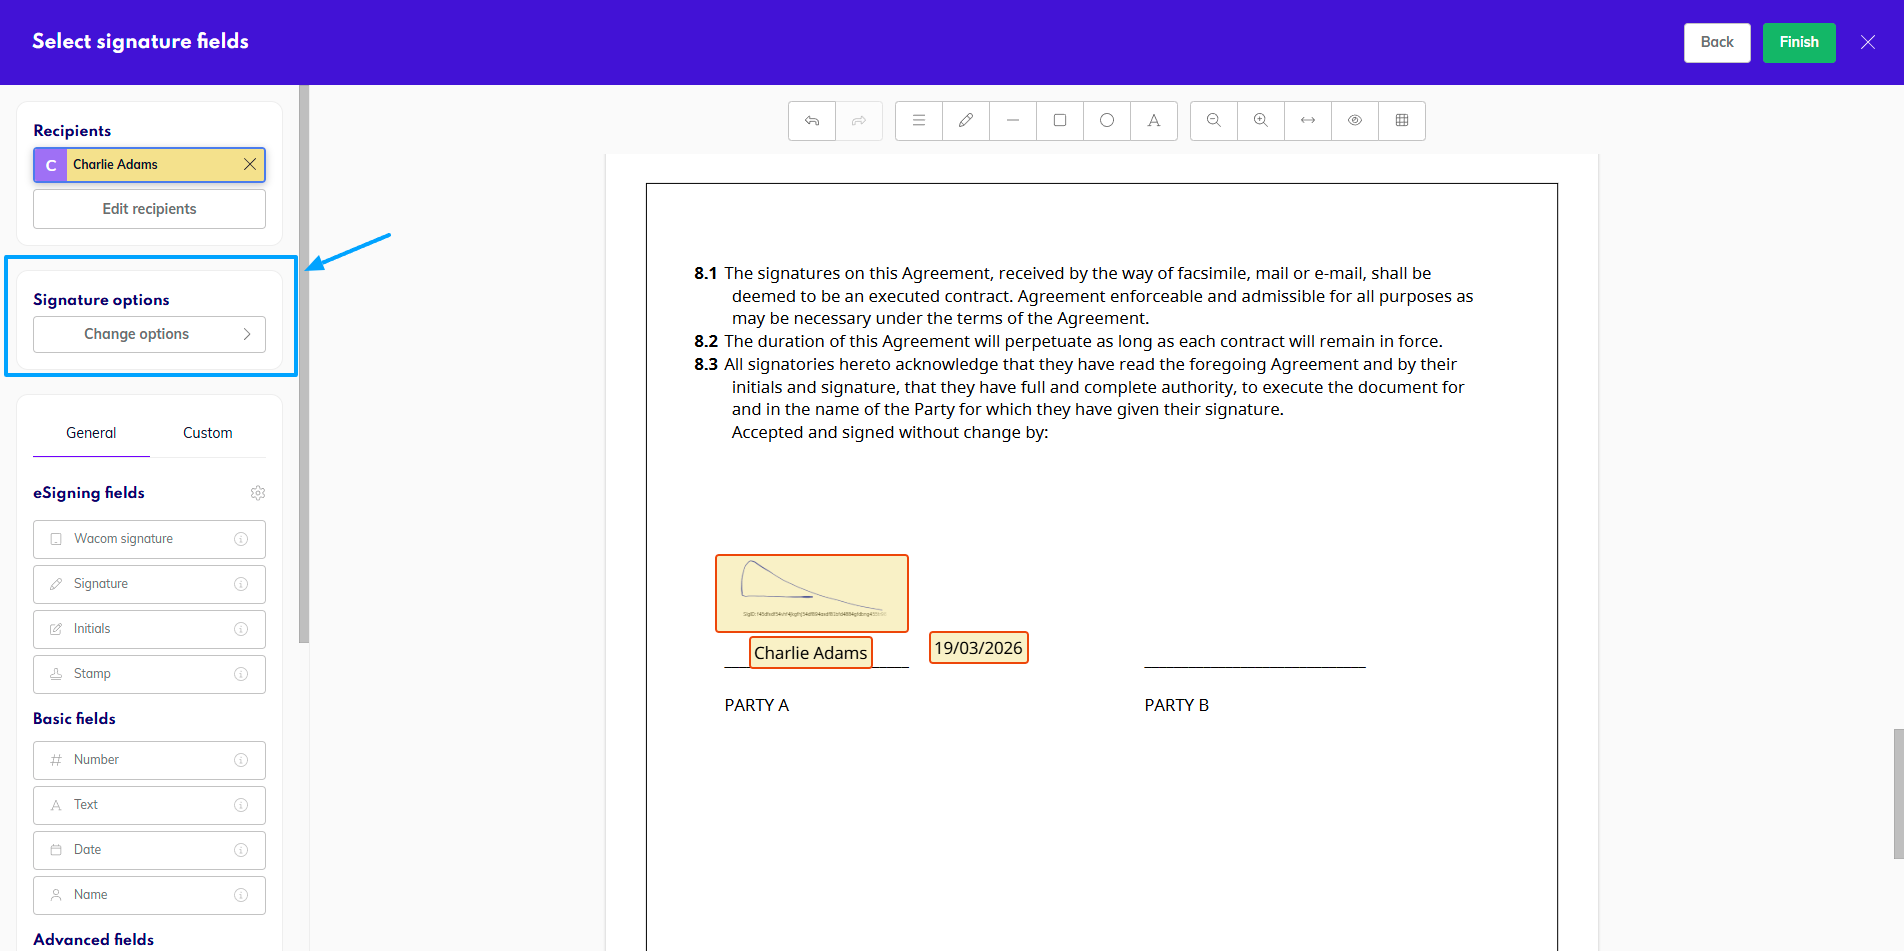
Signature options
To apply a stamp to the document, click on Change options.
A new modal window will open, where you tick the timestamp and click Apply.
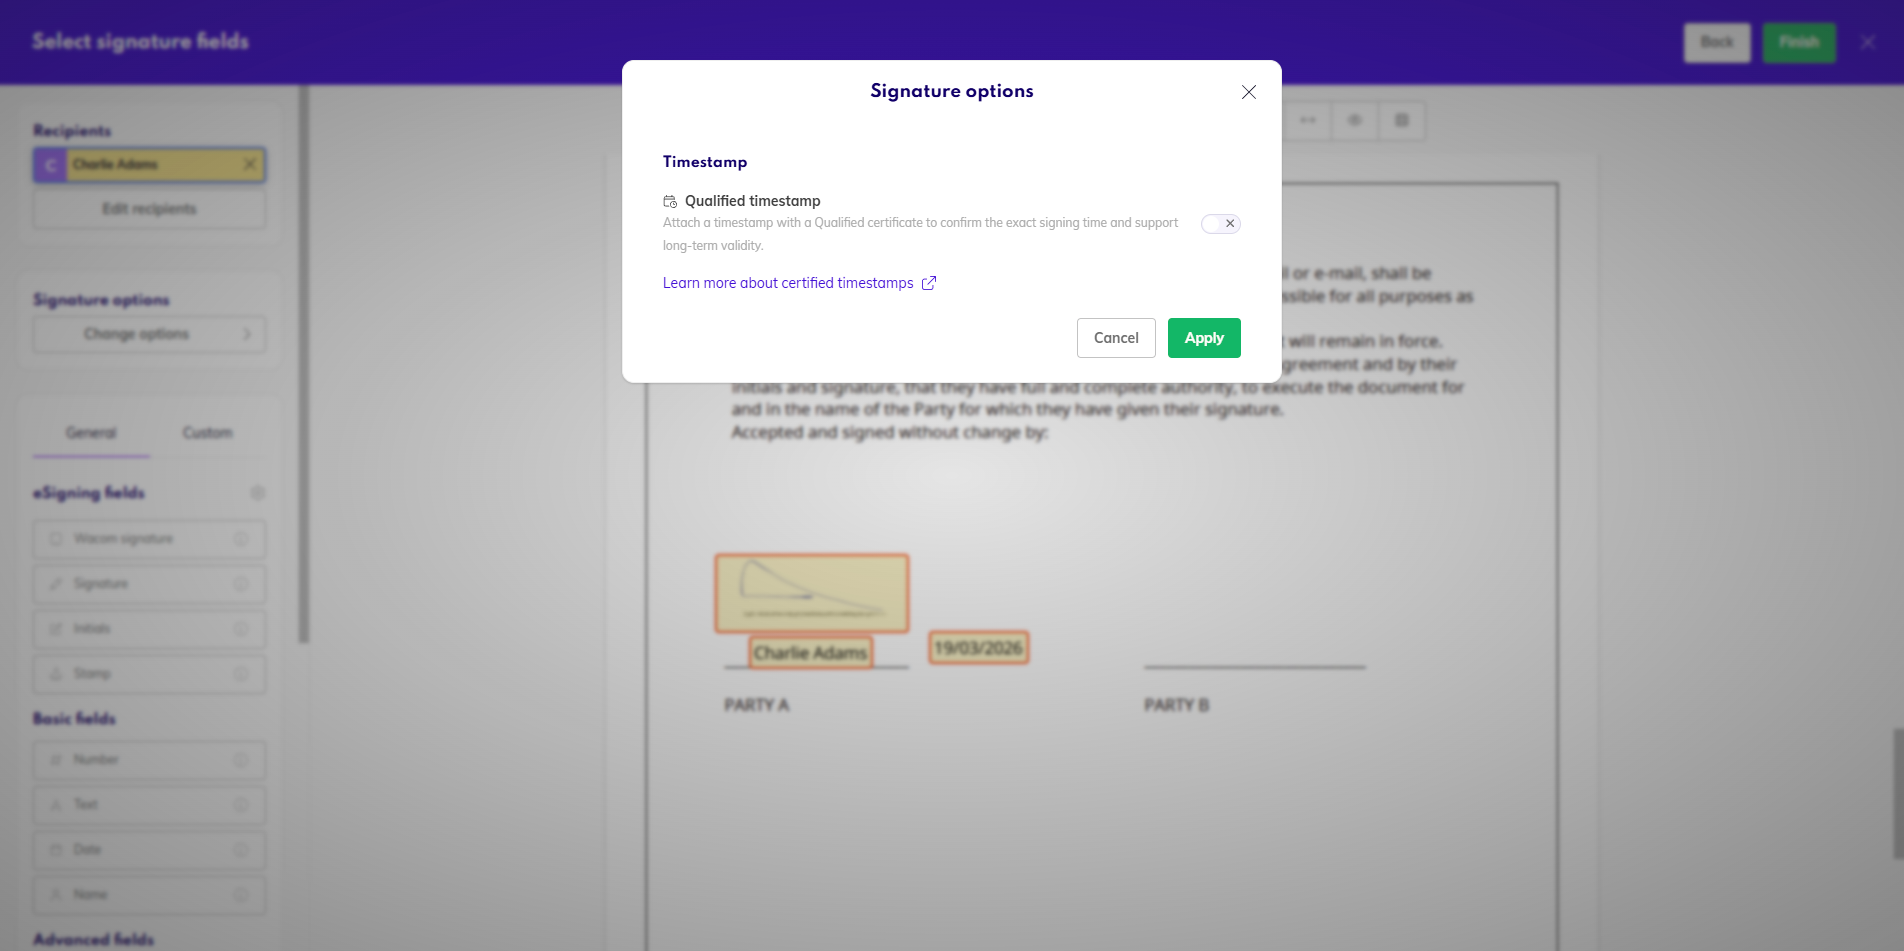
Select Qualified timestamp
The panel on the left side will now show that the timestamp will be added to the document.
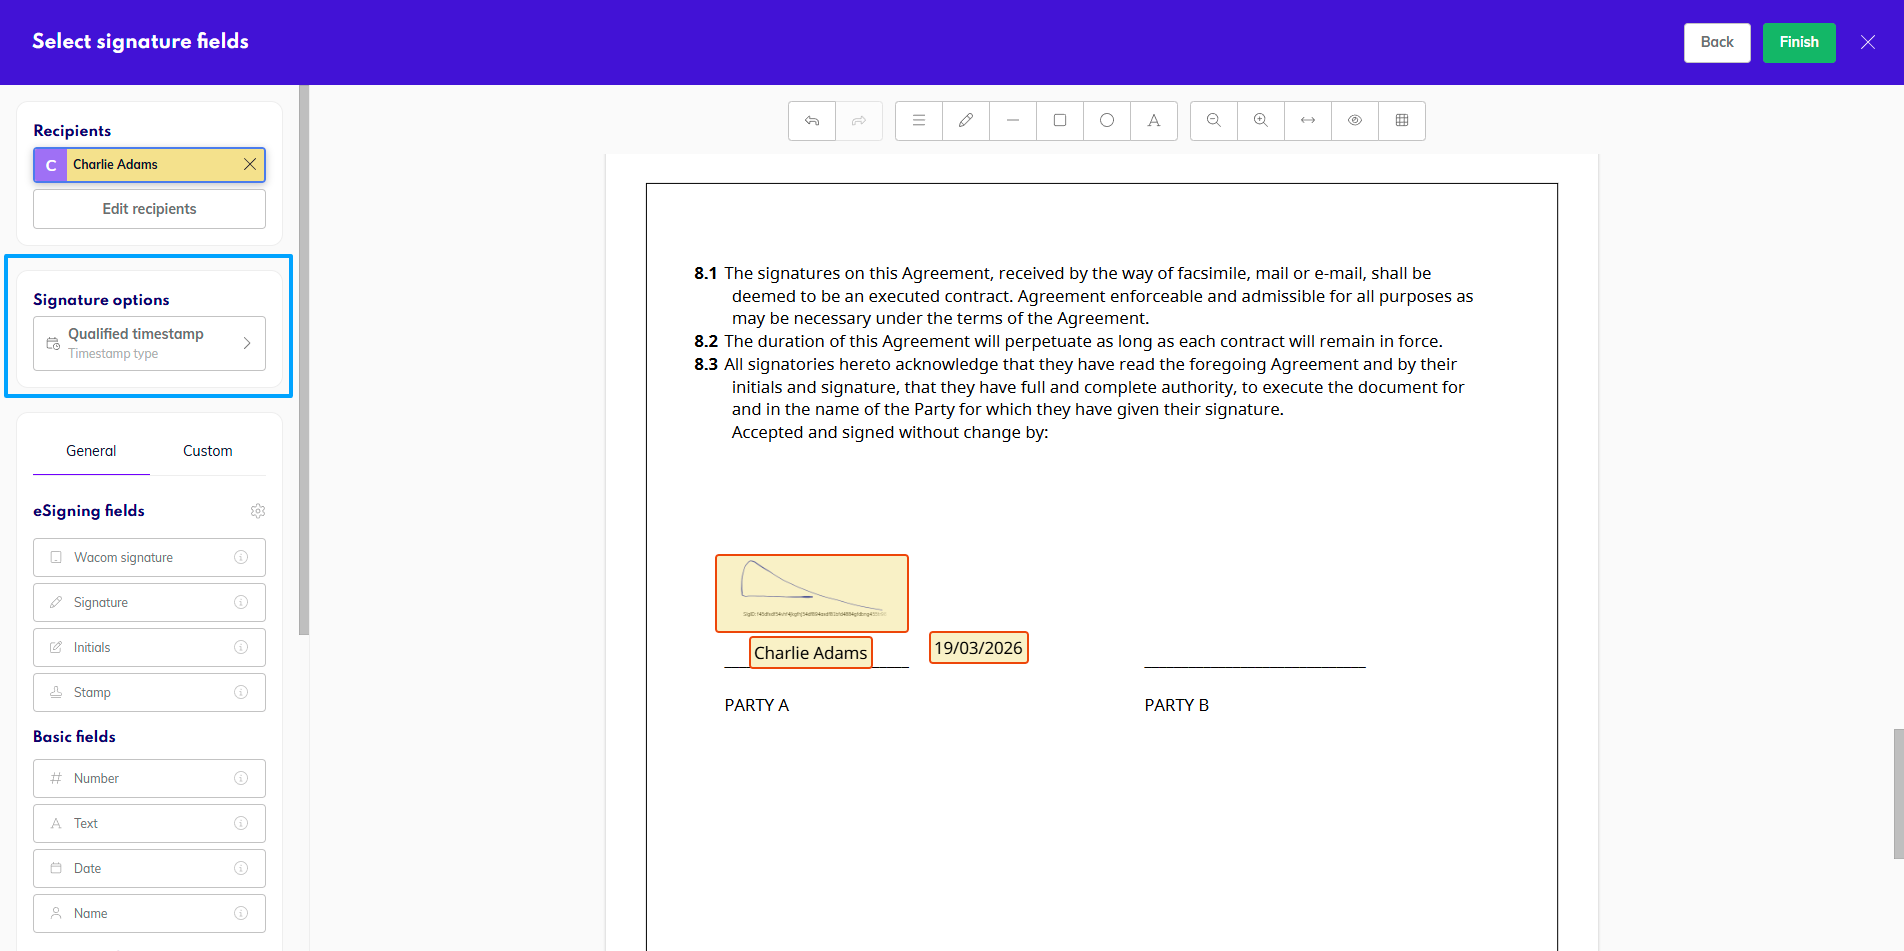
Qualified timestamp used
This timestamp does not leave a visual representation on the document itself, so you can keep going with your document preparation as needed.
Once the document is signed, as mentioned, the timestamp does not leave a visual mark, so do not be alarmed by not seeing it.
If you want to check that the timestamp has been added, you can open the document in a PDF reader of your choice, which will validate all signatures and certificates. Below is an example of what a valid Qualified Timestamp looks like in the signature panel.
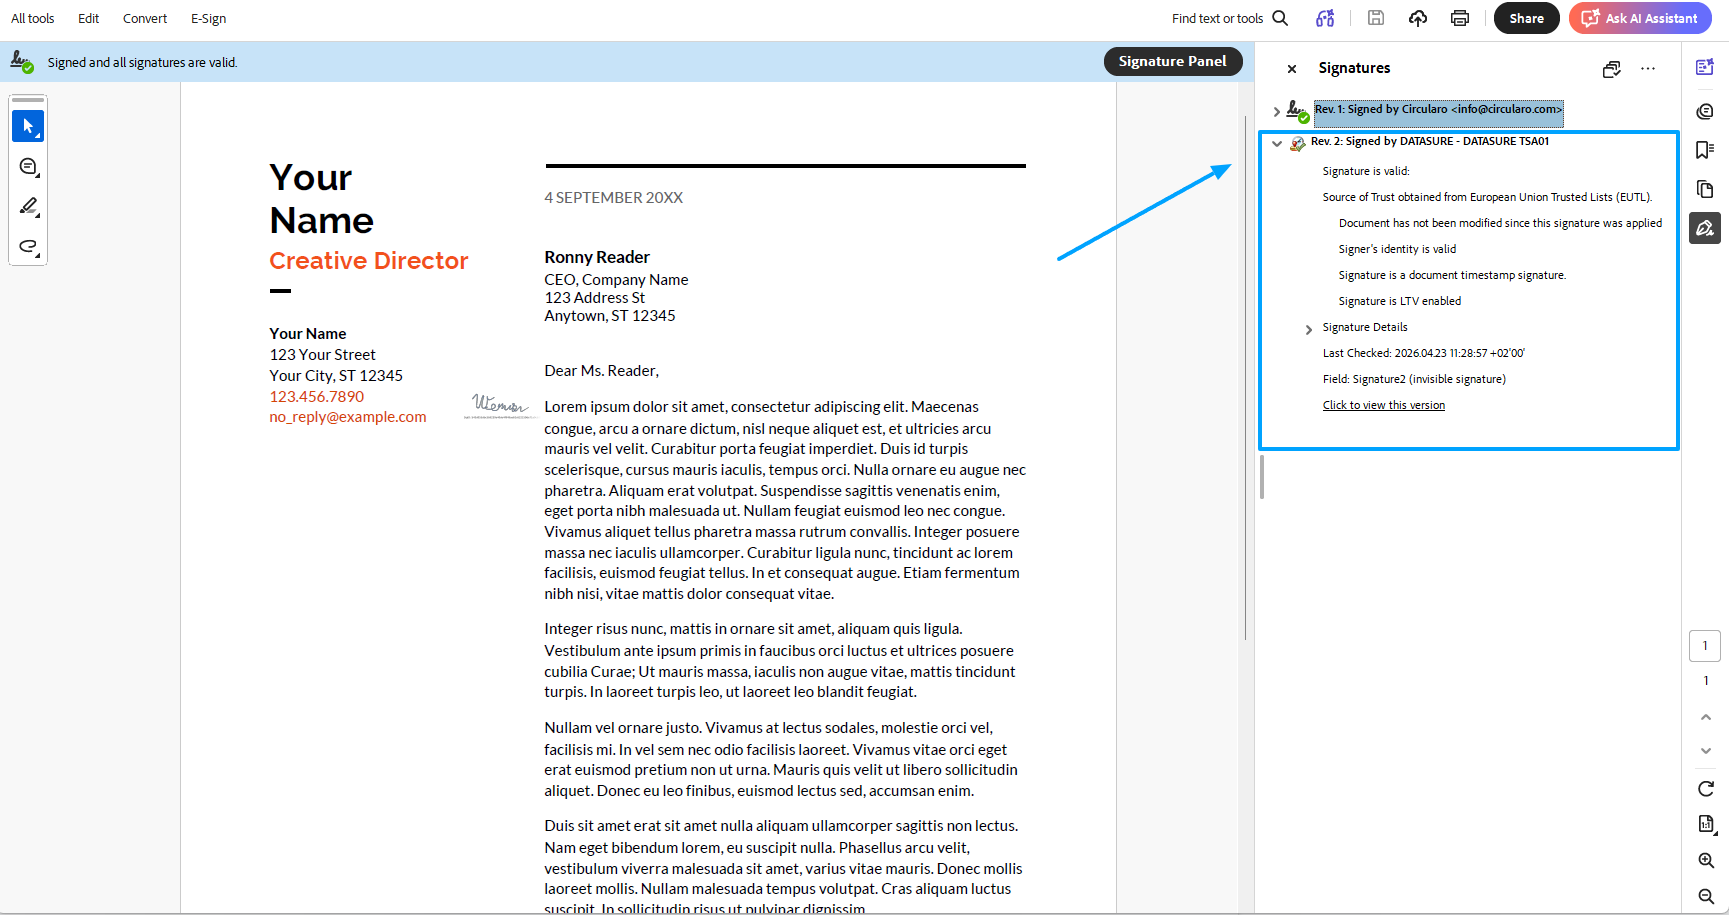
Valid Qualified Timestamp in signature panel
It will show you all the relevant details of the certificated used to seal the timestamp. If there are any issues with it, the information would also be shown here.