Managing Templates
All of your templates can be found in the Templates section of the menu, where you can group and organize them into different categories for better navigation.
Right-click on a template to access a contextual menu with available actions.
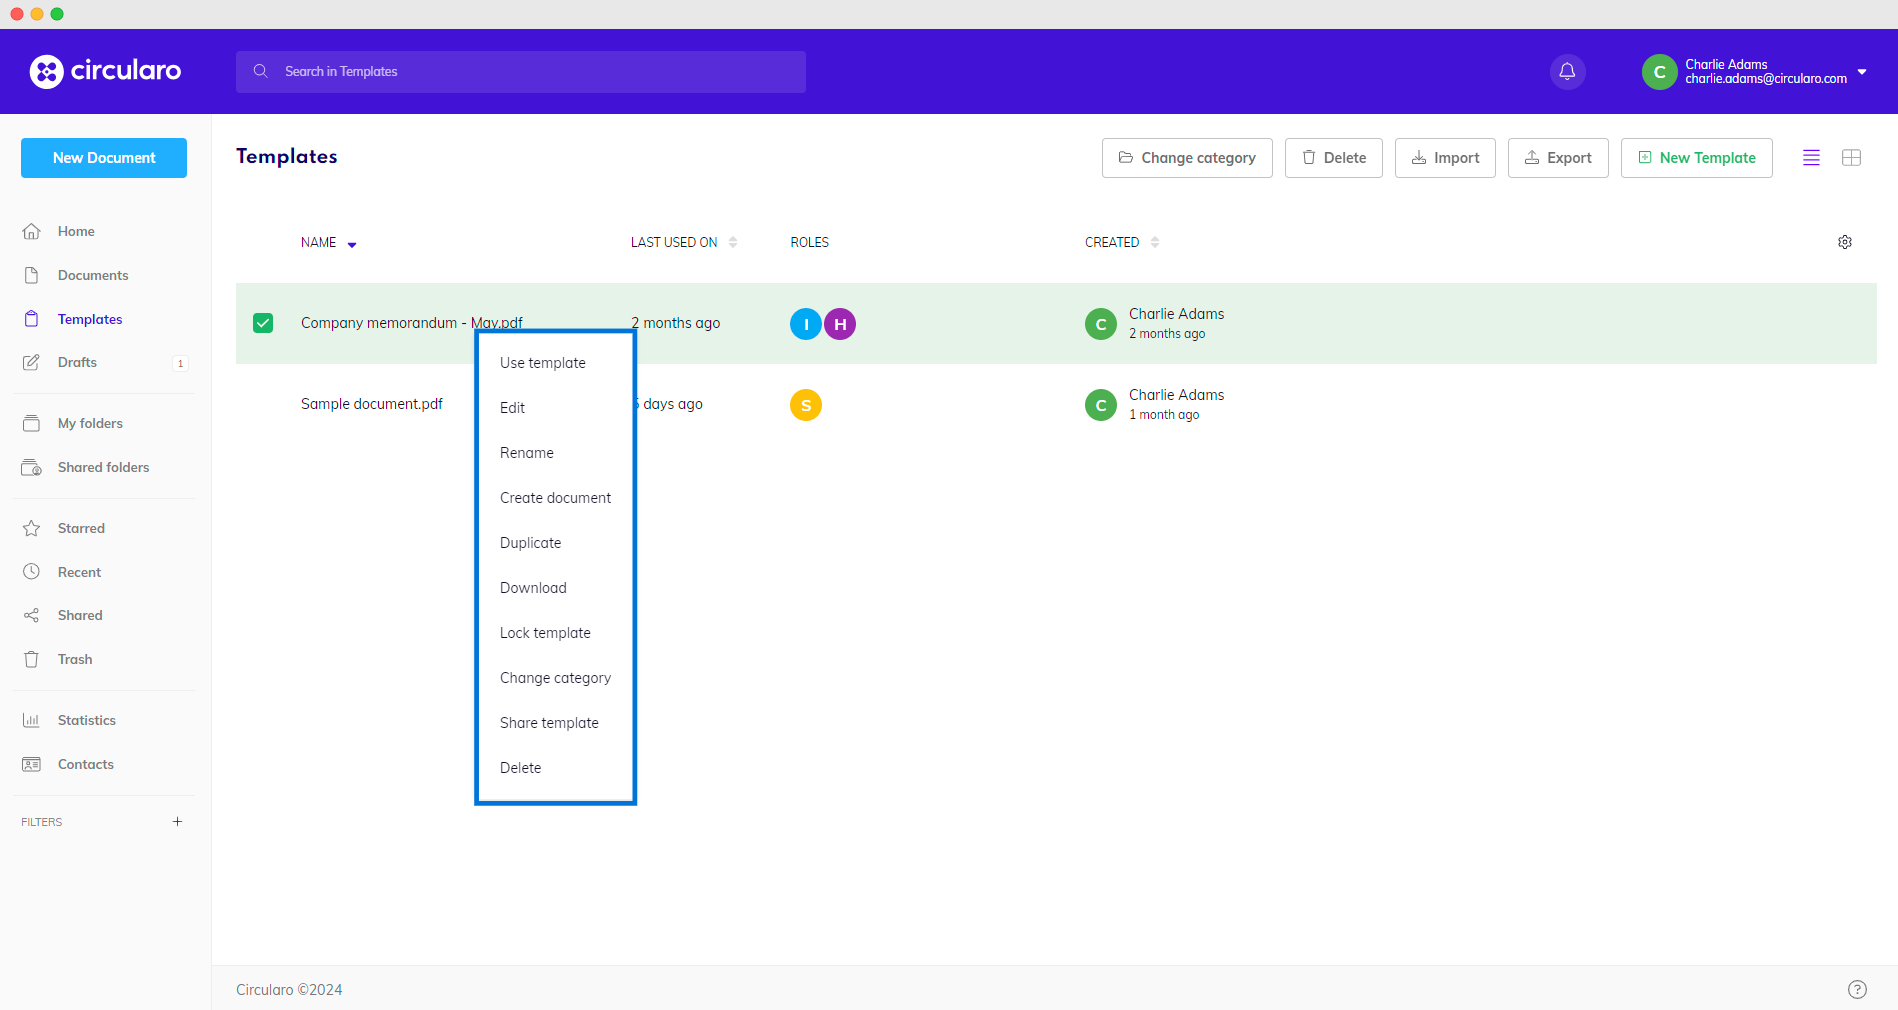
Template actions
You have the option to switch between Grid View and Table View when browsing through your templates.
In Grid View, you will get a quick thumbnail overview of all templates while Table View shows you the type of roles/signatories and other participants of the eSigning workflow, both internal and external.
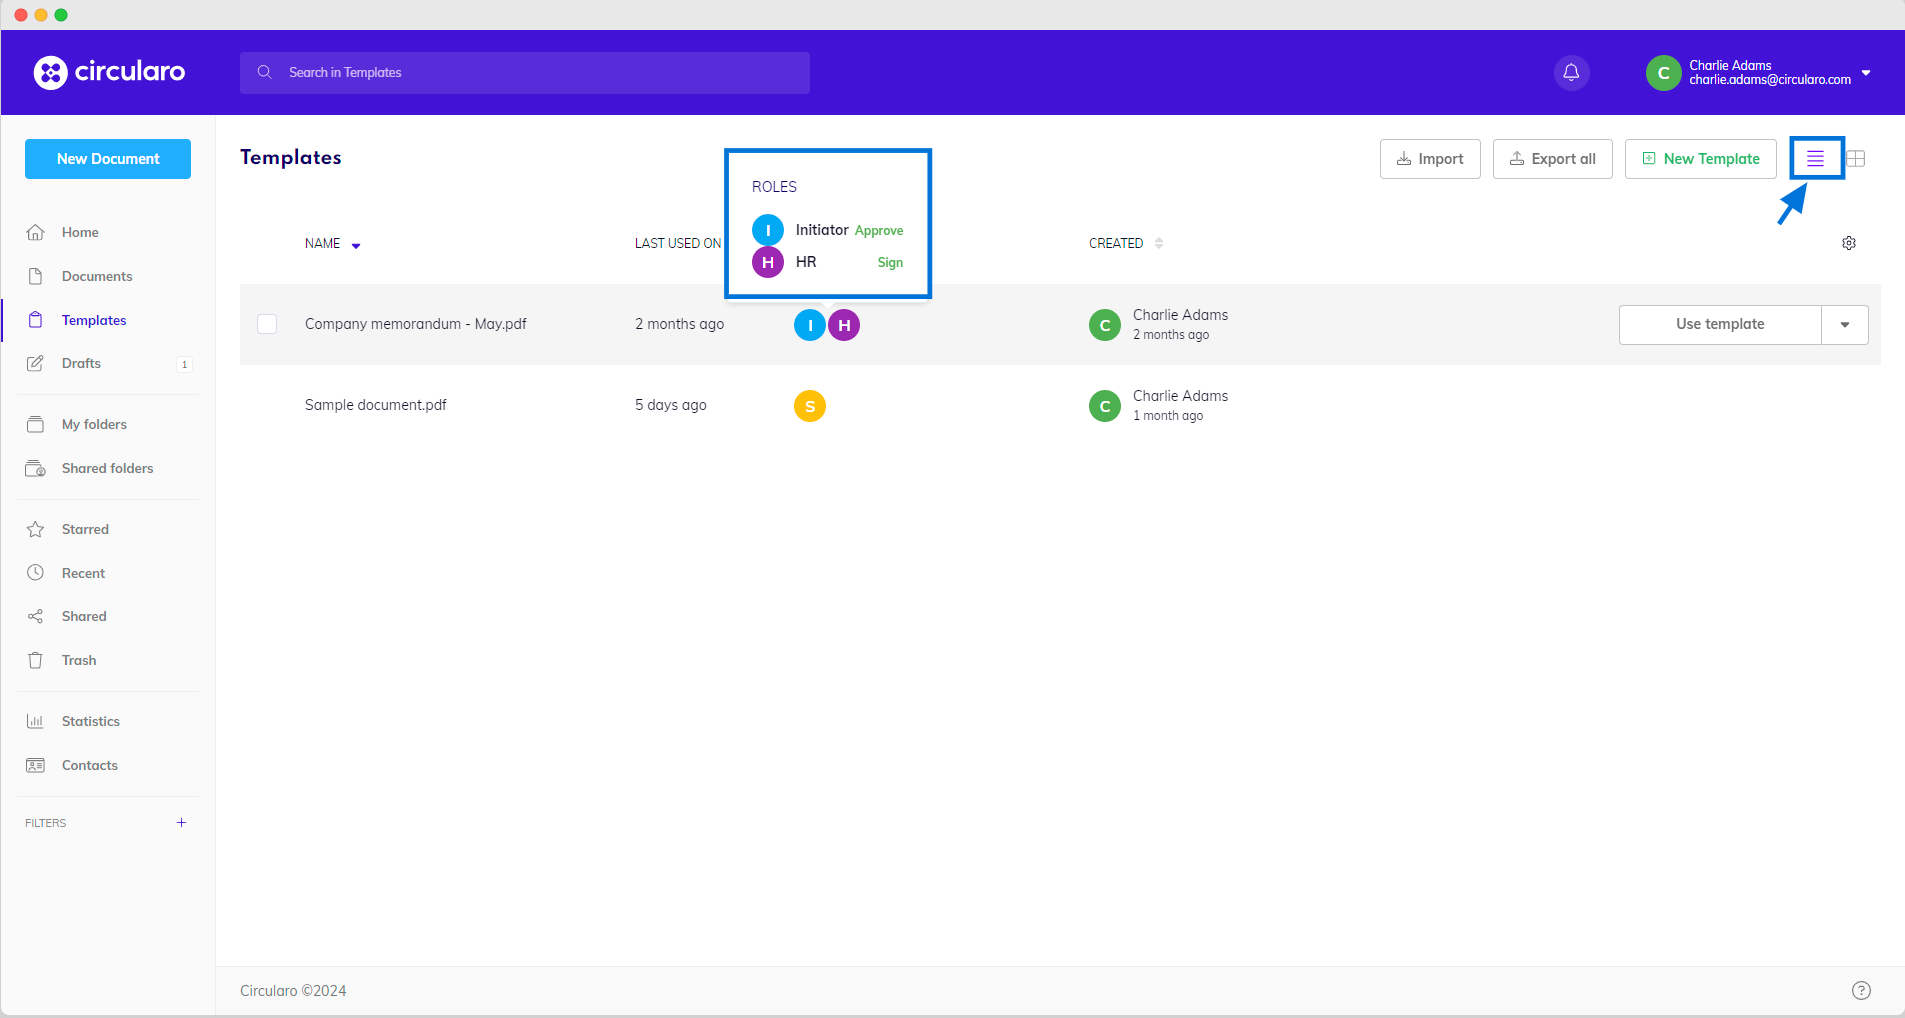
Template roles
Preview Templates
By clicking on a template, the template preview screen will appear. There you can view the content of the template and select actions from the dropdown menu.
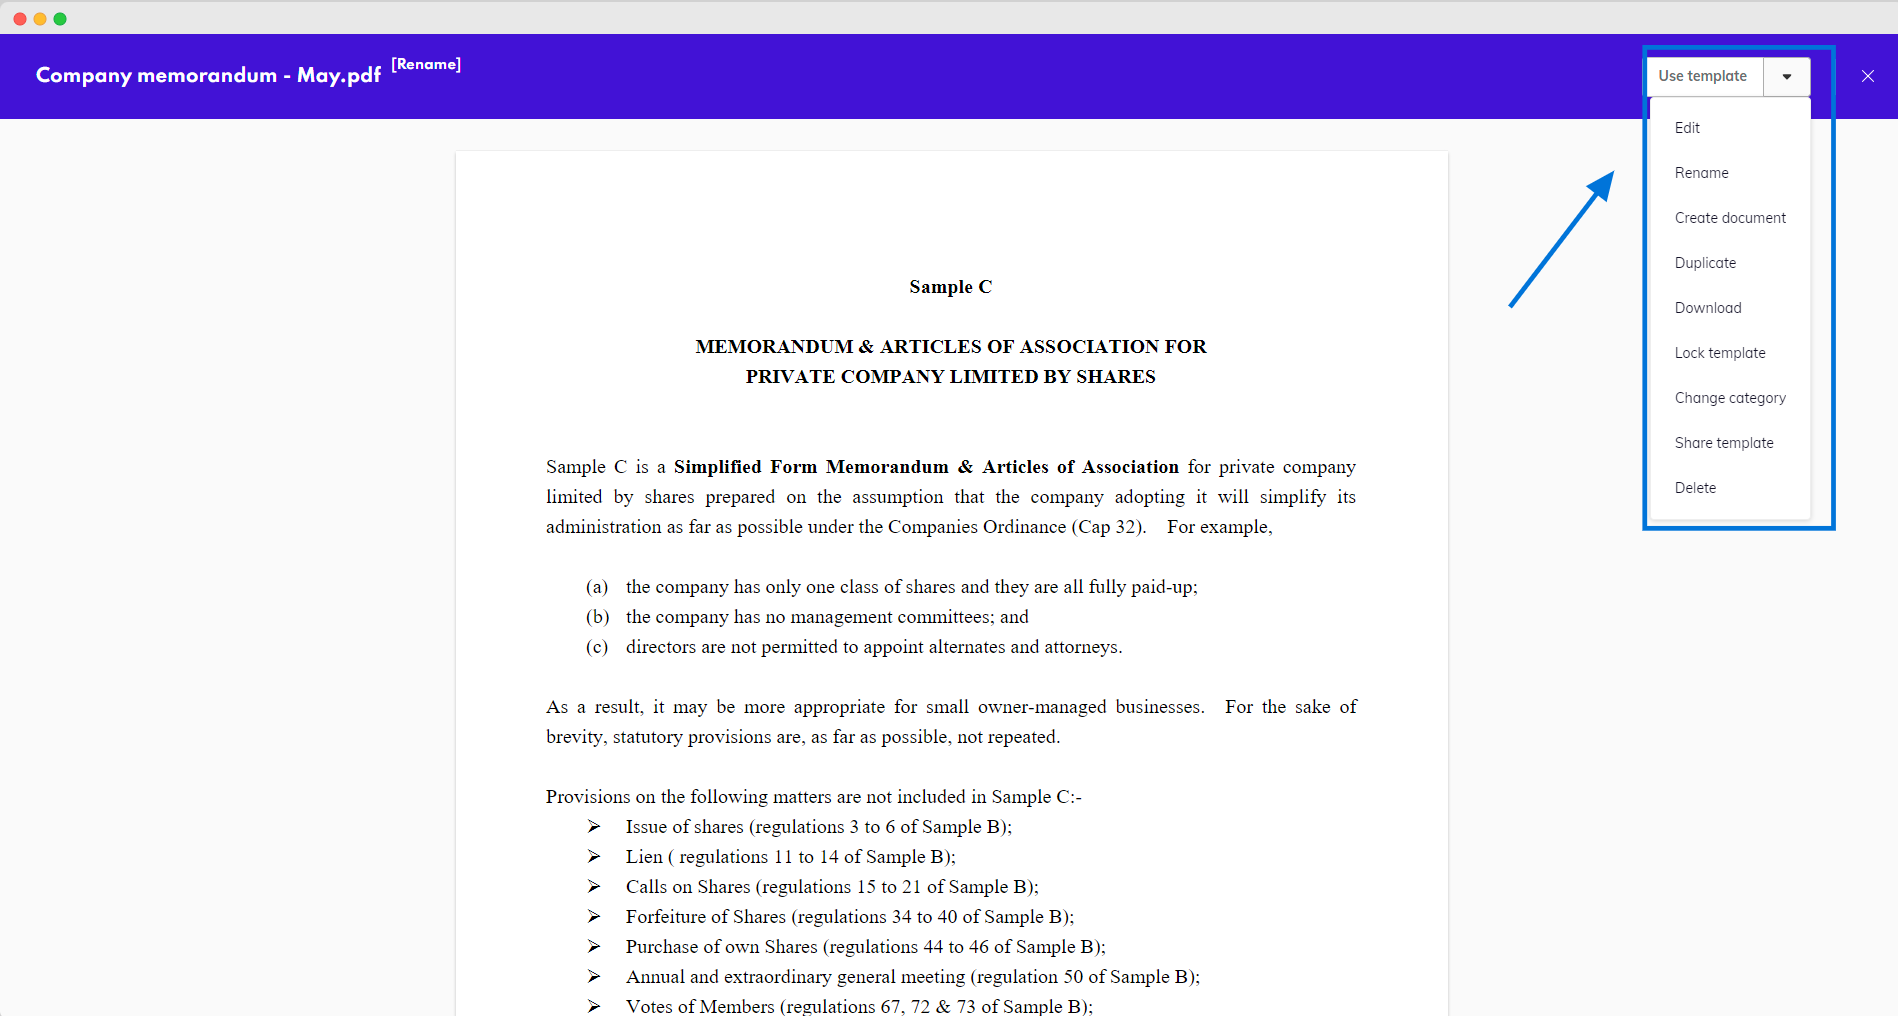
Template preview
Available Actions
Use template
Starts the process of using a template by asking if you want to use the template document or upload a file.
Add fields
This action is only available for templates that do not contain any recipients or fields yet. Select this action if you want to add recipients, roles, and fields to the template.
Sign in bulk
Use the template to send multiple signature requests at once. This is only available for single-role templates.
We have a section on bulk signing.
Edit template
Easily make any modifications necessary for an existing template (workflow participants, names and roles of signatories, signature and other fillable field placeholders, what’s mandatory or optional, etc.).
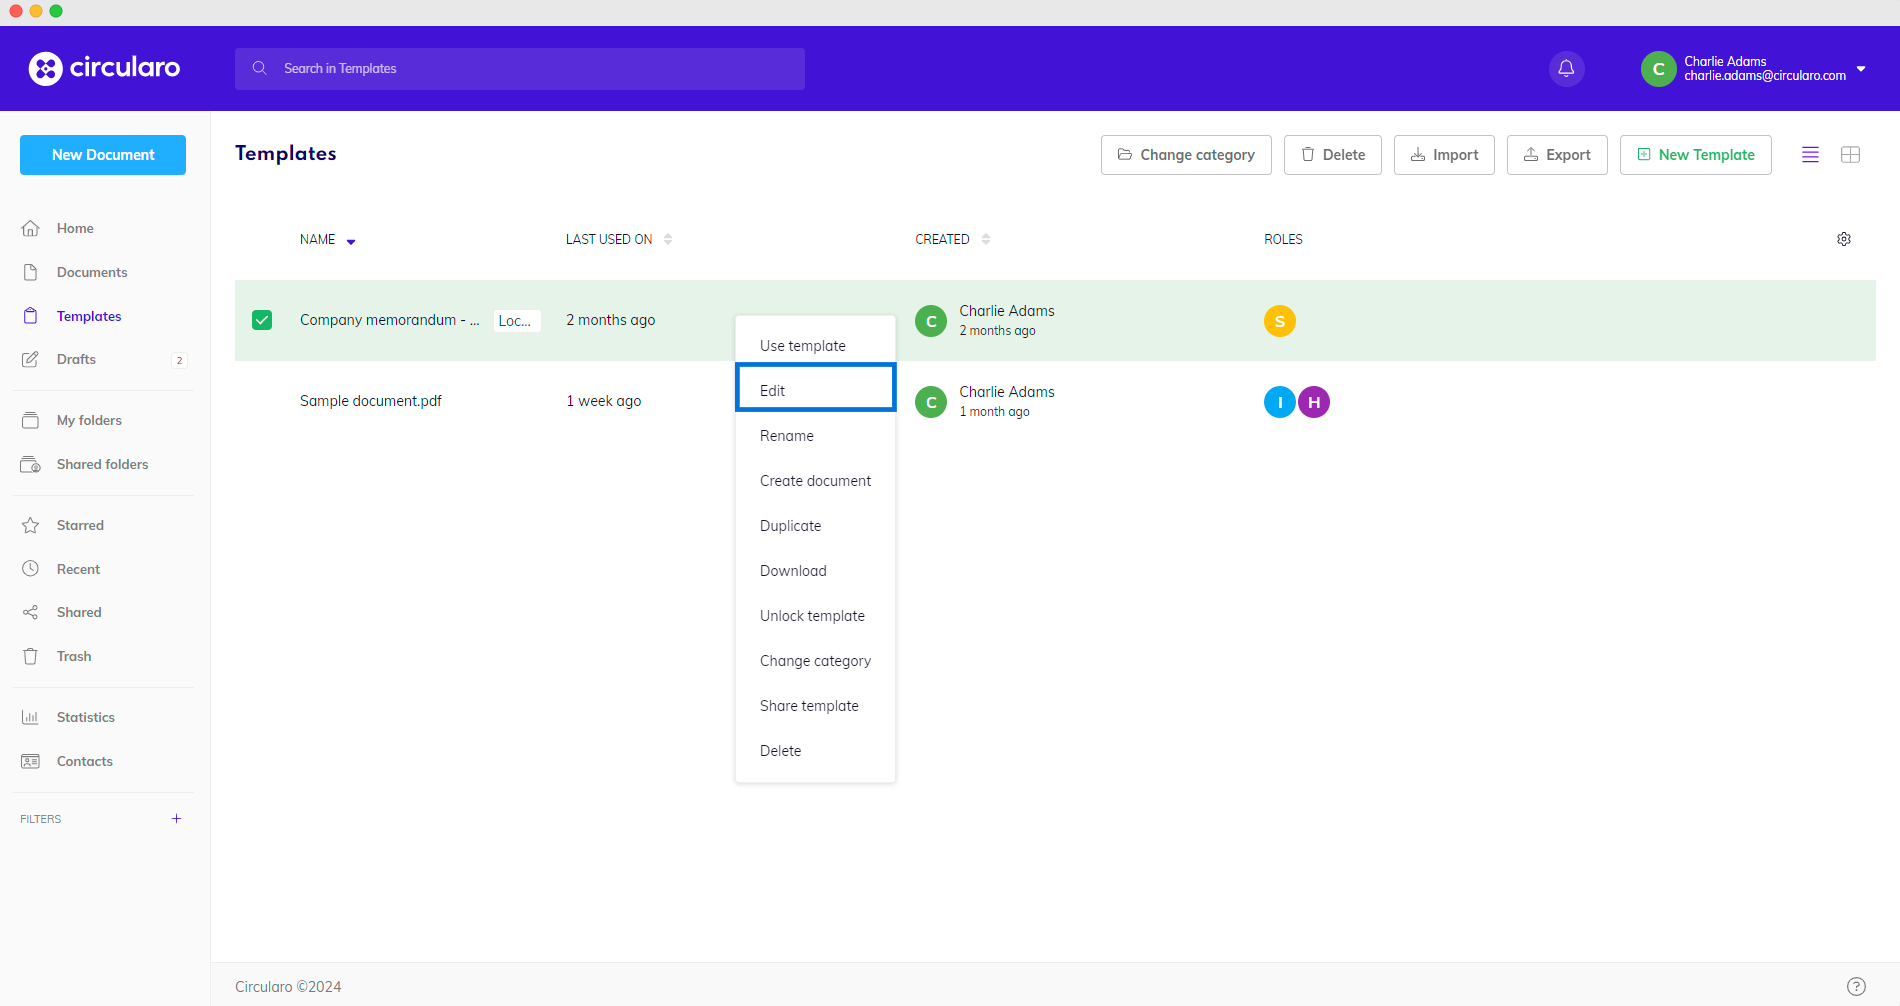
Edit template
Right-click the template you need to change and select Edit.
You will then be able to edit all important settings as if you were creating a new template.
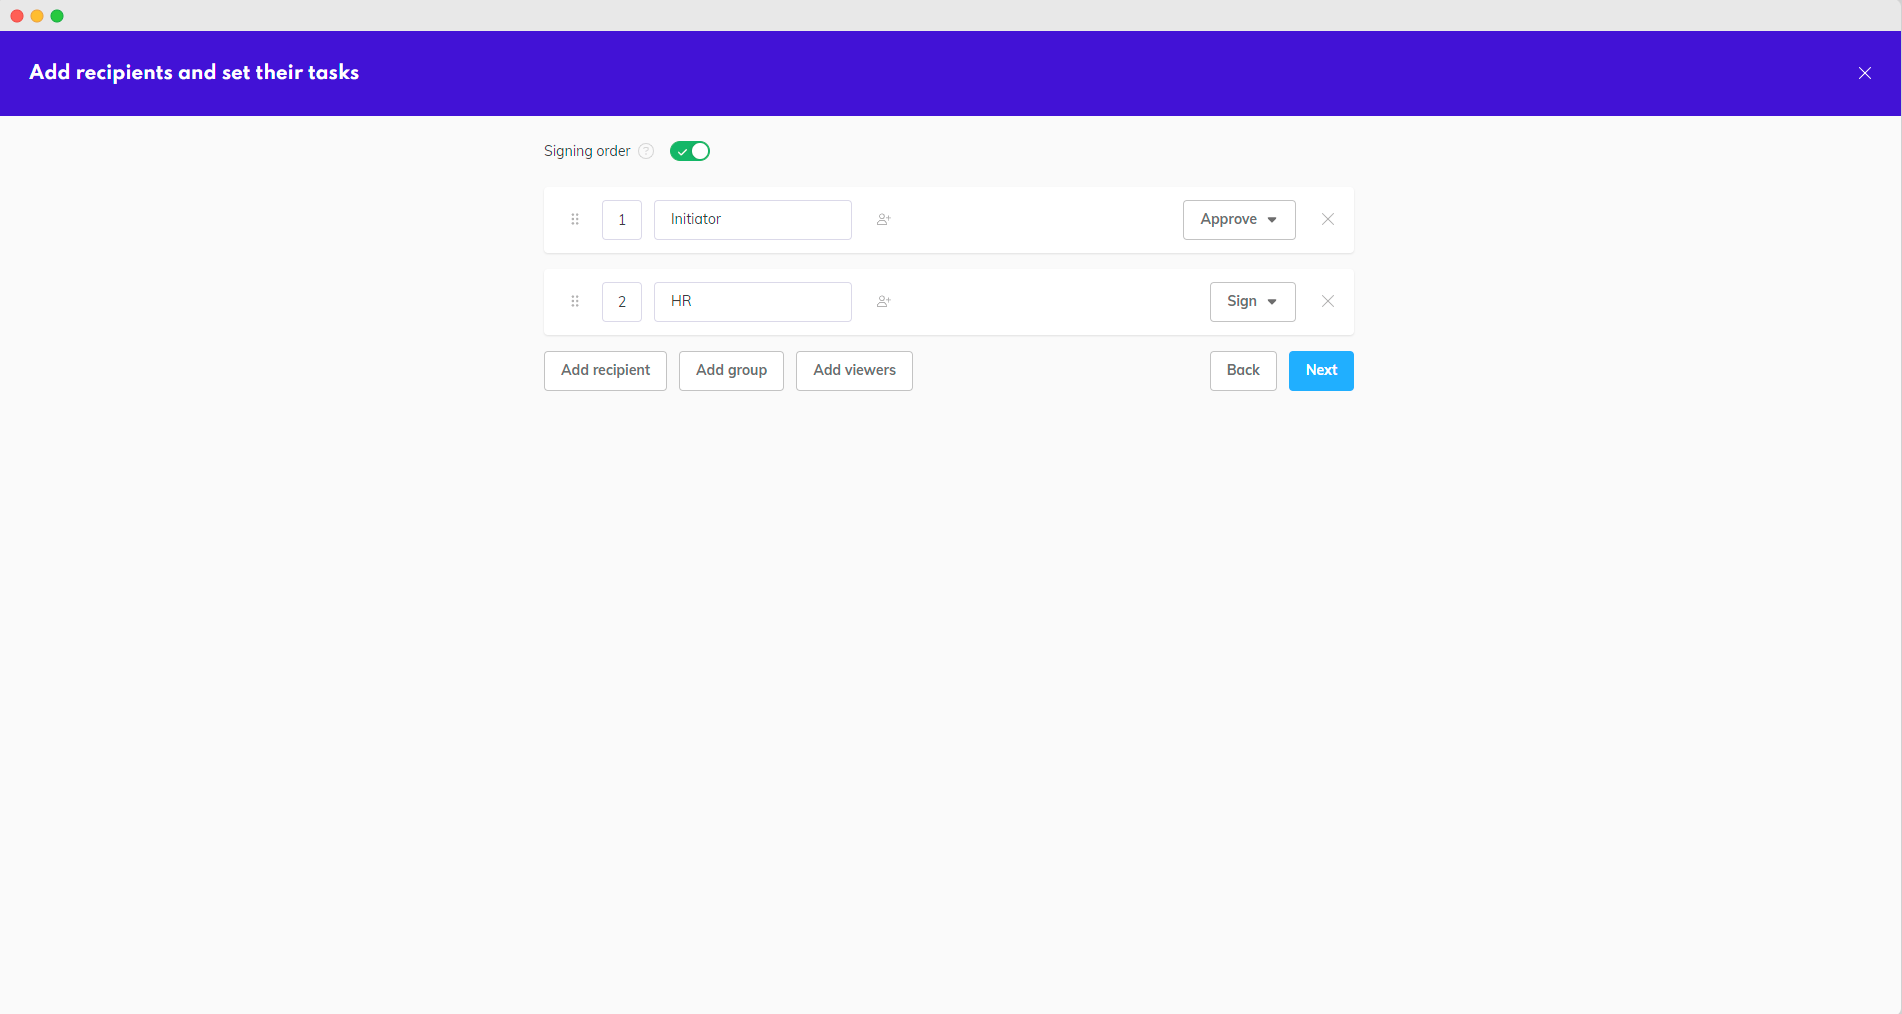
Editing a template
Rename
Change the name of the template.
Create document
Just like you can create a template out of a document, you can create a regular document out of a template. Any fields and settings will be removed.
Duplicate
Create a copy of the template.
Download
Download a PDF version of the document from the template. Fields will be removed.
Share Template
Availability: Business and Enterprise
Share the template with other members or teams.
More about sharing templates here.
Lock Template
Availability: Business and Enterprise
When using eSigning templates with other members of your team or organization, decide whether you want the recipients to be able to make changes to the template during the signature process or not.
Use the Lock template button so that other recipients cannot add or remove signature or other fillable fields, setting a firm standard and ensuring compliance across all signatories.
Once the template is locked, it will gain a green locked label. You can then navigate to the dropdown menu and Unlock template at any time, should you change your mind.
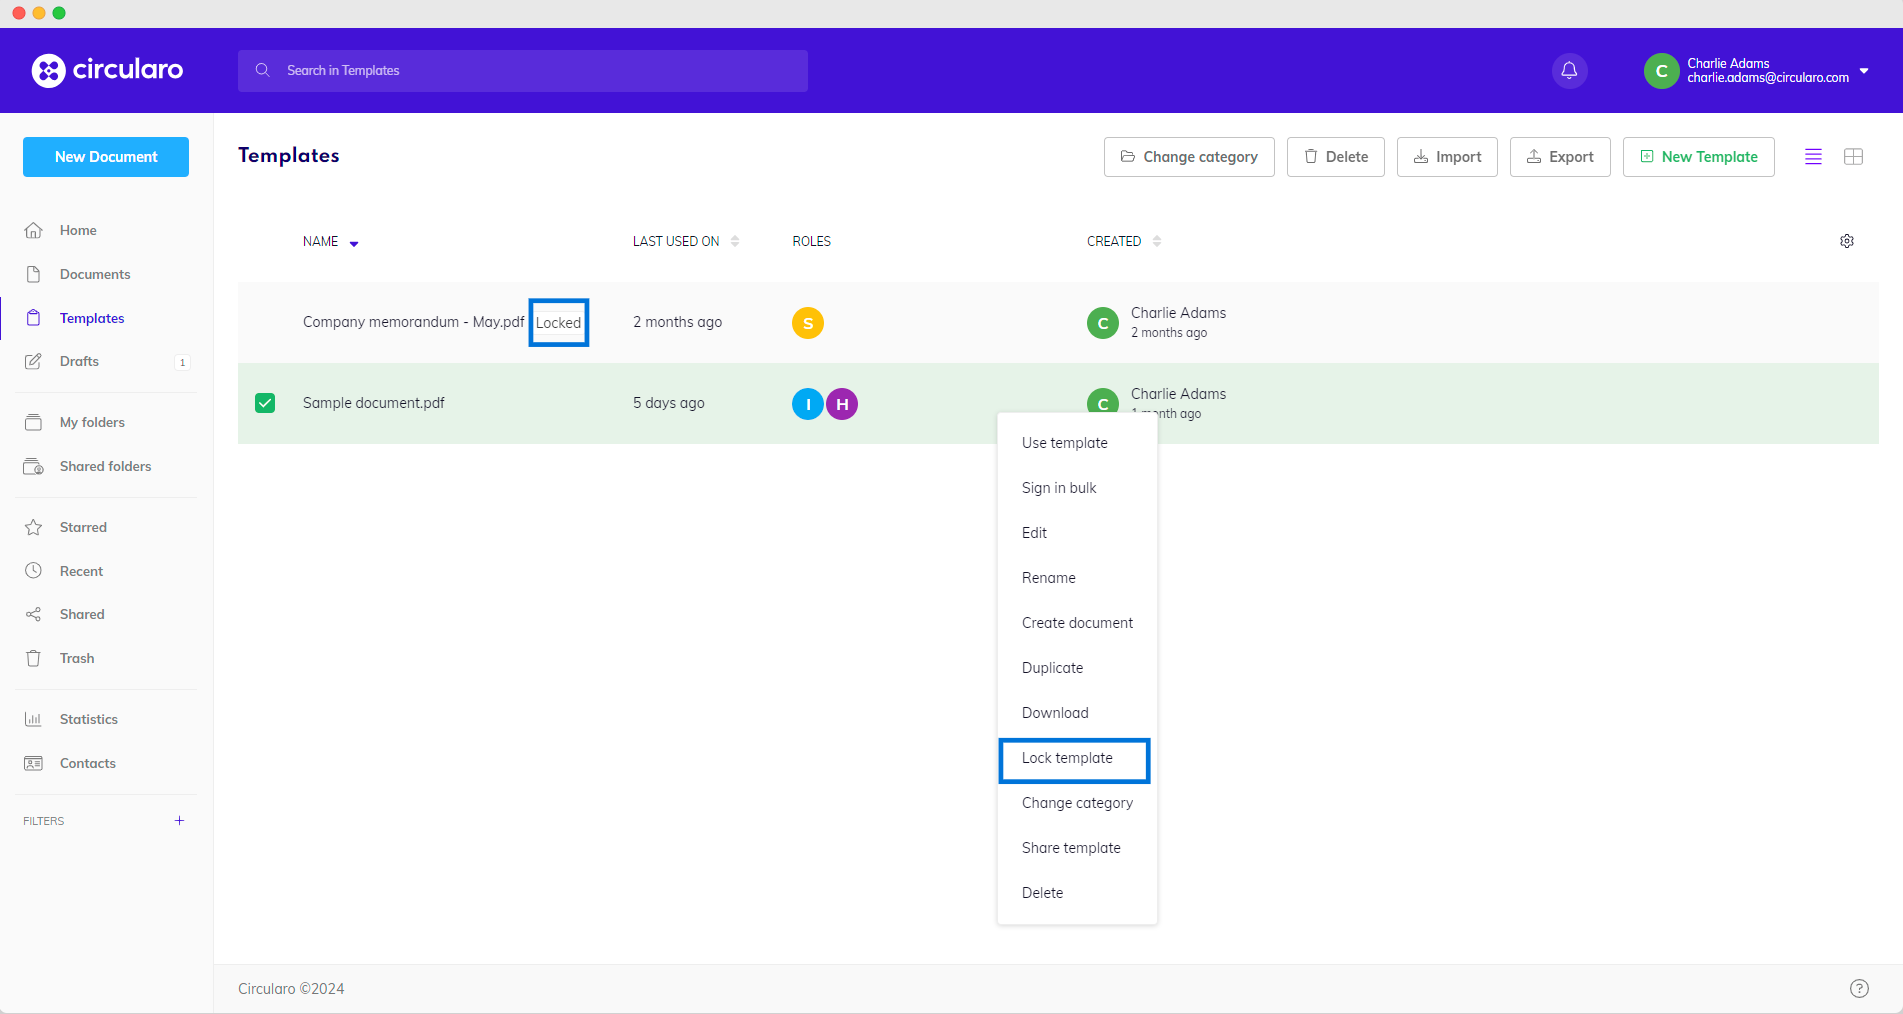
Lock template
Change Category
By default all the templates are saved to the “root” folder of the Template library without any template category assigned.
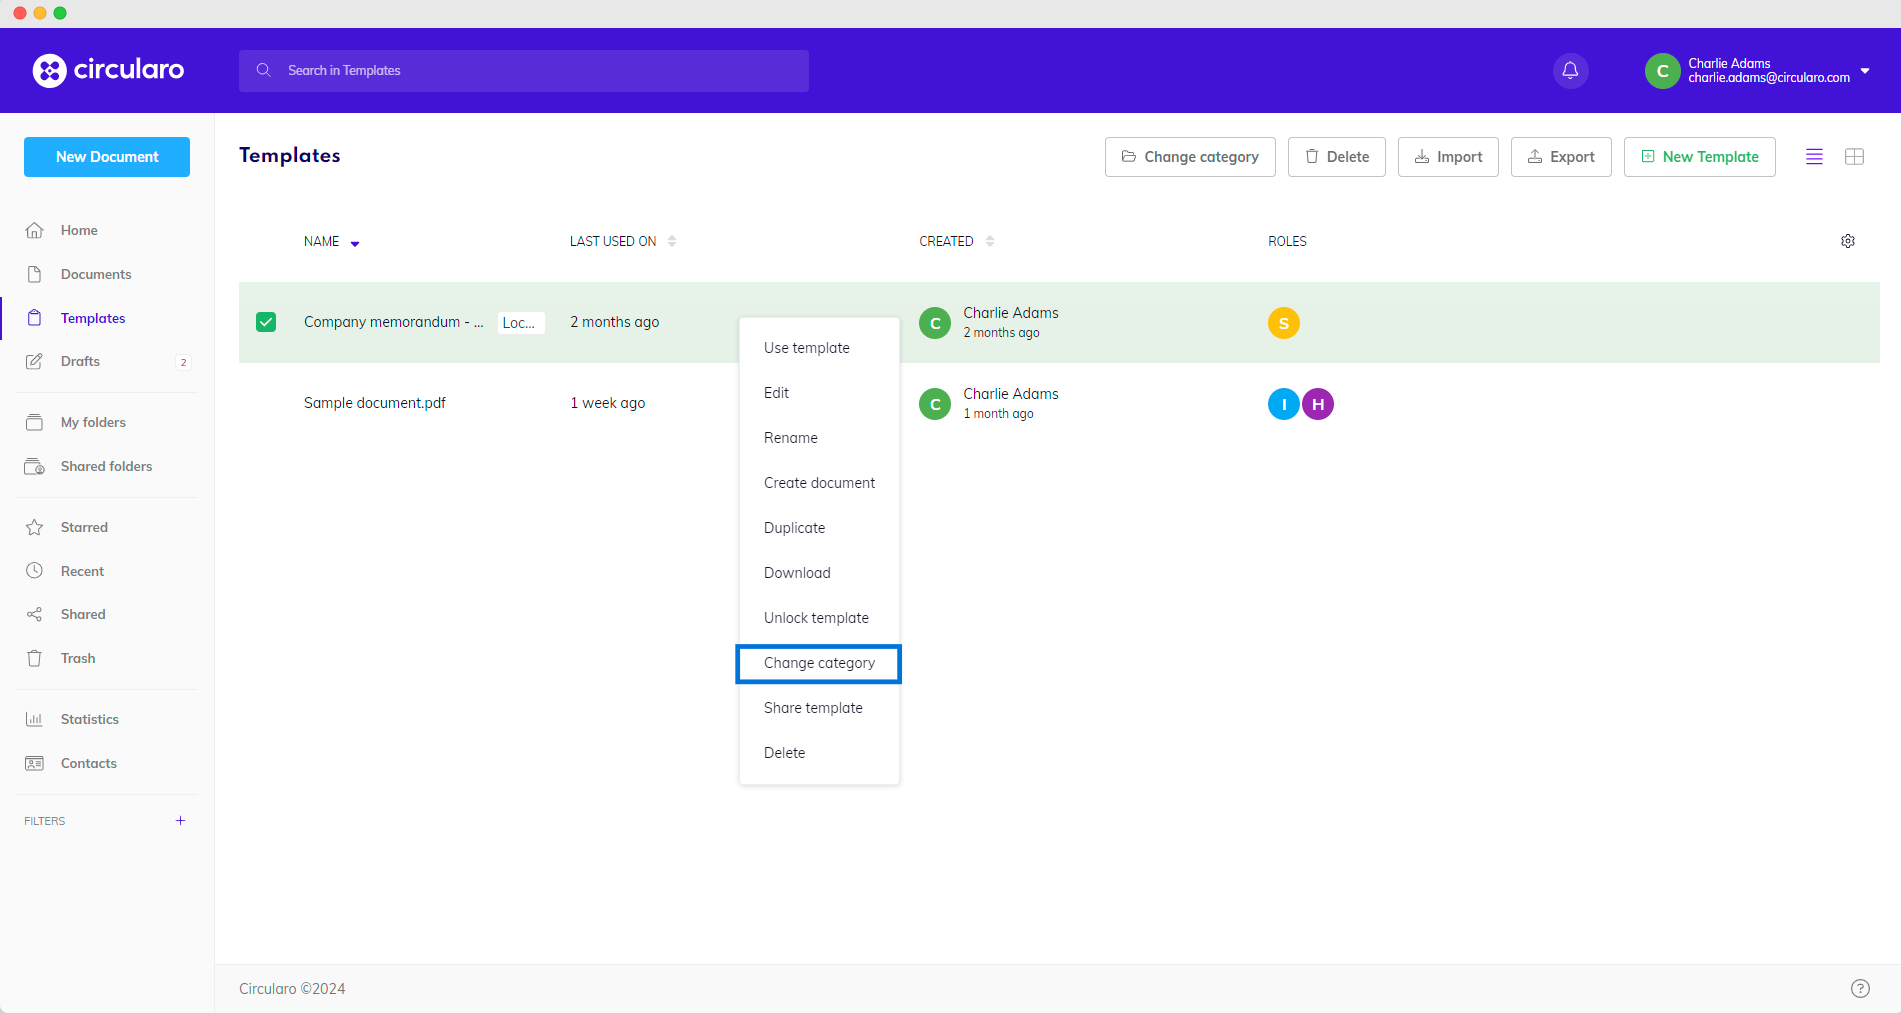
Change category of template
In the Change category window, you can create a New Category or choose from already existing categories. By clicking on Move, your template will be moved to the selected category.
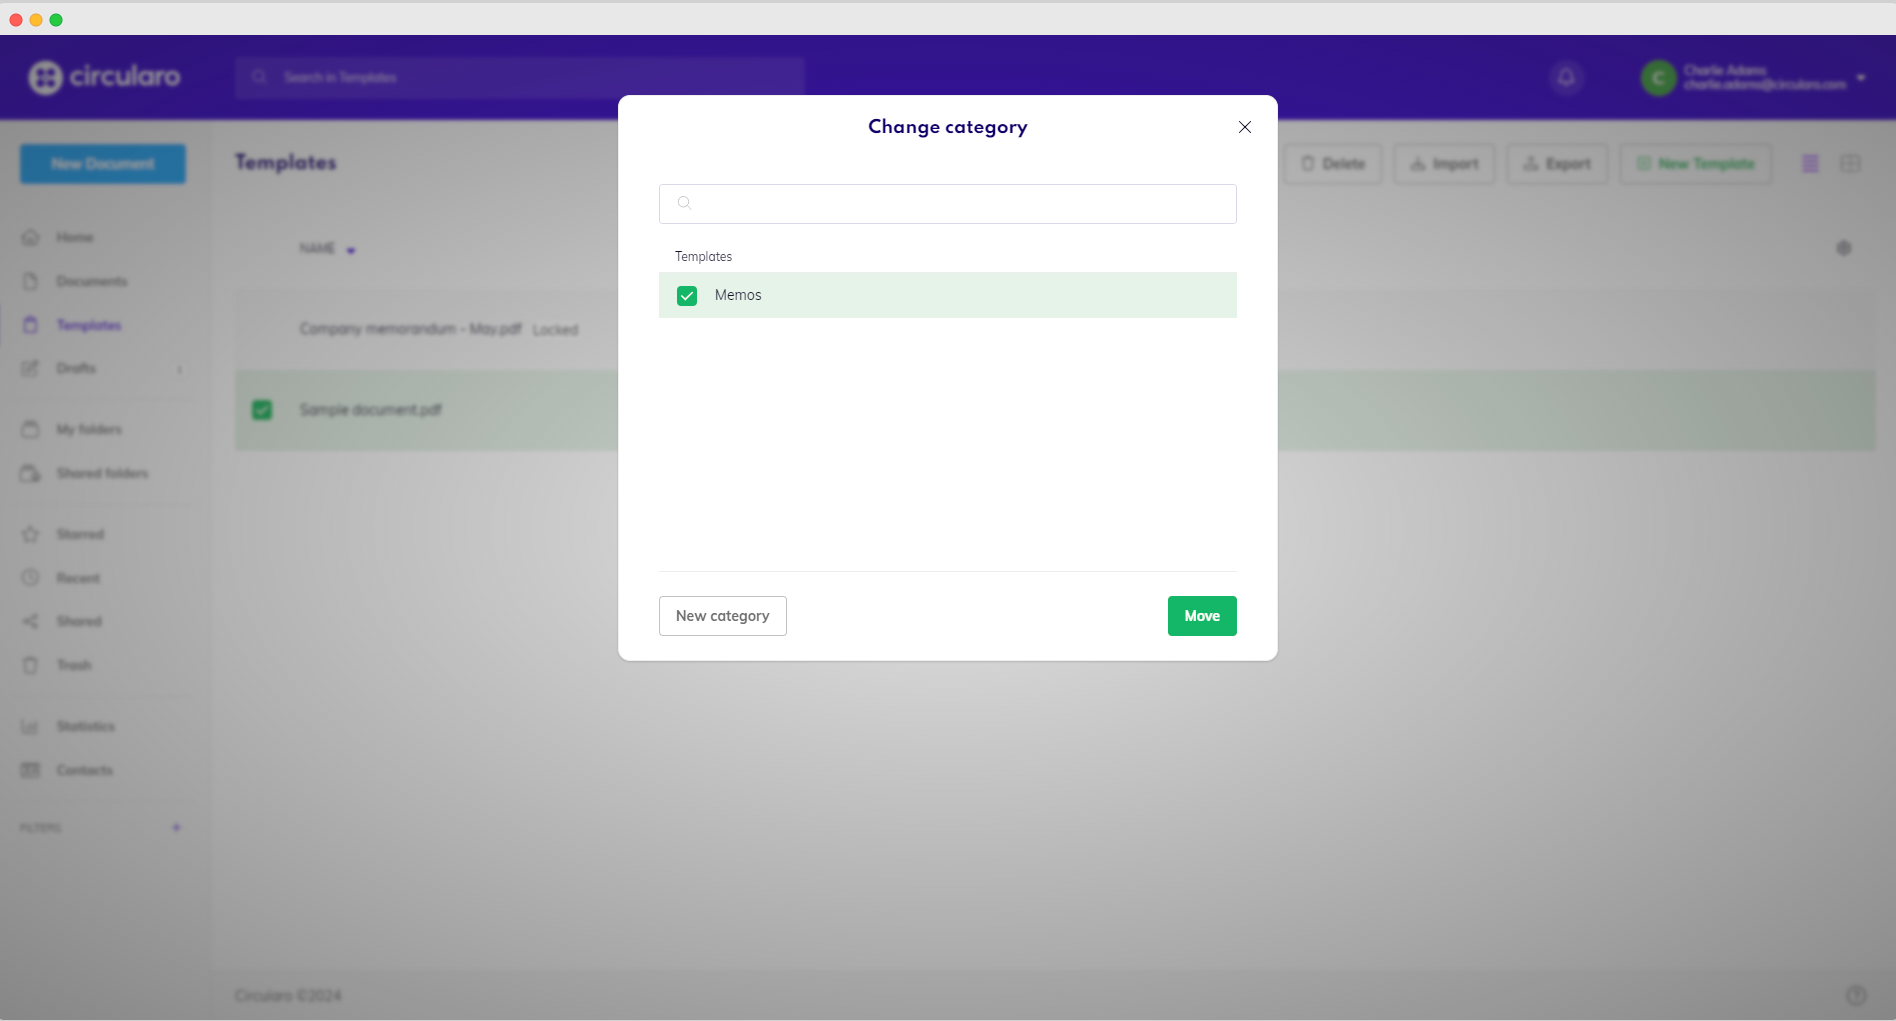
Change category dialog
A category will be automatically deleted once you remove all templates from it.
Delete
Unlike documents, templates are not moved to Trash from where they could be recovered. Upon deletion, templates are removed permanently.
Adjusting columns
You can adjust which template details you see to some extent. Certain elements such as name of the template and the dropdown action menu are fixed and cannot be hidden, but there are three other columns that can be made visible or hidden based on which details you need to see.
Last used on - shows the last time the template has been used relative to user’s current time
Created - shows the user that created the template and when relative to user’s current time
Roles - shows the roles assigned in the template and their required action
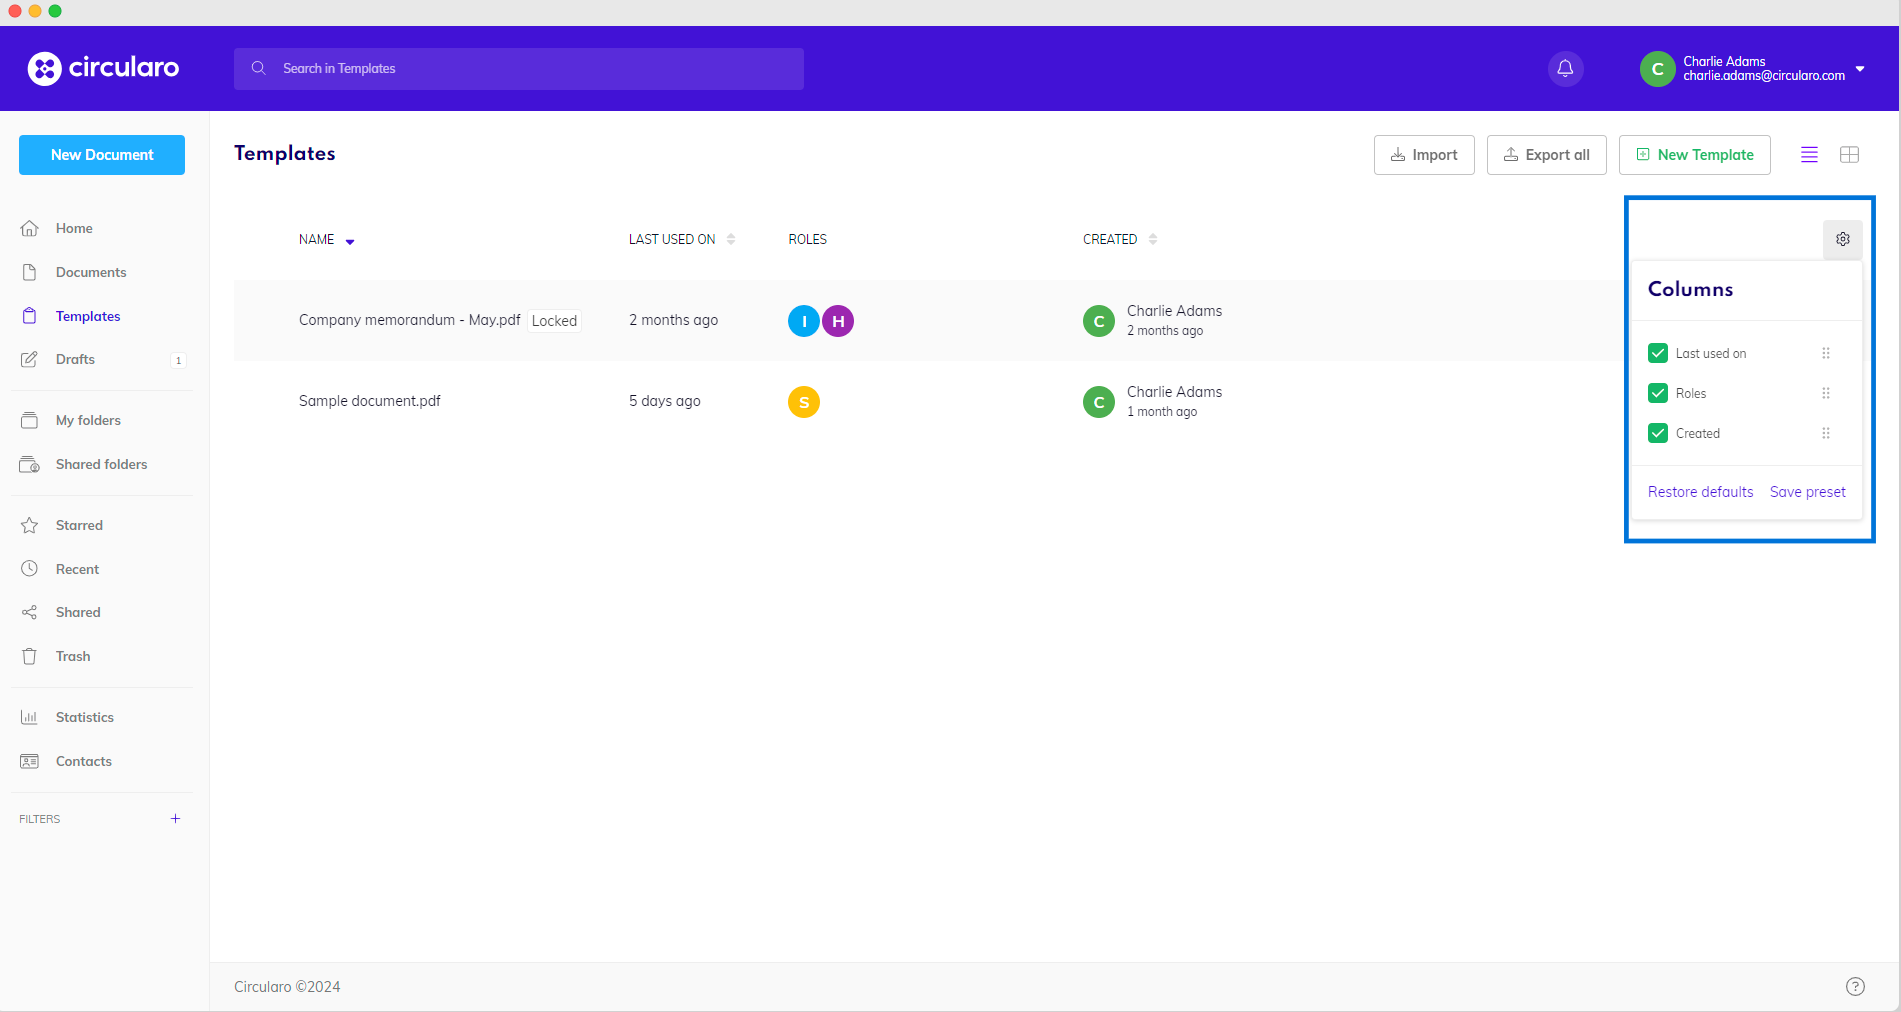
Columns
The order of the columns can be changed by dragging it up or down in the settings panel.
The Name, Last used on and Created columns can also be used for sorting the templates by clicking on the small grey arrow. The templates can be sorted in descending or ascending order.
You can adjust the width of the columns by hovering your mouse near the name of the column and dragging the separator that shows up to the side.