Shared Folders
Availability: Business and Enterprise edition
The Shared Folders section is where you can create your own structure of folders and subfolders that can be shared with other users in your organization (with either View or Edit rights).
Whether any new folders and documents are automatically shared with the entire organization, or whether you can specify with whom and how they are shared is controlled by the administrator. Any document or folder uploaded or created in the folder will automatically inherit the same rights from that parent folder.
Any changes to the rights to the parent folder will be automatically propagated to all the subfolders including the documents.
It is possible to grant explicit View and Edit rights to any particular document, overriding the folder settings. Those explicitly set document rights will be preserved even when the folder rights are changed.
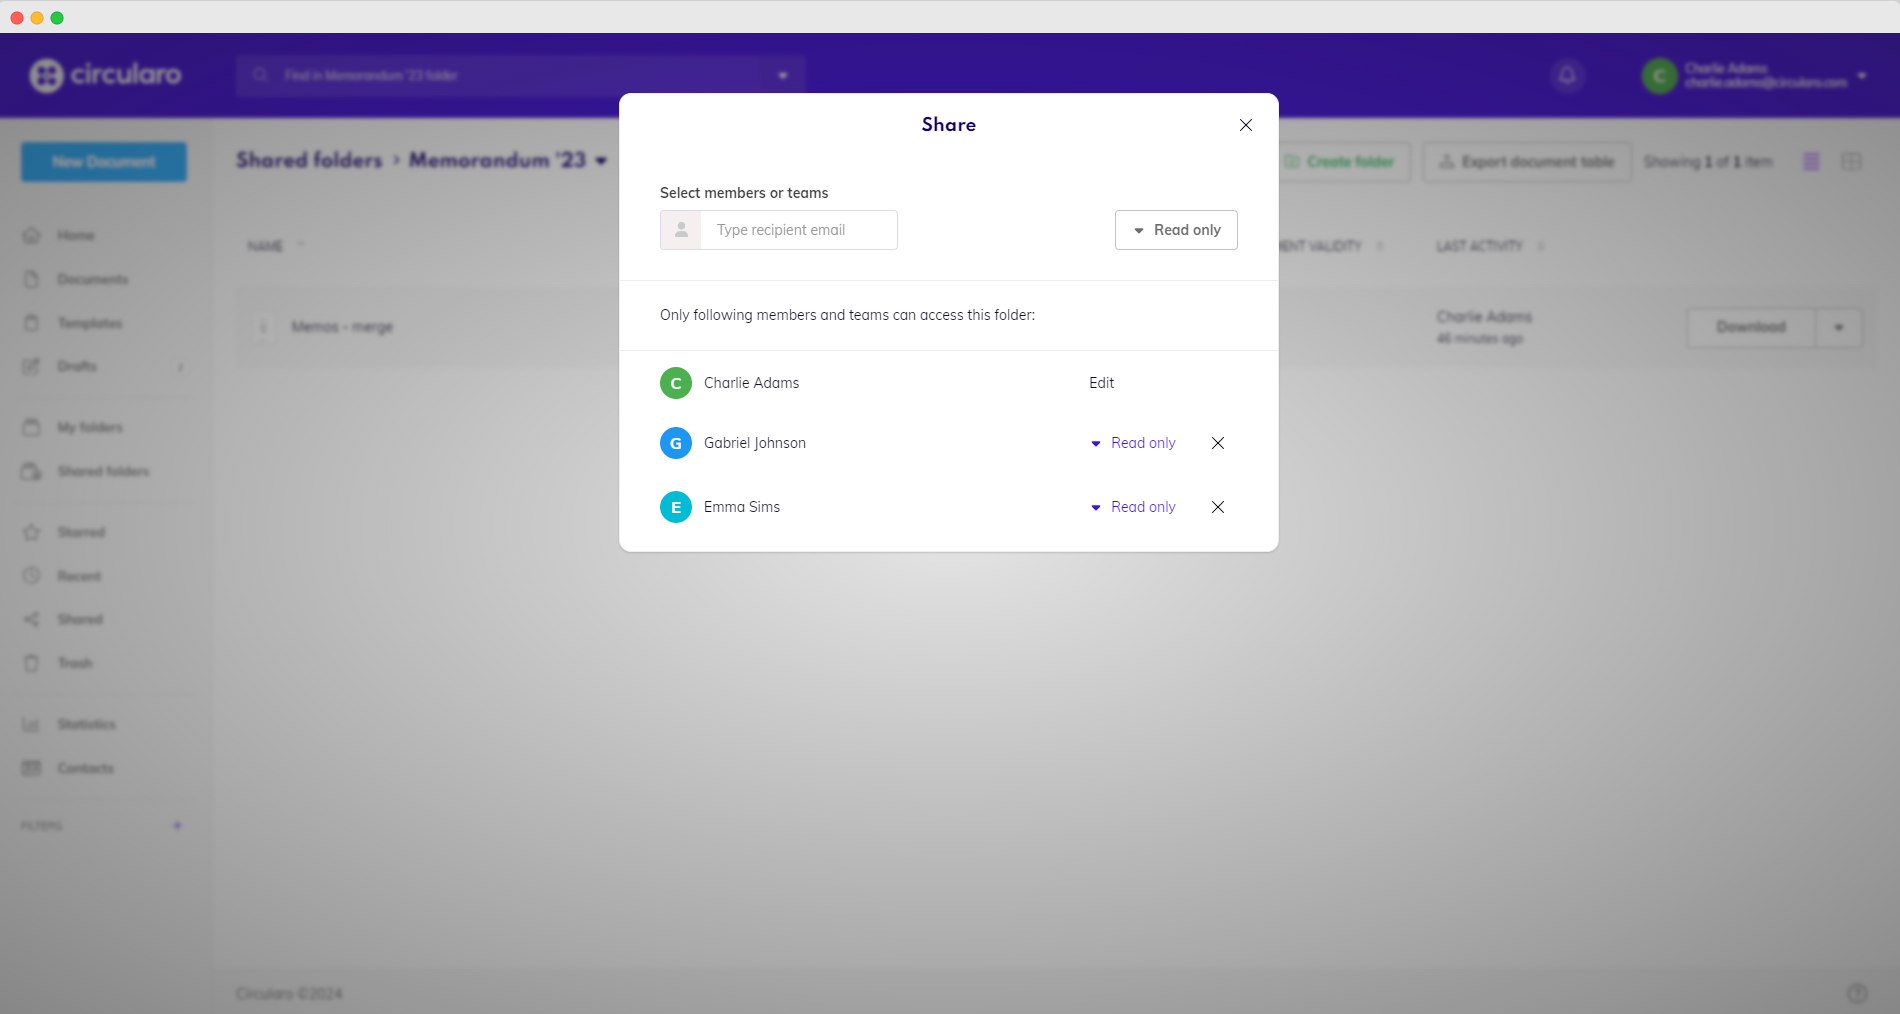
Shared folder
View
Organization members with View rights can access the folder, upload and download files and create subfolders but cannot rename, move or delete the folder.
Edit
Members with Edit rights can rename, move or delete the folder.
Entire folders cannot be shared with external recipients outside of your organization. Members can only share selected documents within a folder that way.
Hierarchy in Shared Folders
You may want to create a structure in the Shared Folders, where some users or teams have access only to specific folders and documents, and higher ups have access to several teams all at once. This can be done via sharing in a hierarchy.
Below is a graph of the structure to illustrate.

Hierarchy in Shared Folders
Each level (= folder) is shared with the user/s who can see the folder’s documents and all its subfolders (and their documents).
Here are the steps to setting this structure up:
Create the parent folder which should be shared with user/s who should see any documents and folders placed there, as well as Level 2 and Level 3. They will see everything in the parent folder and all of its subfolders - they have total visibility.
Share it with the specific user/s.
Open it and inside create a folder for Group A (a team, users, etc).
Share the new folder with Group A - they will see any documents and folders placed in this level/folder, as well as Level 3 and all its contents. In the graph this is level 2, documents 1, 2, and 3, and Level 3 and documents X, Y, and Z.
Open this folder and inside create a folder for Group B.
Share this new folder with Group B who will only see the contents of this level - documents X, Y, and Z from the graph. They will not see the contents of the upper level folders.
Please note:
Each user needs to be able to access the folder that was shared with them - to do this, they need to see the folder path to it. This means that user from Group B, who has access to Level 3, will see the Parent folder (Level 1) within which they will only see folder for Level 2 and within it the folder for Level 3, where they can see everything.
They do NOT see any other folders and documents within the upper levels that were not explicitly shared with them.
In the Share dialog for the upper level folders you will also see all the groups who have access to their specific levels - as stated previously, they do not actually see any other contents, apart from the folder path to their level.
Views and Filters
In Shared folders, you can filter your documents the same way you can filter documents in the Documents tab. In folders is an extra filter that specifies whether documents are shown only from the specific folder you have currently open, or if it will go through all of its subfolders as well.
It is the filter of Location.
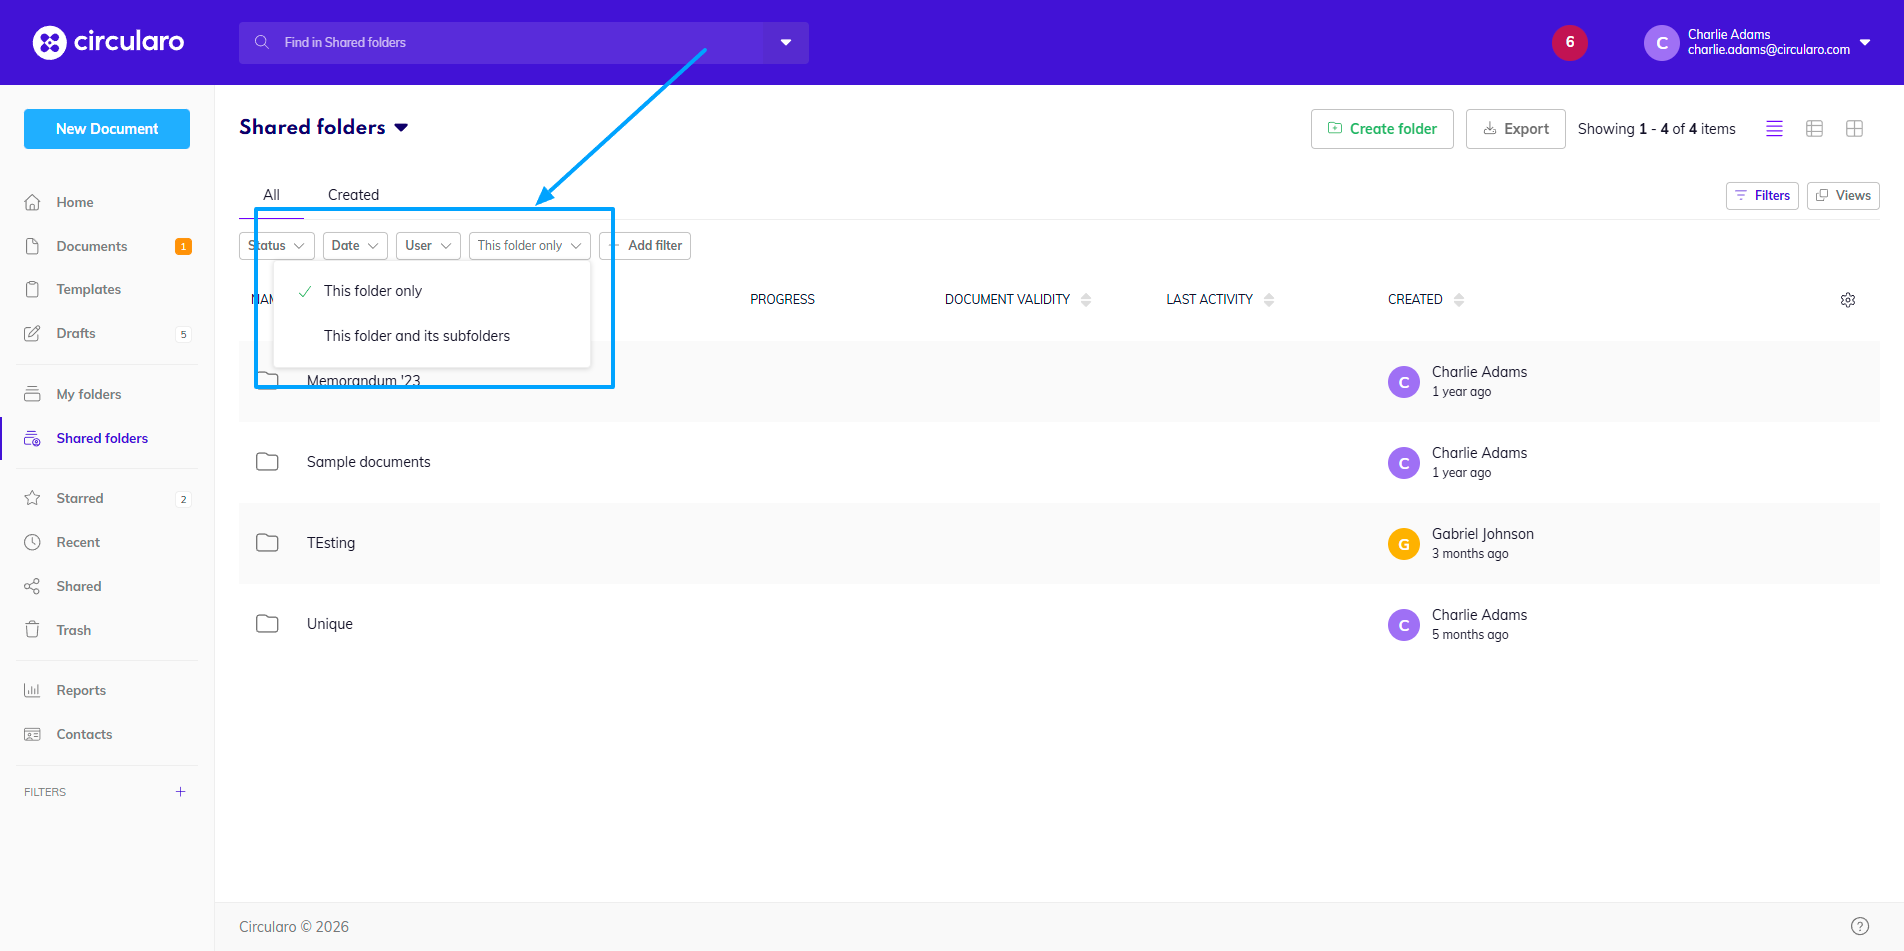
Filtering location
You can also save the applied filters as Views, same as in Documents.
If no views are applied, there won’t be a difference. If at least one custom view is applied, you will also see the tab All, which has the default view.
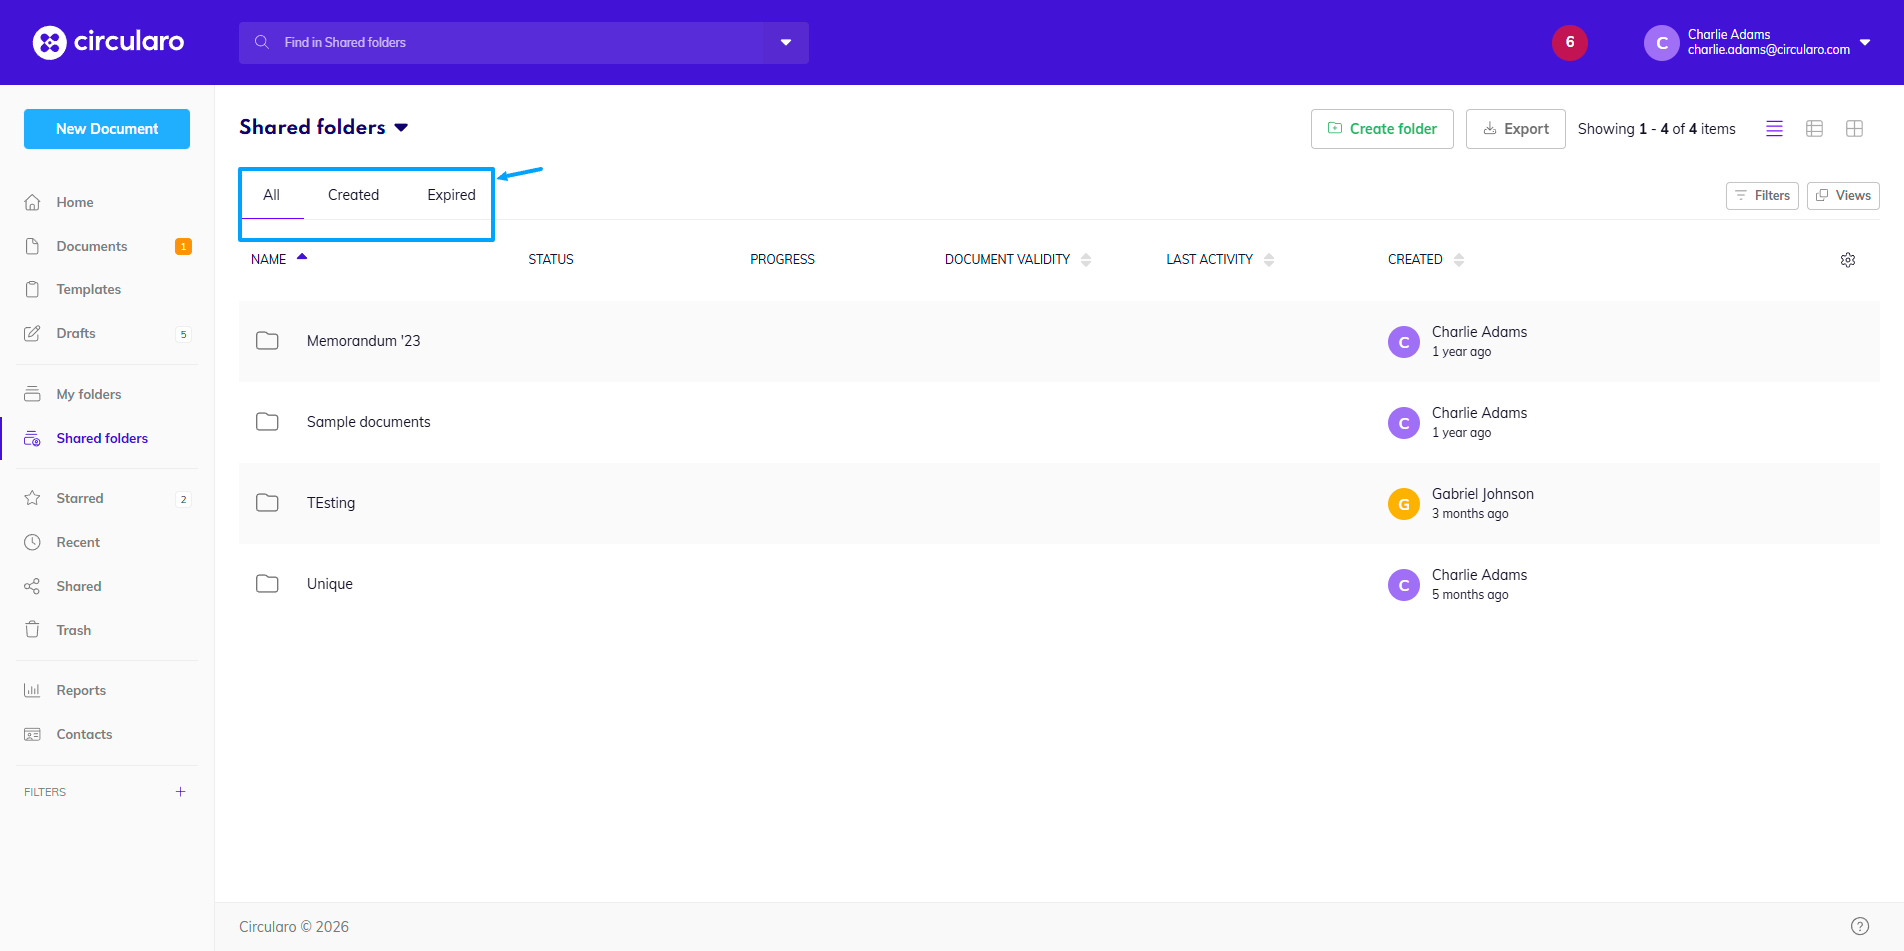
Default and custom Views
You can also adjust which saved Views are visible at which time. Click on Views in the right corner and tick those that you wish to see.
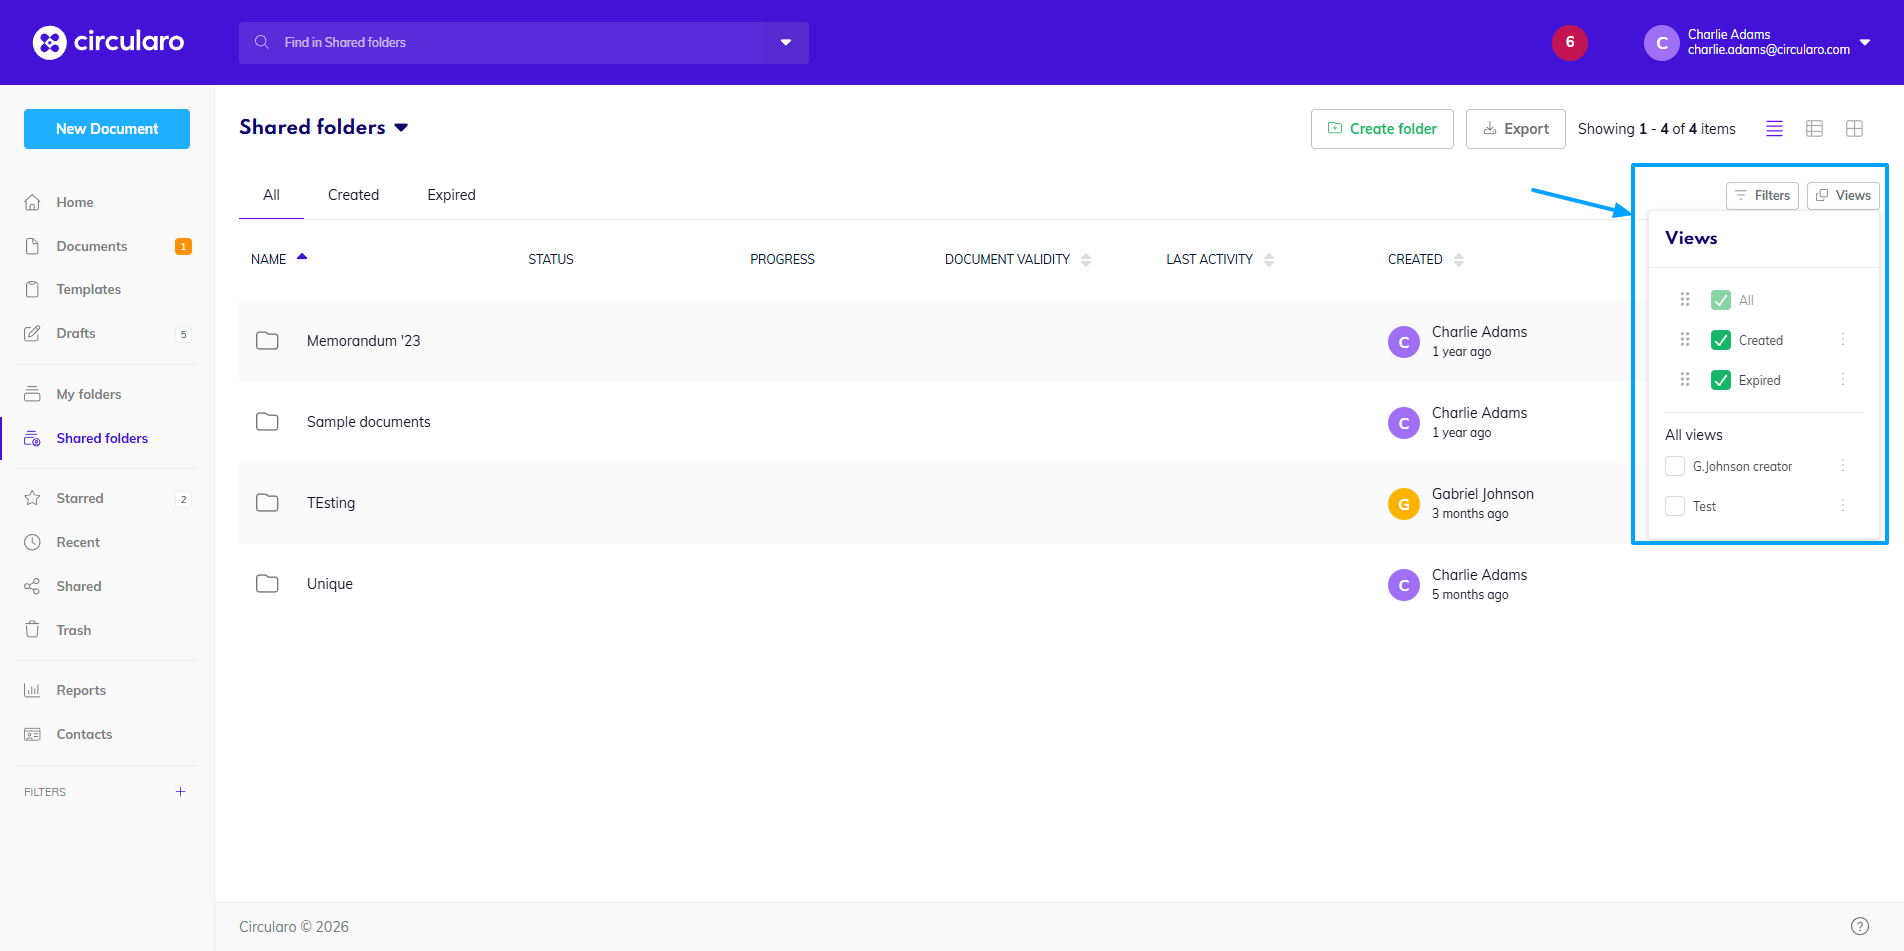
Edit visible Views
Adjusting table columns
There is an option to adjust which document and folder details you see. In the top right corner above the dropdown Context menu there is a settings icon. When you click on it, you will see all the available columns based on the different document details they contain.
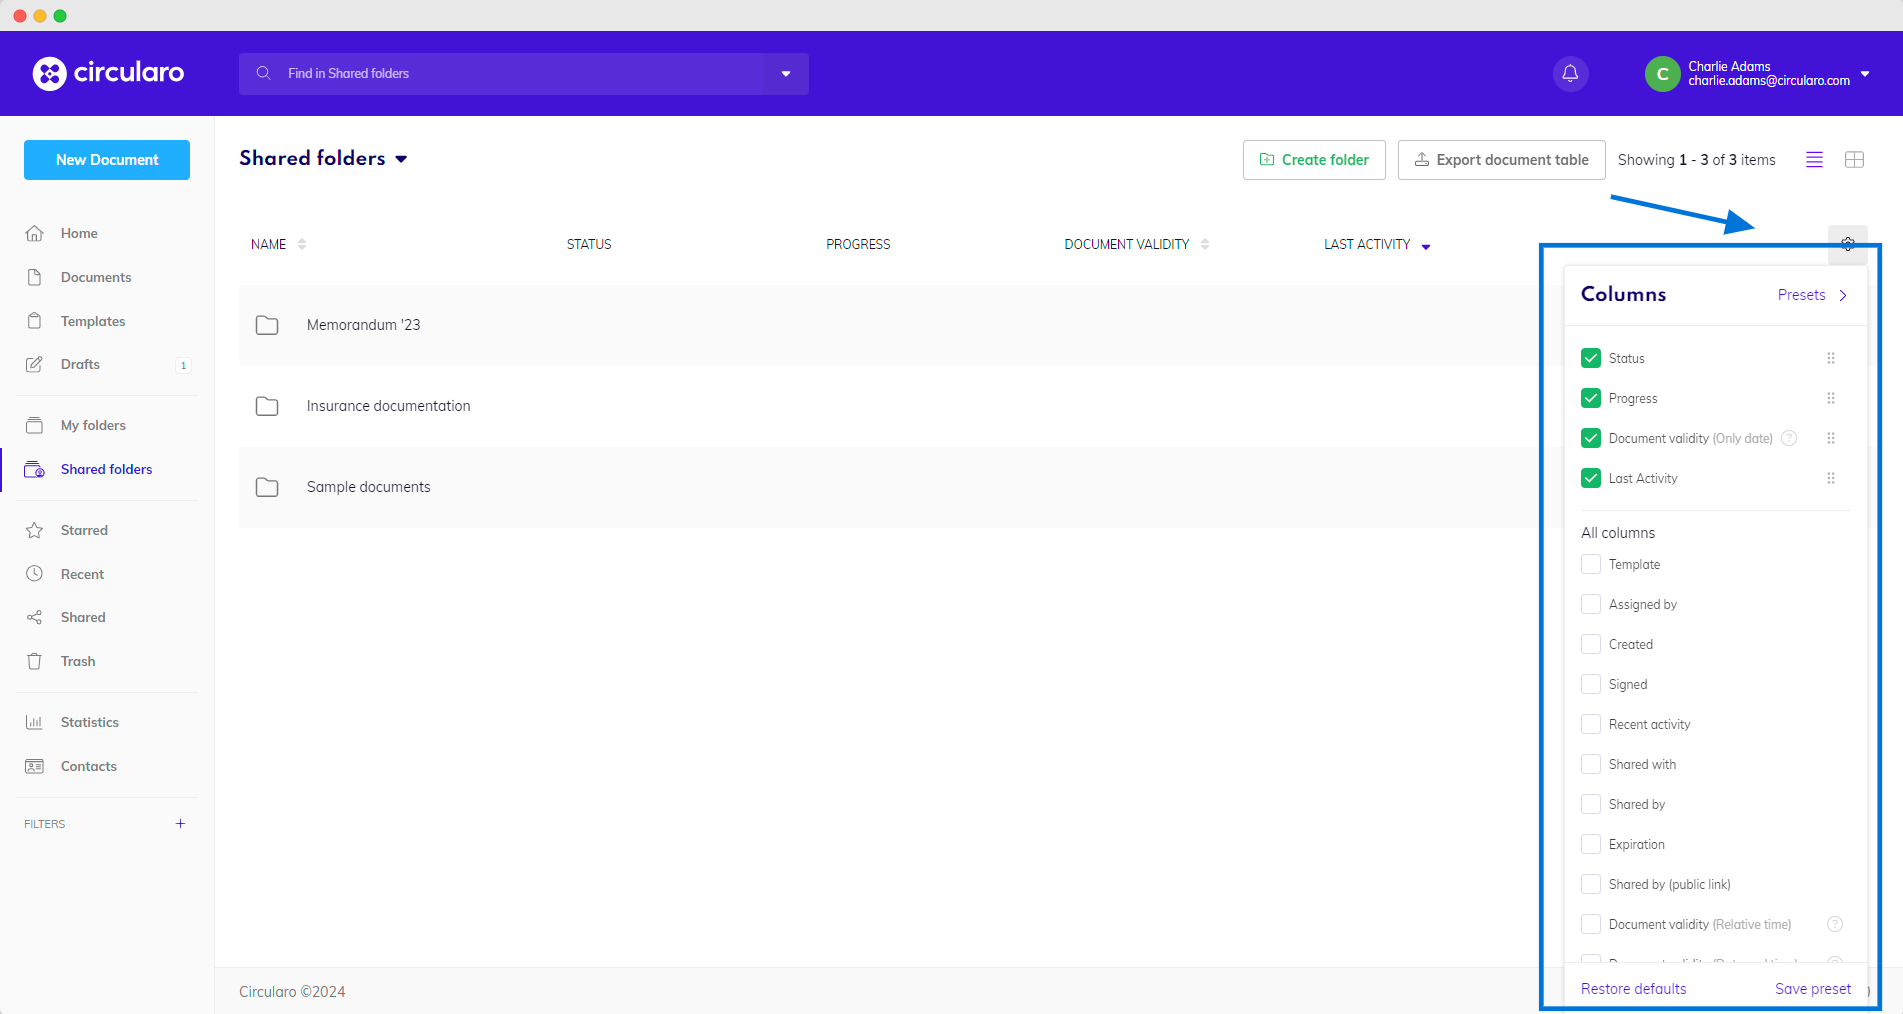
Column settings
You can choose which columns are visible and shuffle their position.
In-depth information about the different columns and which details they show is on our page about Status overview.