Microsoft 365 Add-in
By linking your Circularo account with Microsoft 365 you will be able to send documents straight into Circularo. You can simply upload the document to your Circularo account in its original format, or send it for signing, converting it into PDF. This saves you the time in manually uploading documents to Circularo.
This add-in requires you to have an online Microsoft account and be logged in to use it. The add-in is available for both online and desktop version, but it will not work offline, as it will not be able to connect to Circularo.
Where to get the add-in
You can find the add-in in the Add-in store labeled “Circularo for Office 365”, where you install it in one click.
Alternatively, if you are having issues locating it in the add-in store, here is a direct link to Microsoft App Source.
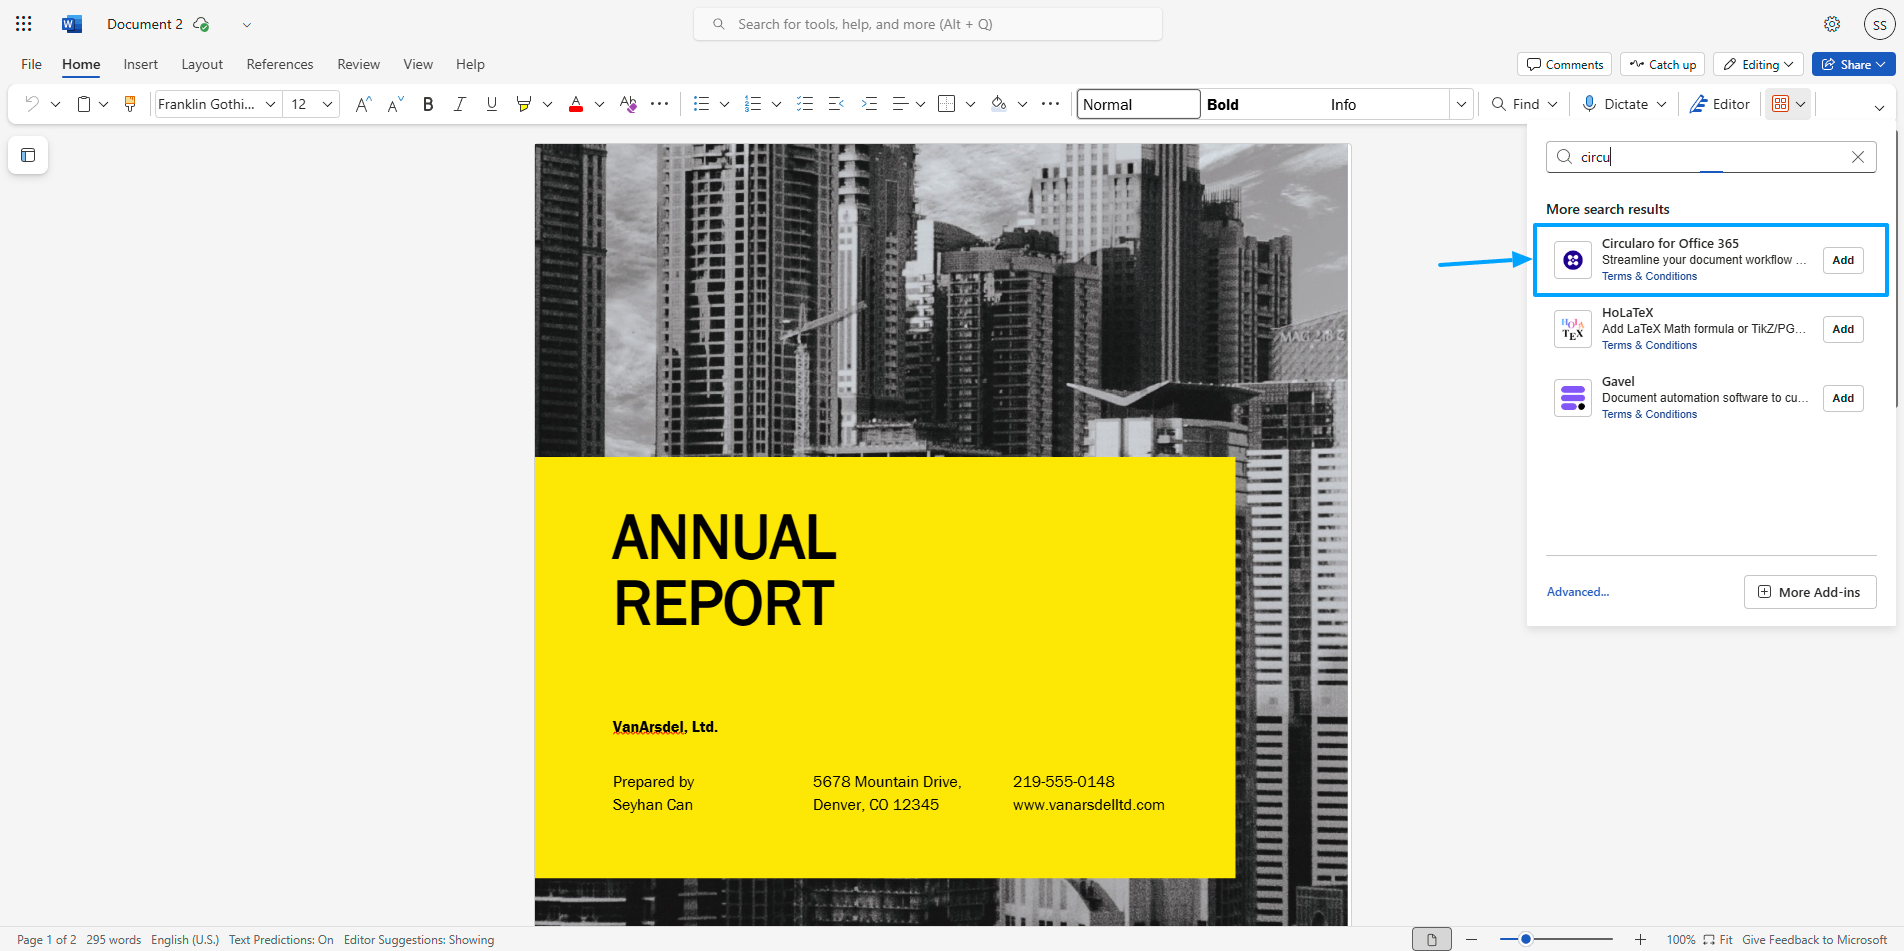
Circularo add-in in the add-in store
The add-in is available for:
Excel
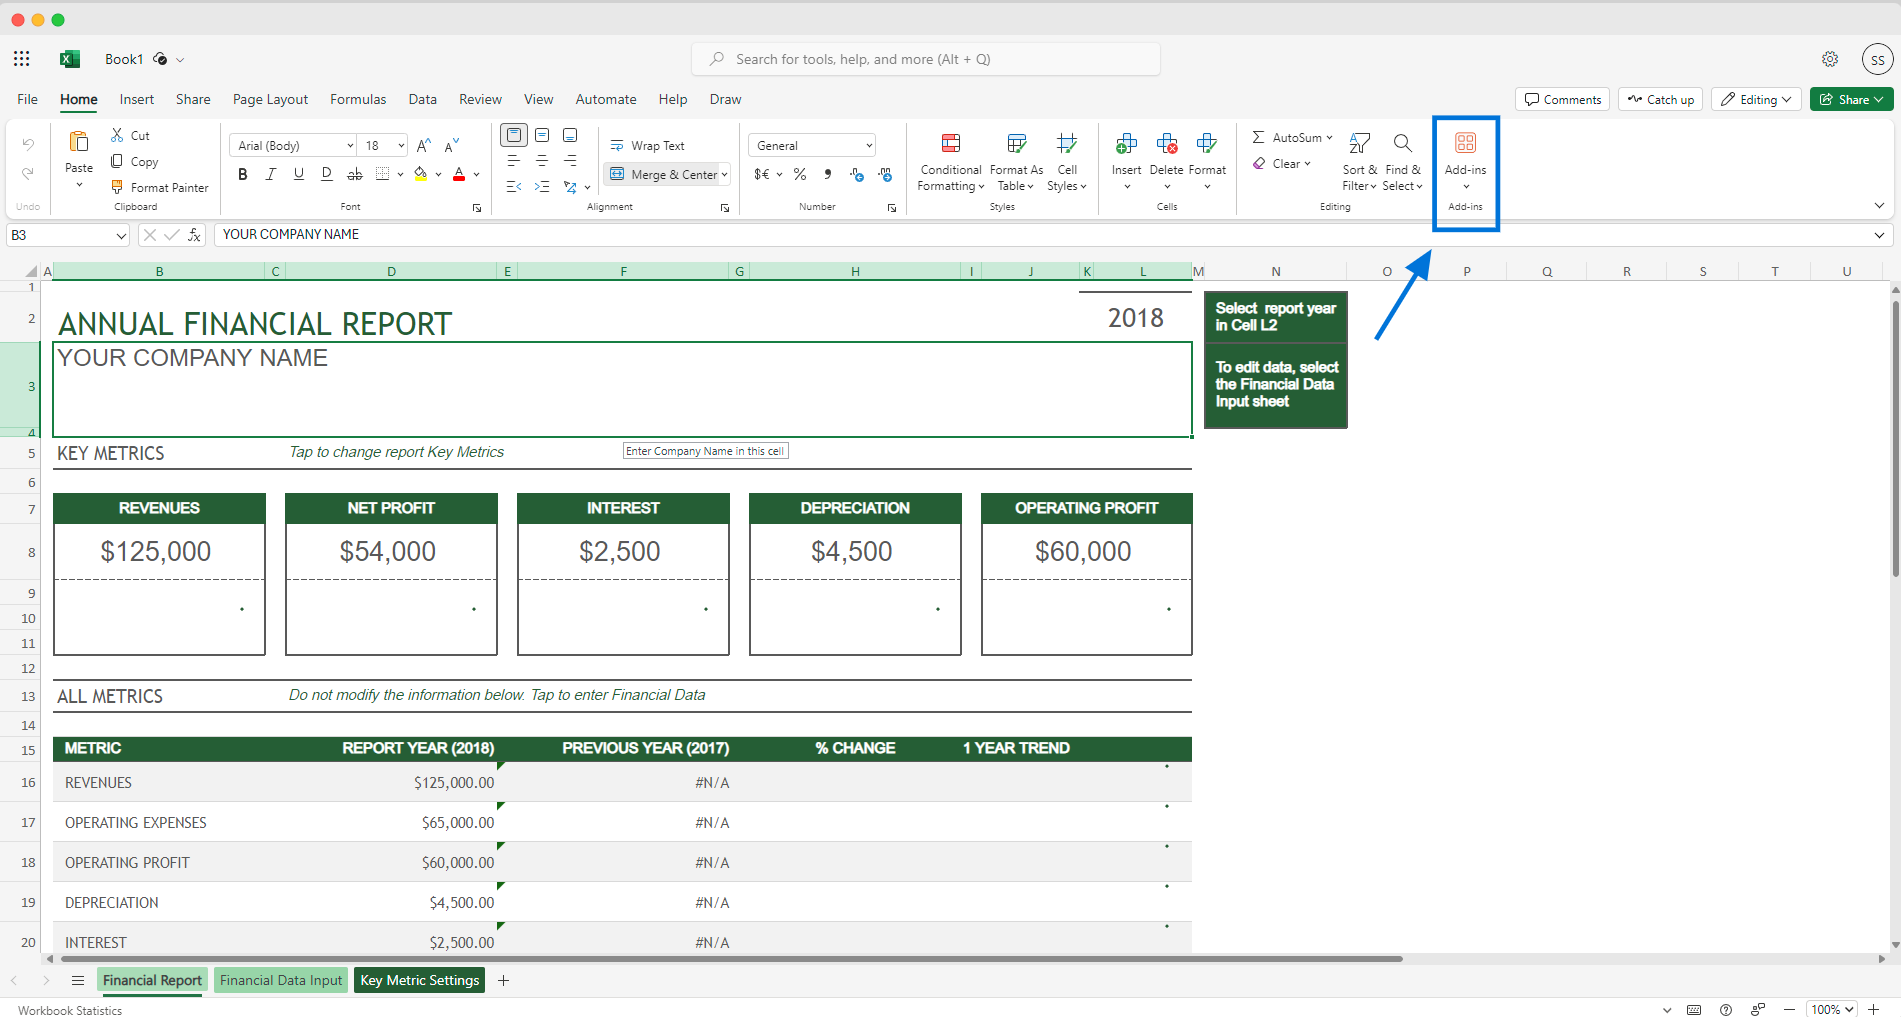
Add-ins in Microsoft Excel
PowerPoint
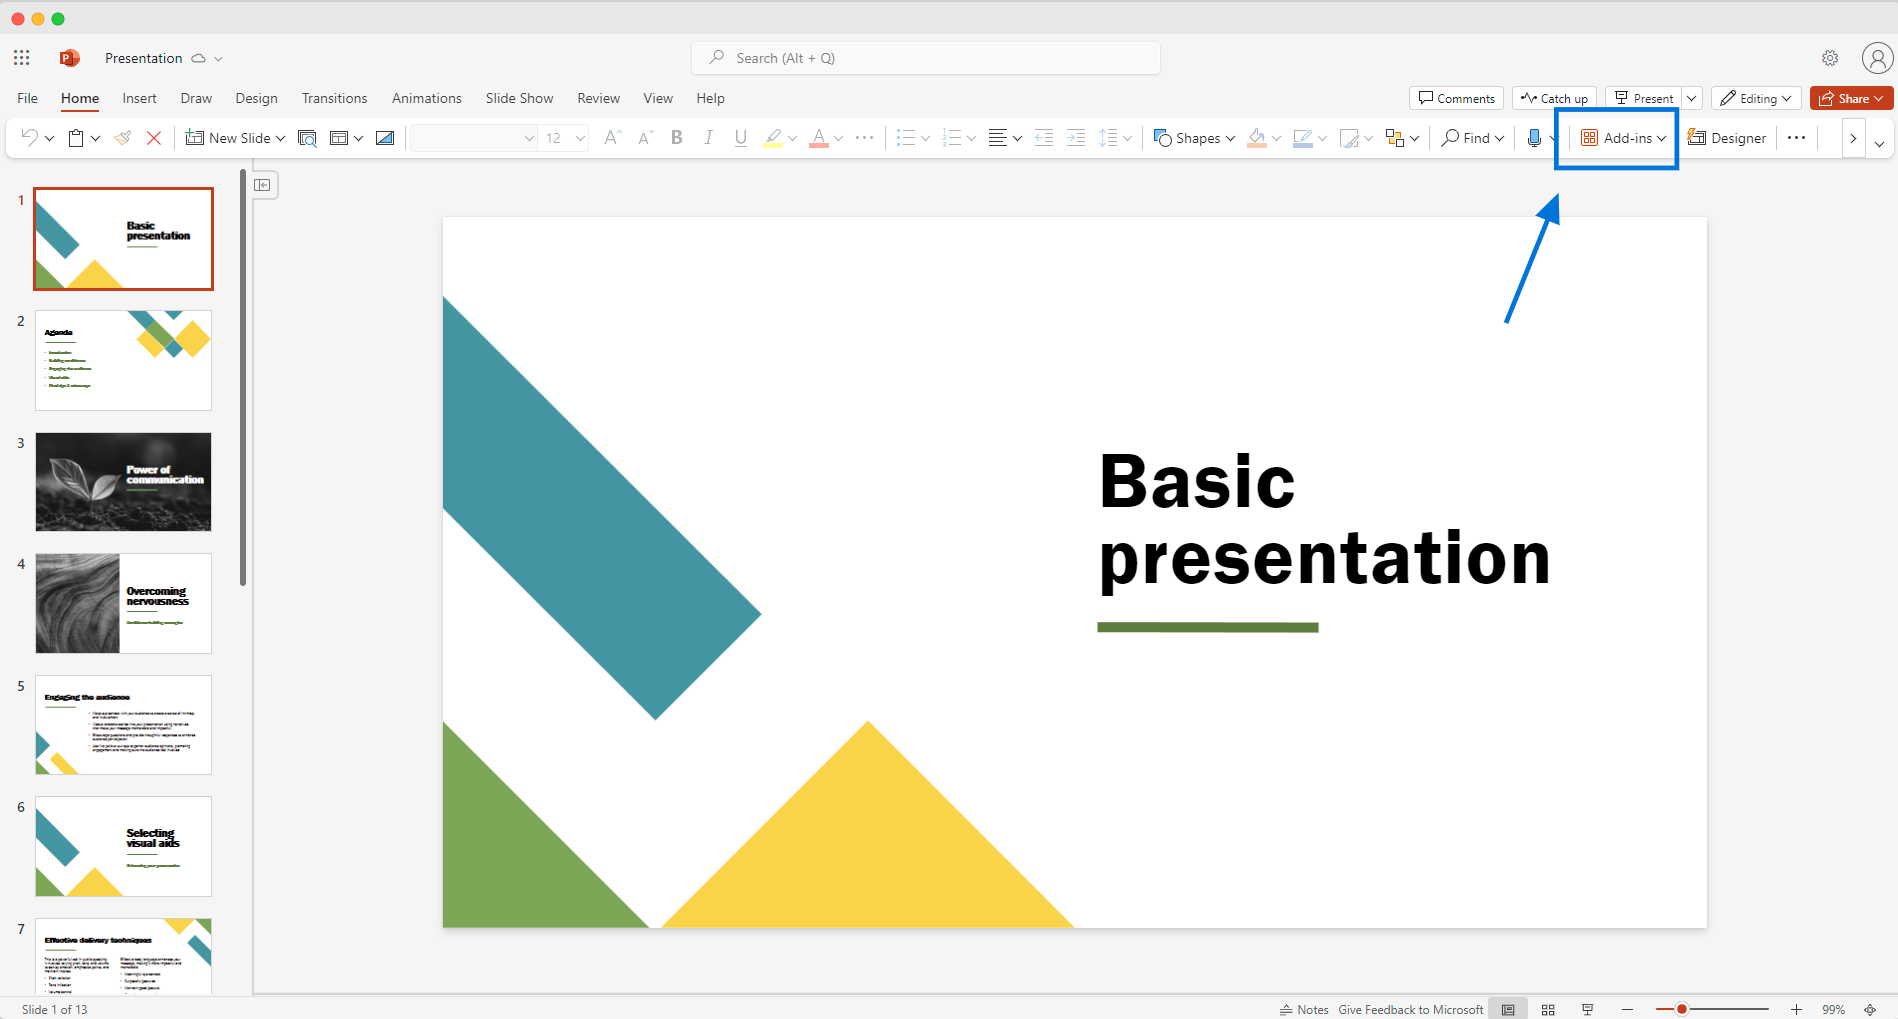
Add-ins in Microsoft PowerPoint
Word
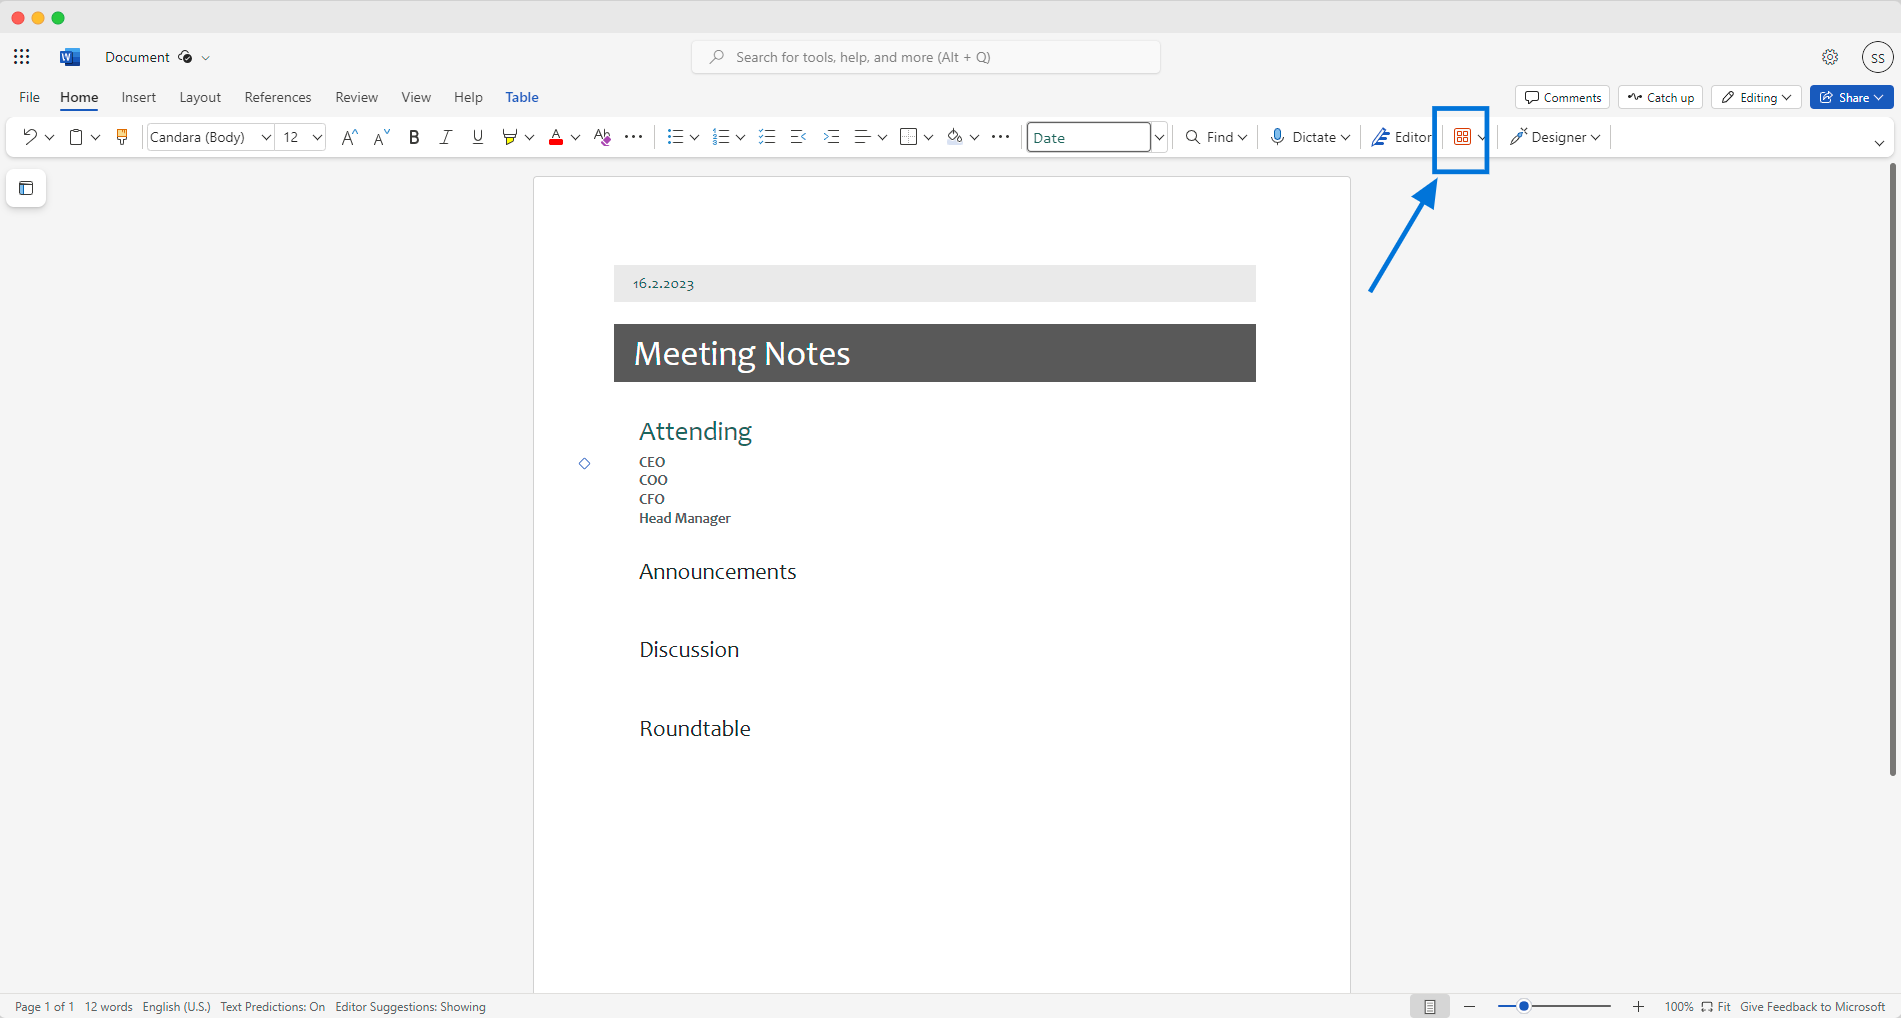
Add-ins in Microsoft Word
OneNote
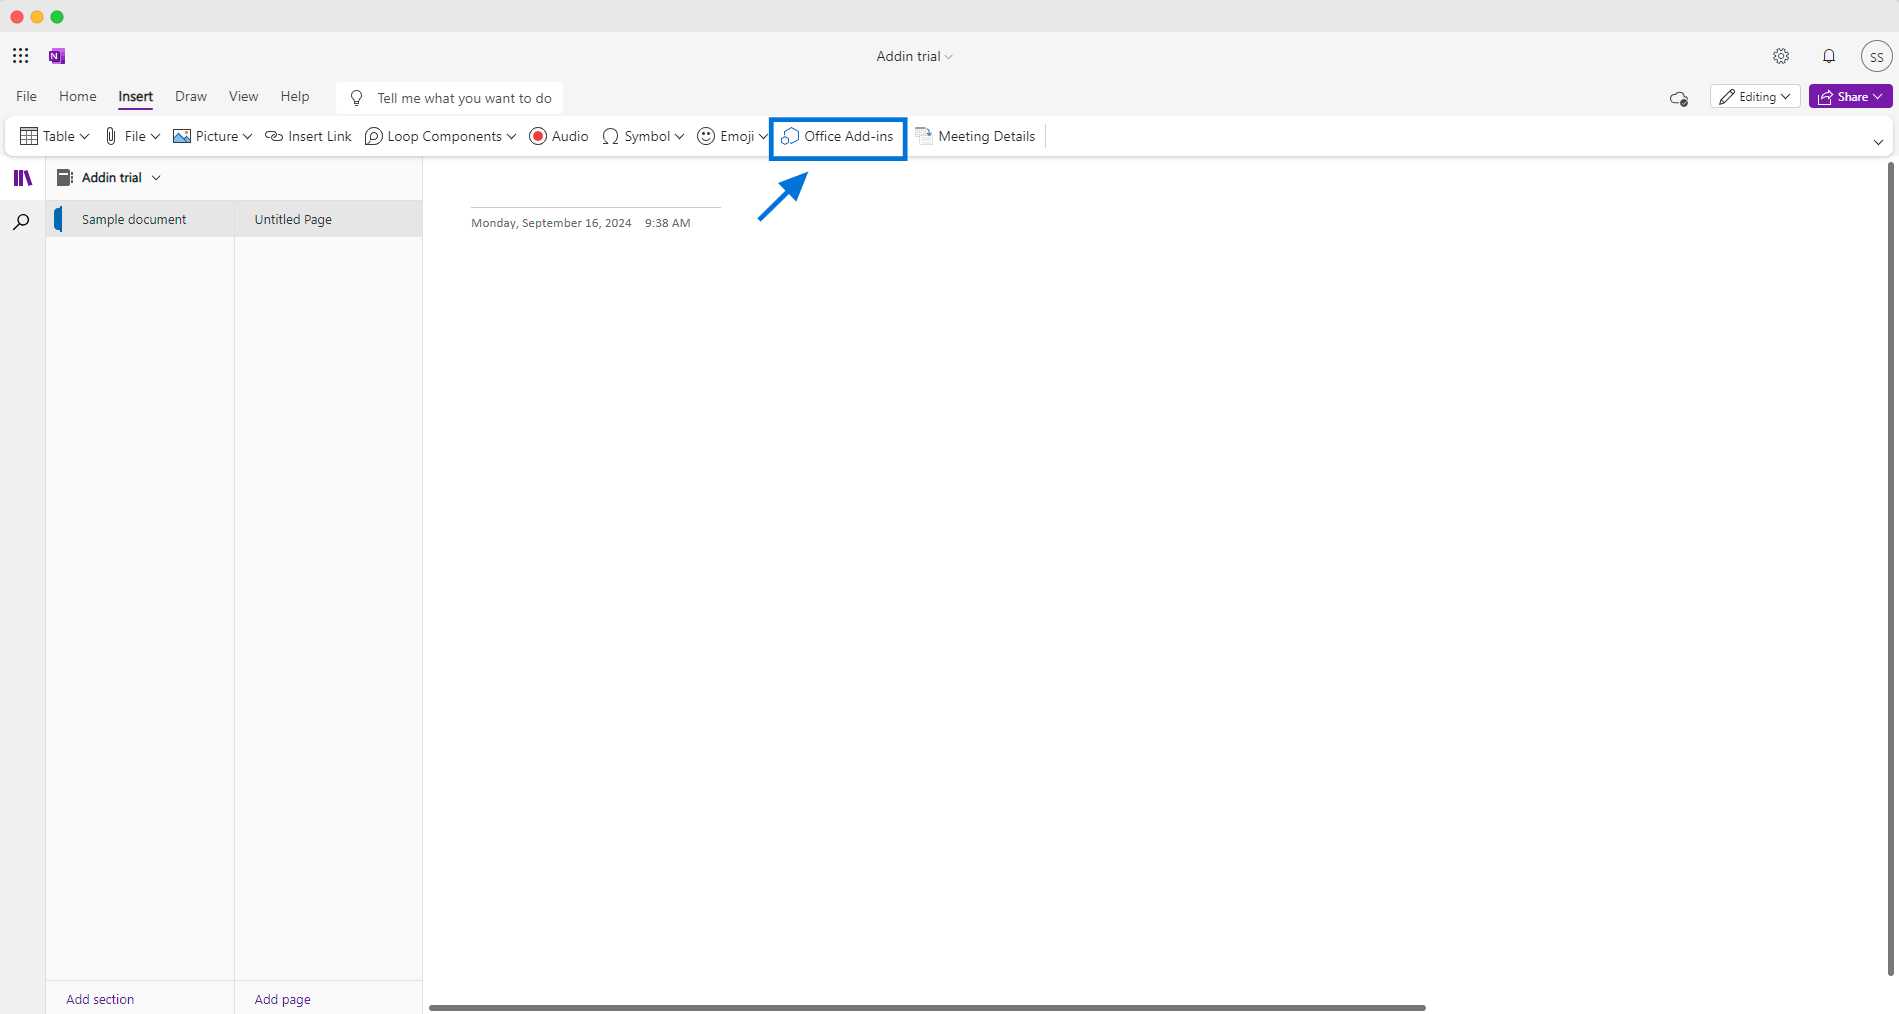
Add-ins in Microsoft OneNote
Installing the add-in
As an end-user
Click on the Add-in button as shown above.
Search for “Circularo”
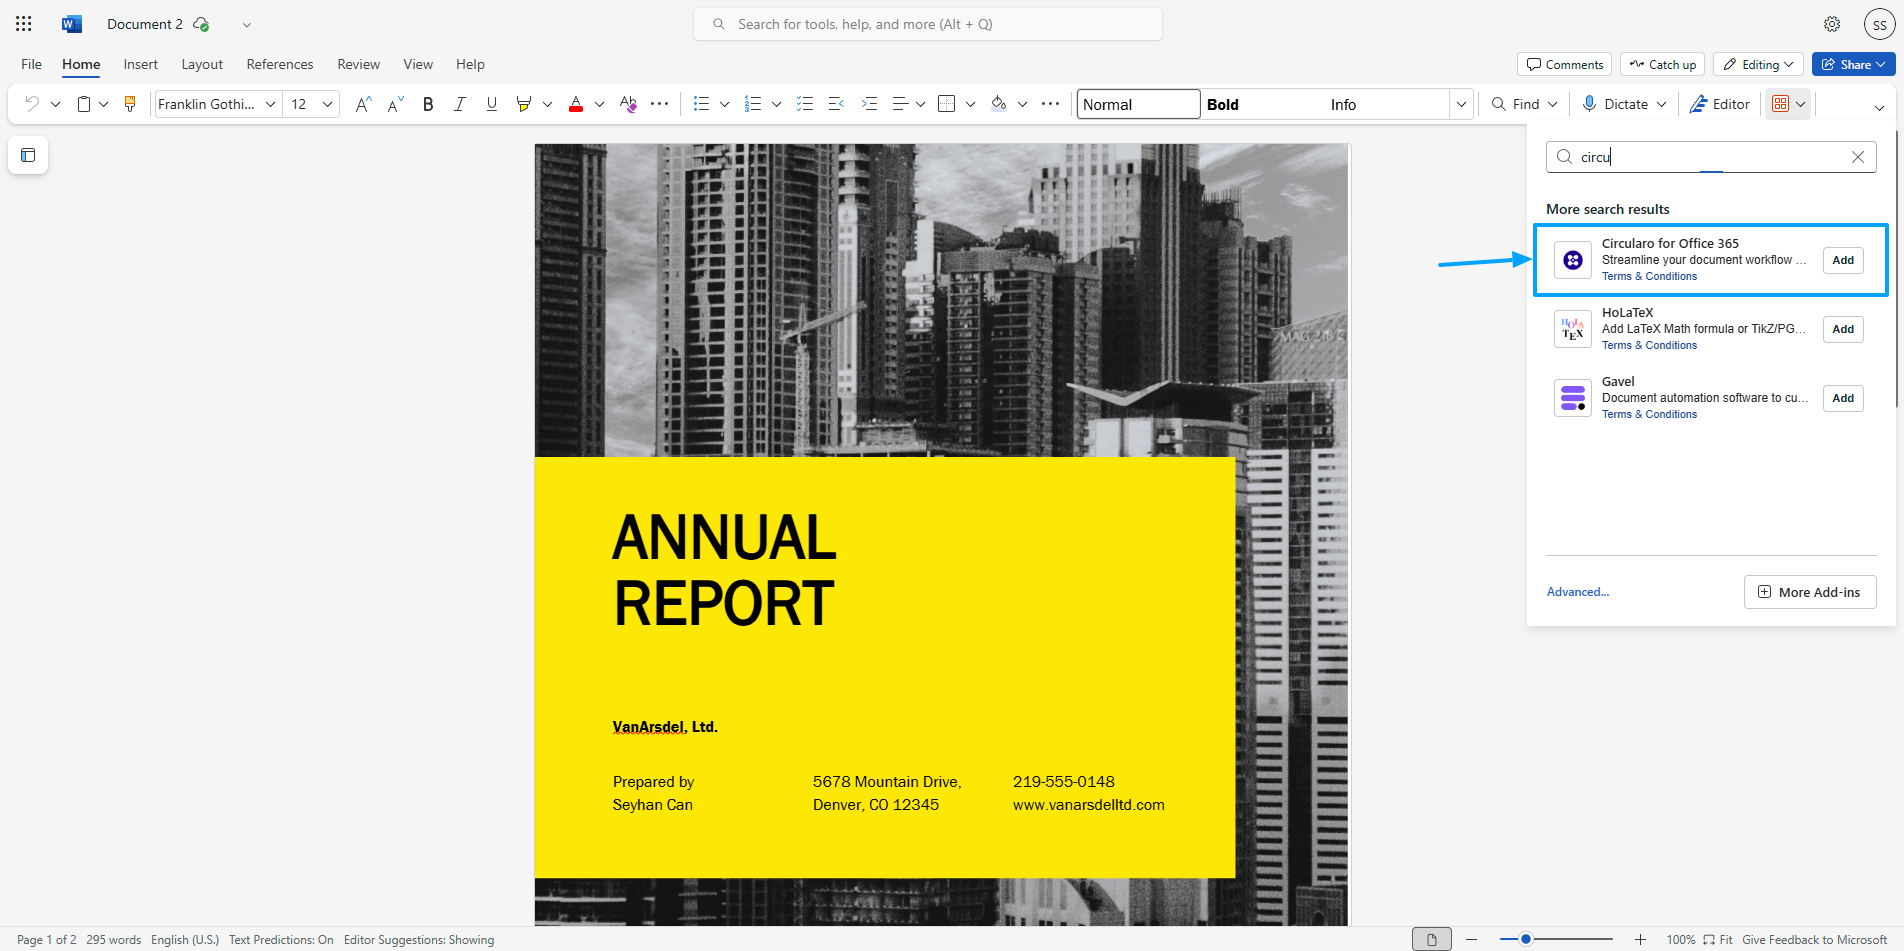
Circularo in add-in store
Click on Add.
Circularo add-in should be successfully added to your MS 365.
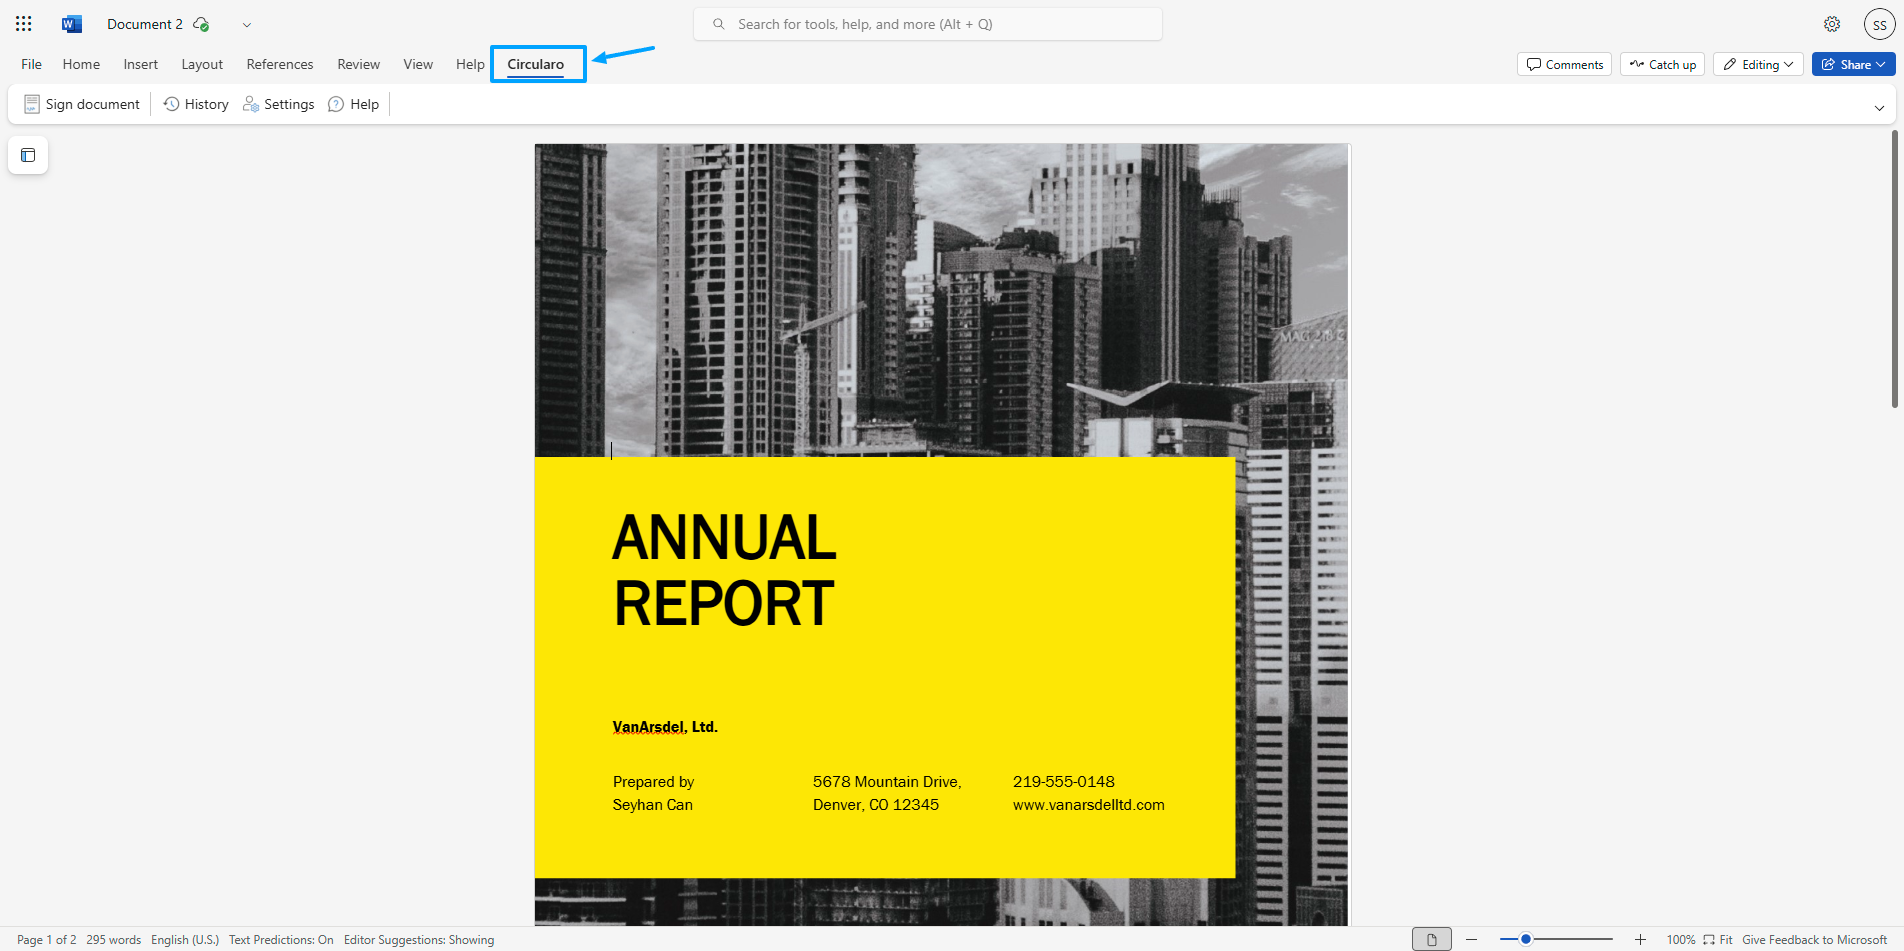
Circularo added to Word
As an admin in your organization
In the admin center of MS 365, in the left navigation, choose Settings and then Integrated apps.
Select Upload custom apps. Custom line of business add-ins for Word, PowerPoint, Excel, and Outlook are supported.
Upload the manifest file from your device or add a URL link. Some apps require you to add users before you can select Deploy.
Select Add users, choose Is this a test deployment, and choose either Entire organization, Specific users/groups, or Just me. Specific users/groups can be a Microsoft 365 group, a security group, or a distributed group. You can also choose Test deployment if you want to wait to deploy the app to the entire organization.
Select Next to view the Accept permission request page. The app capabilities and permissions of the apps are listed. If the app needs consent, select Accept permissions. Only a global administrator can give consent.
Select Next to review the deployment and choose Finish deployment. You can view the deployment from the Overview tab by choosing View this deployment.
Without access to app store
Download the manifest file: https://www.circularo.com/static/office-addins/office/manifest.xml (right click and select “Save link as…” to download it to your device)
Open Excel, OneNote, PowerPoint, or Word.
Go to Add-ins.
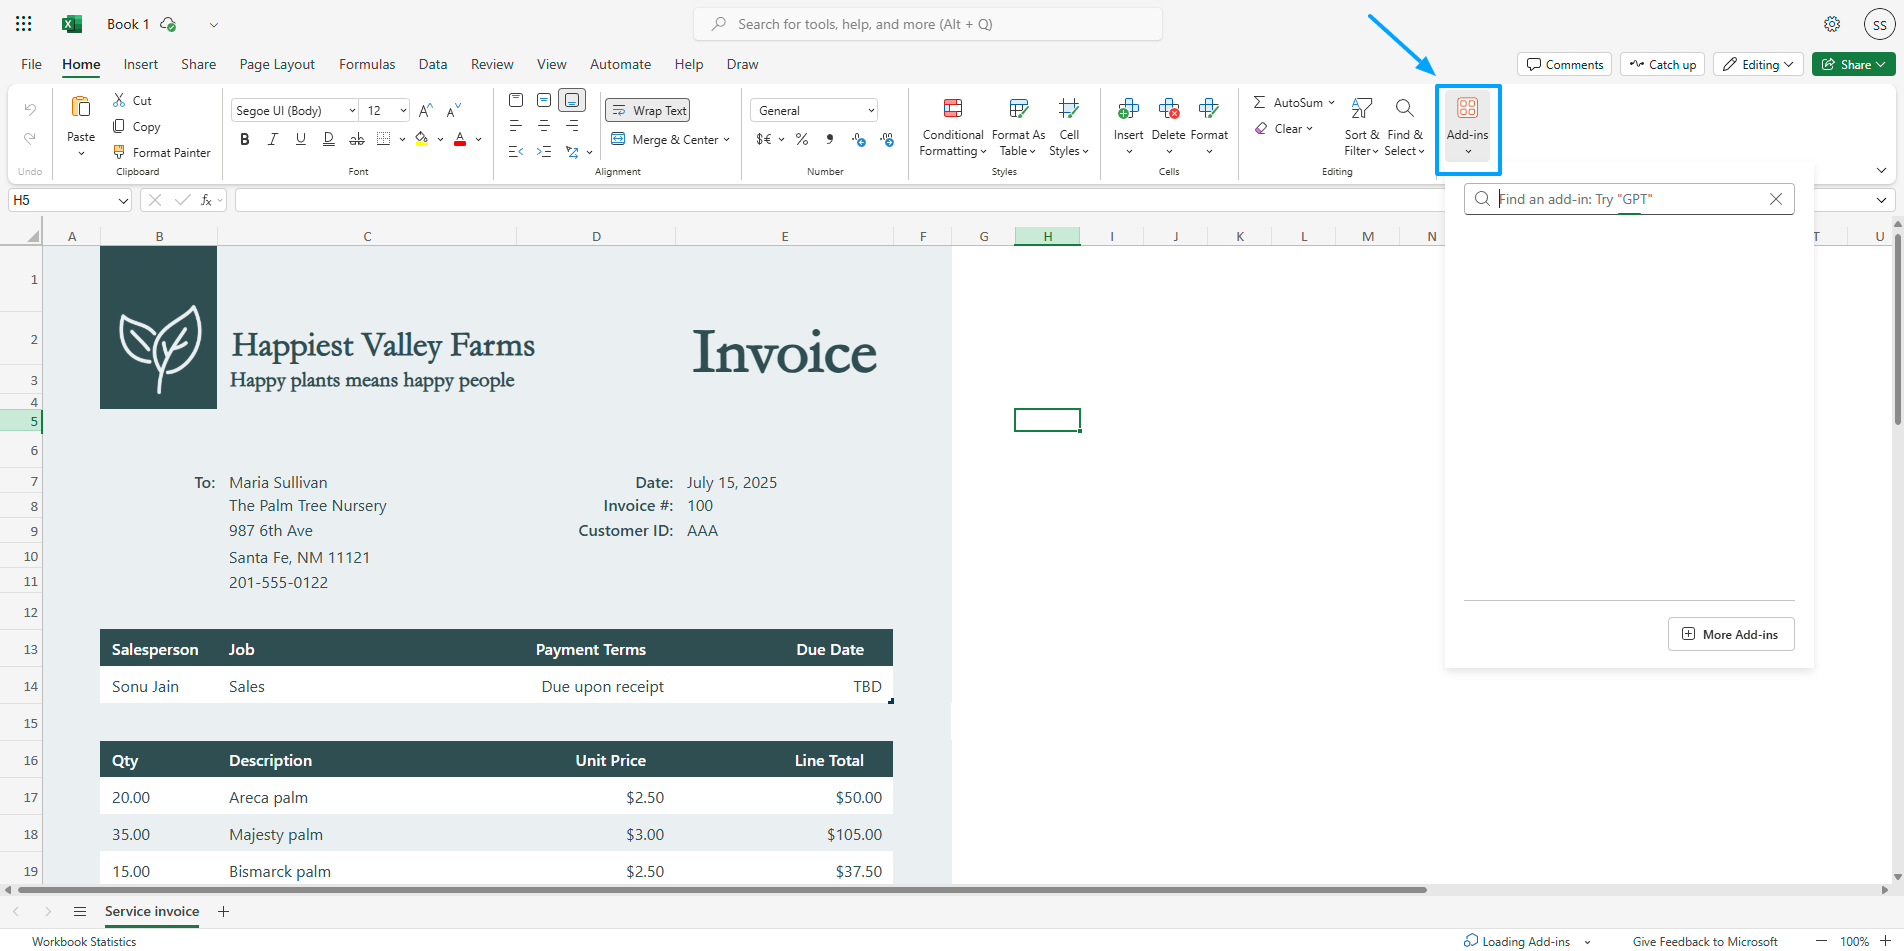
Open add-ins
Select More add-ins
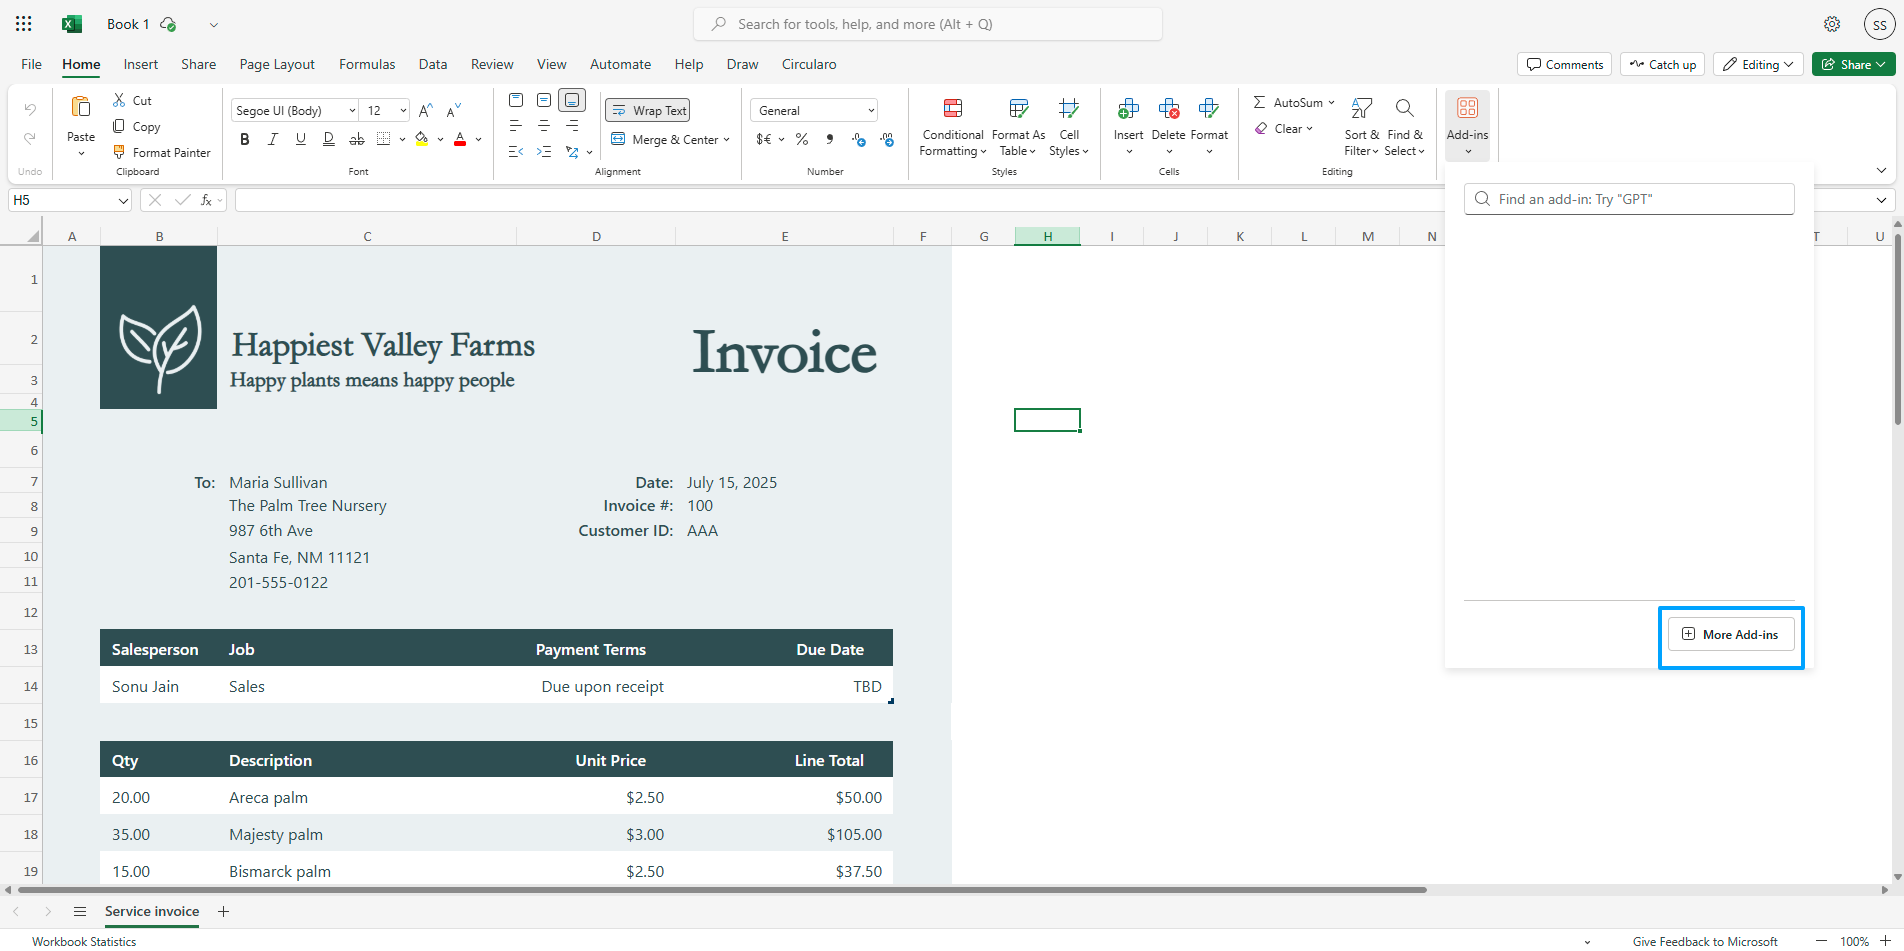
More add-ins
Go to the tab My add-ins and Upload my add-in in the top right corner.
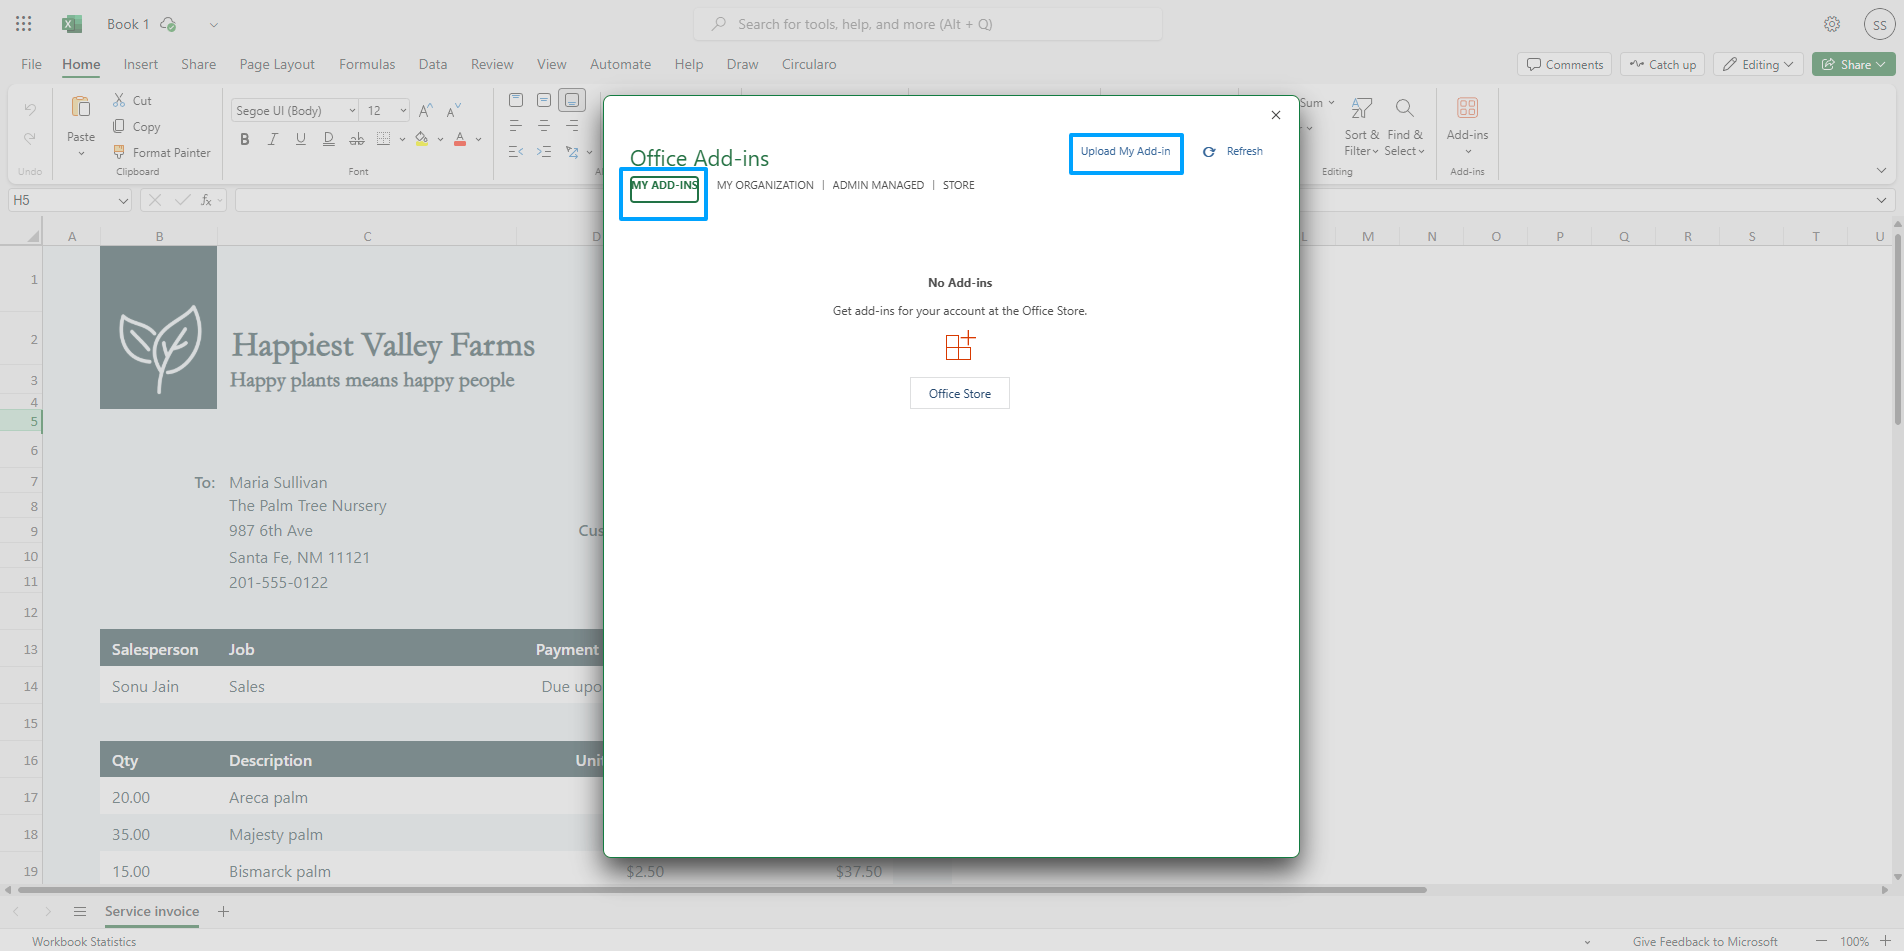
My add-ins
Browse to select the manifest file and click Upload.

Upload manifest file
The Circularo add-in should be installed.
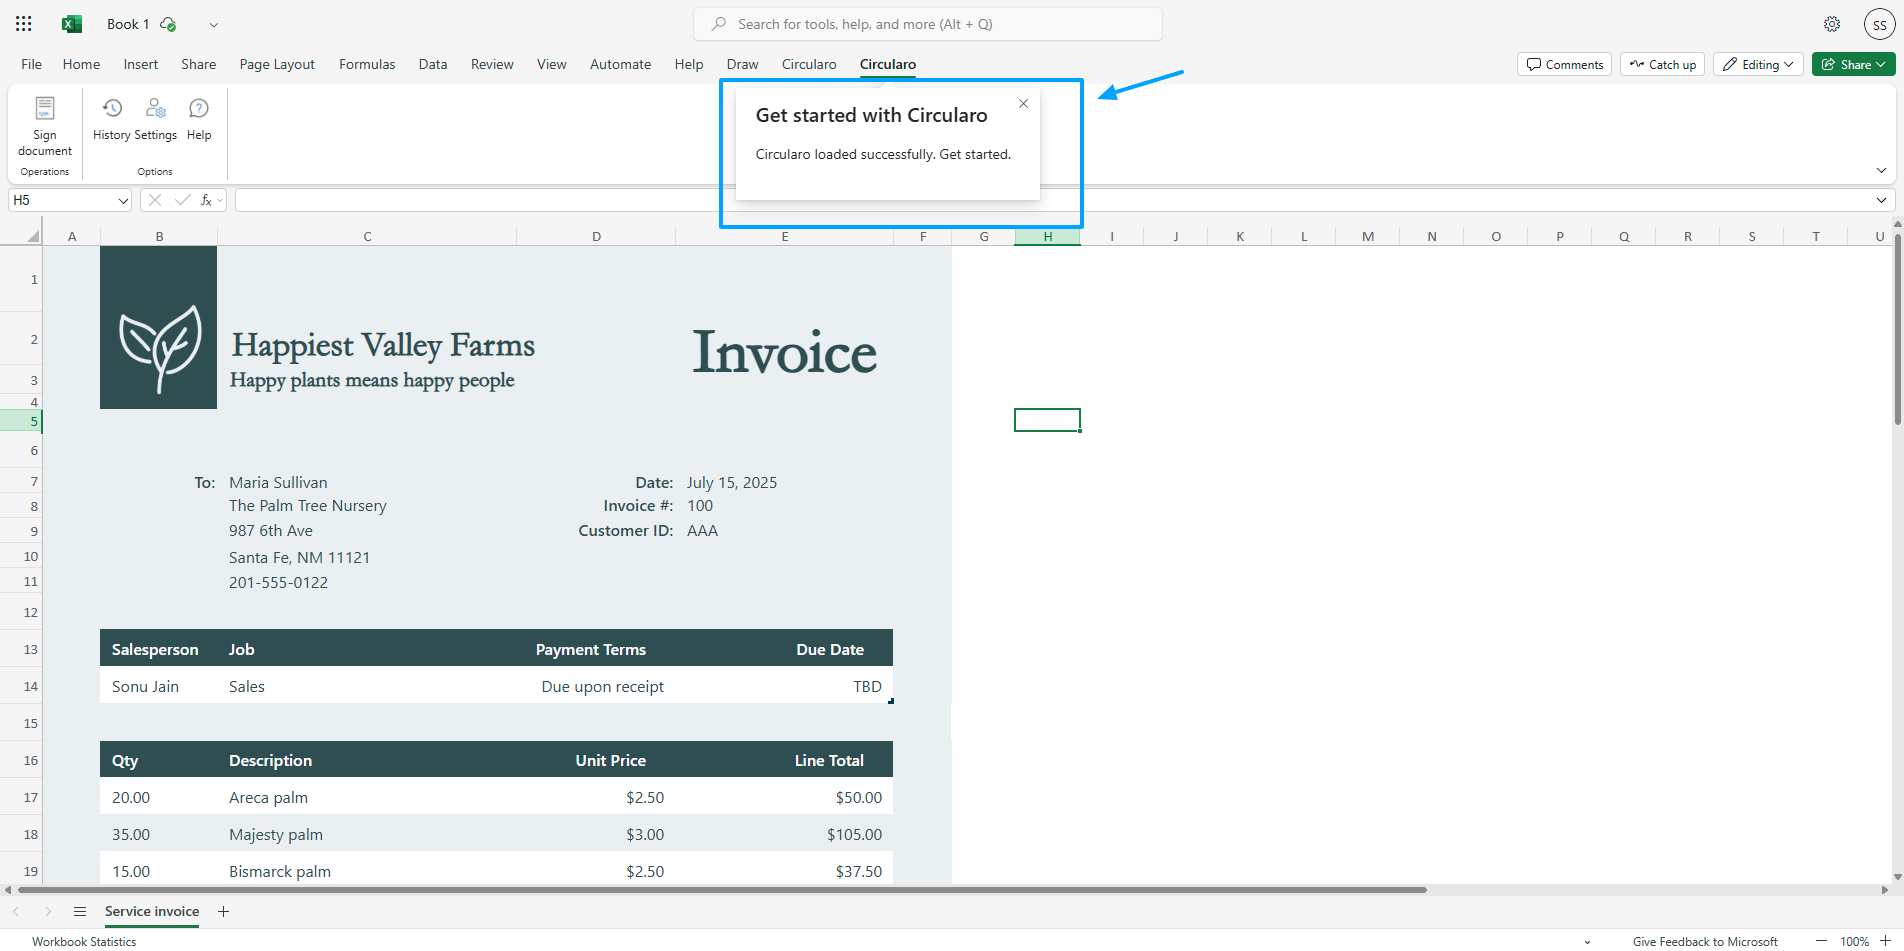
Circularo installed
Login into the add-in
The easiest way to log into the add-in is by using an API Key you can generate in your Circularo account, as it sets up all necessary details for you.
Login via API Key
Go to Preferences in your Circularo account.
Click on the Manage API Keys tab.
If you cannot find this tab, contact the Admin of your organization.
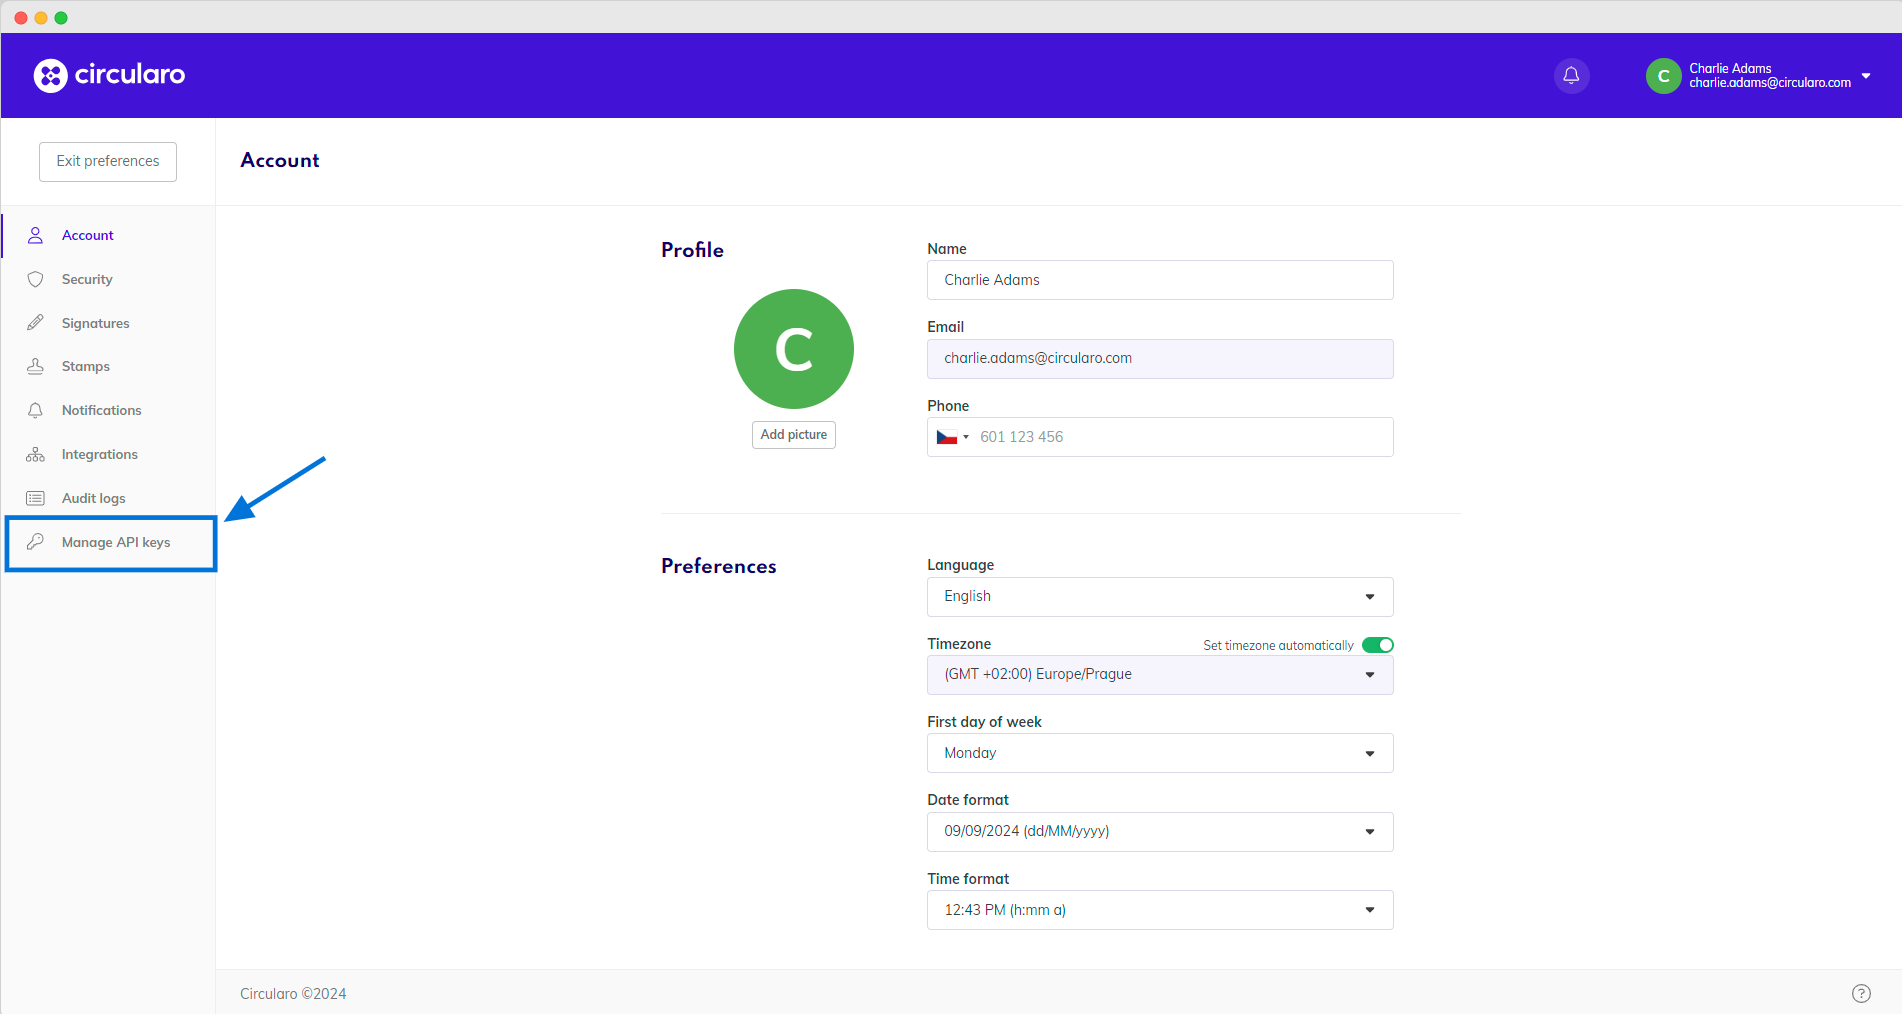
Manage API Keys
Click on the green Create API Key button in the top right corner.
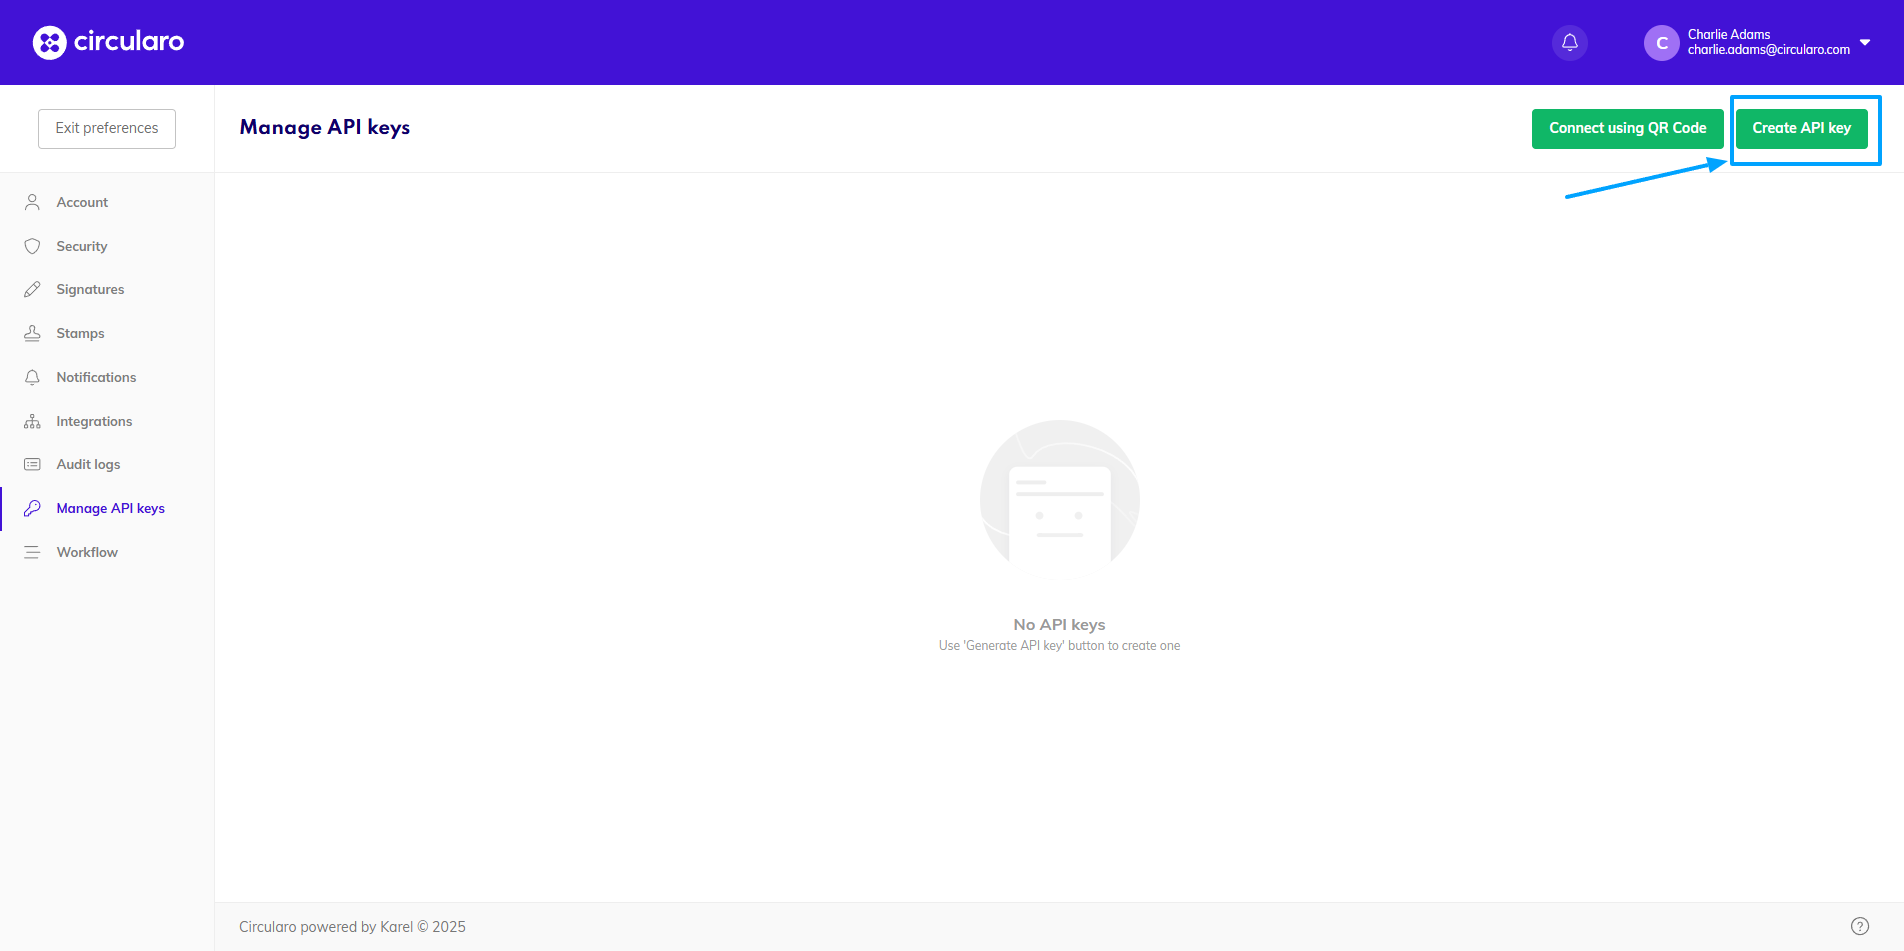
Create an API key
Create a name for the key and select Microsoft Add-in API Key from the dropdown.

Choose name and type
Copy the new generated key by opening the dropdown on the right-hand side and choose the Copy as access code option - this option includes all necessary information to properly set the connection between MS 365 and Circularo.
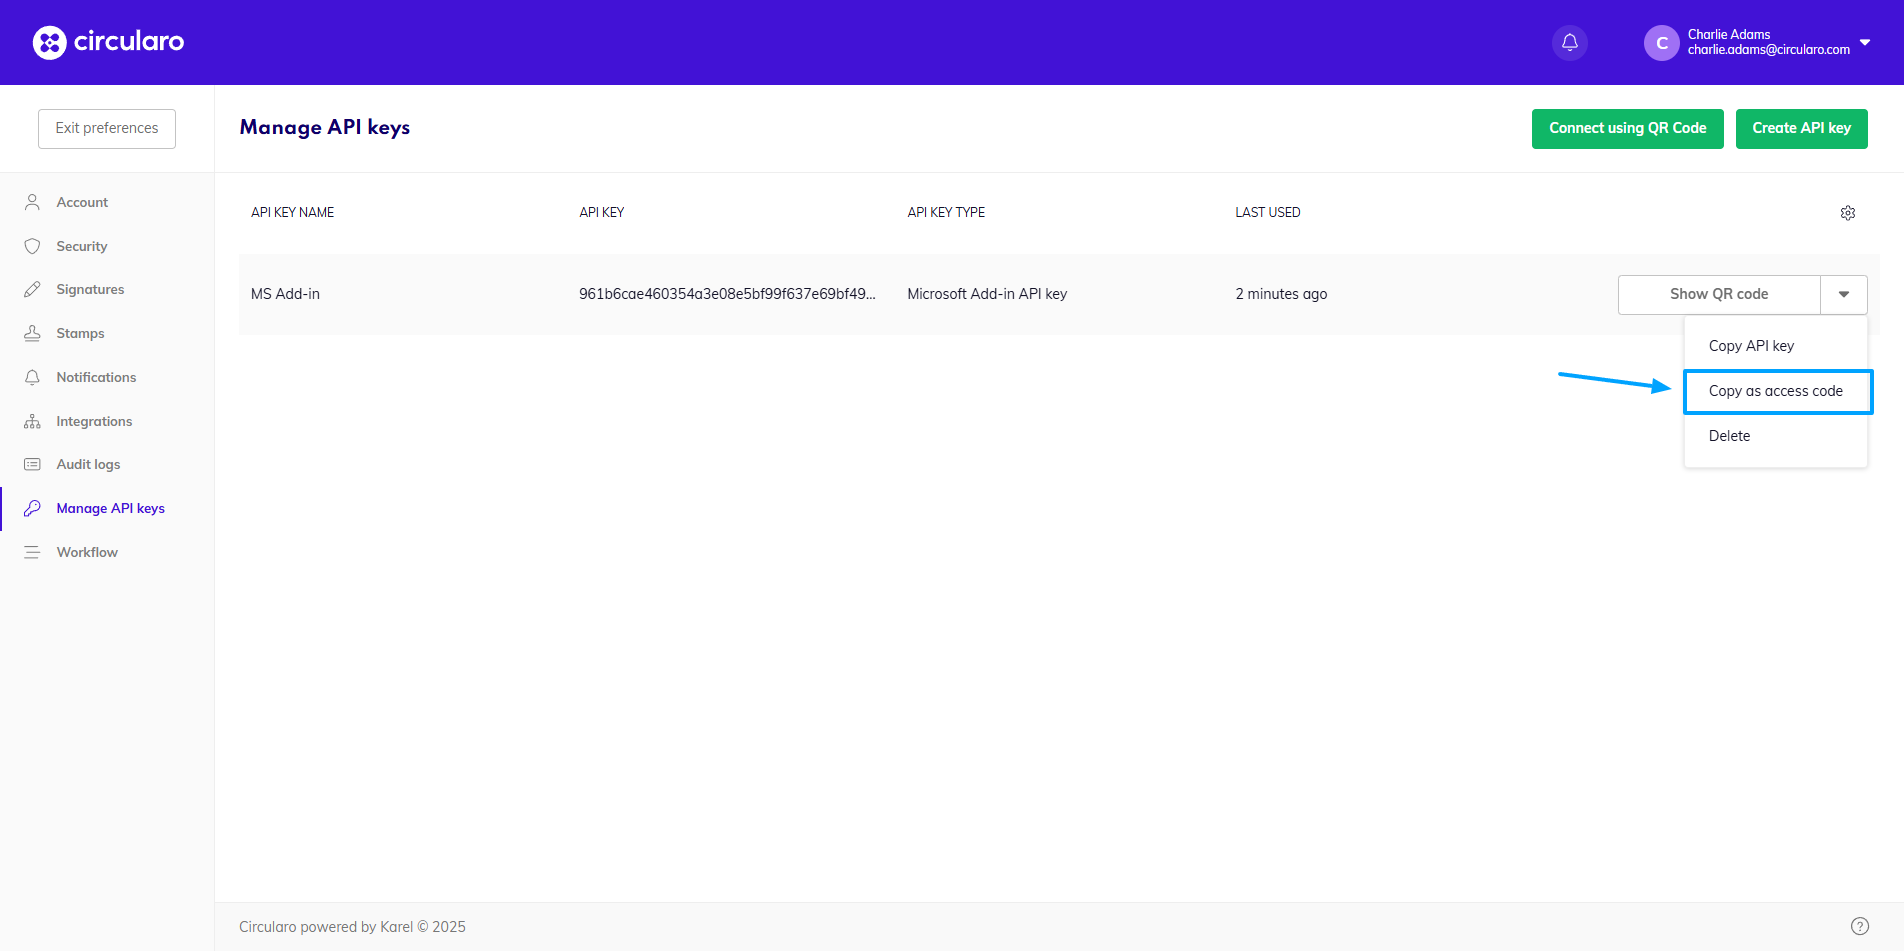
Copy API Key as access code
Go to Microsoft 365
In the add-in, click on the “Do you have an access code?” option
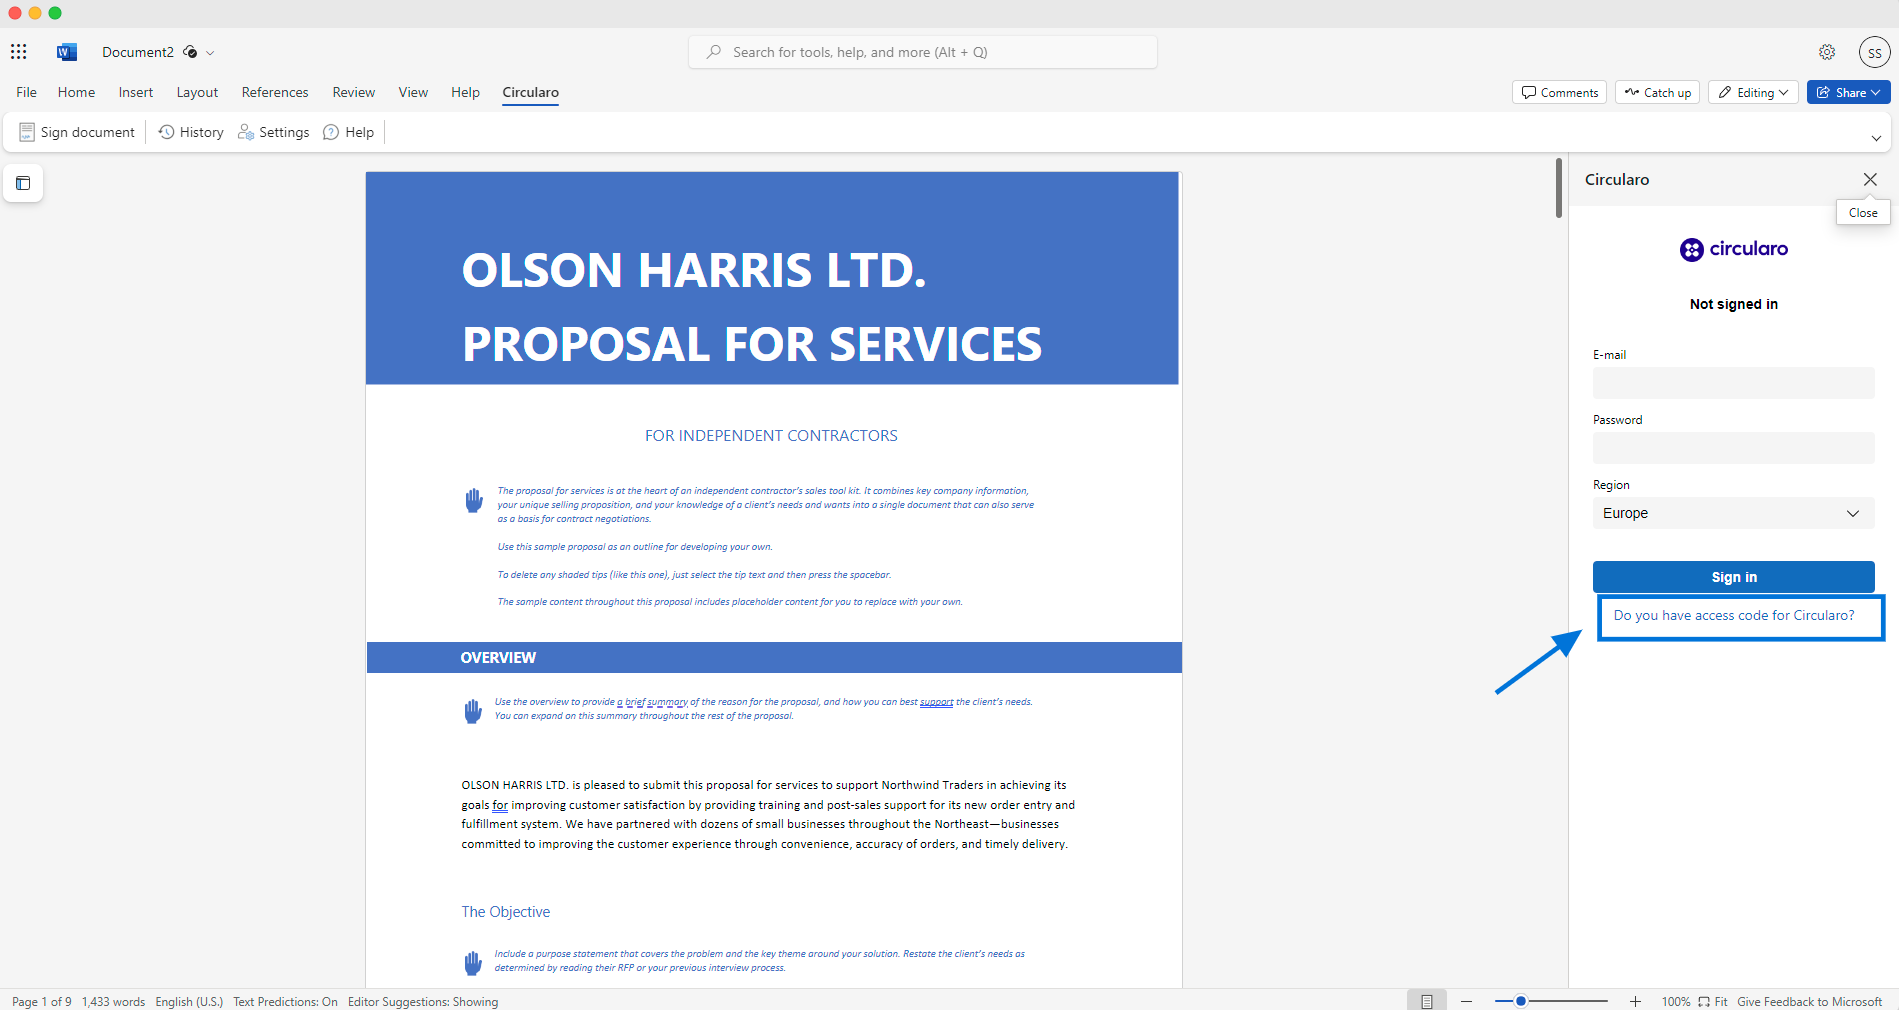
Login to Circularo in Microsoft 365
Insert your copied API key.
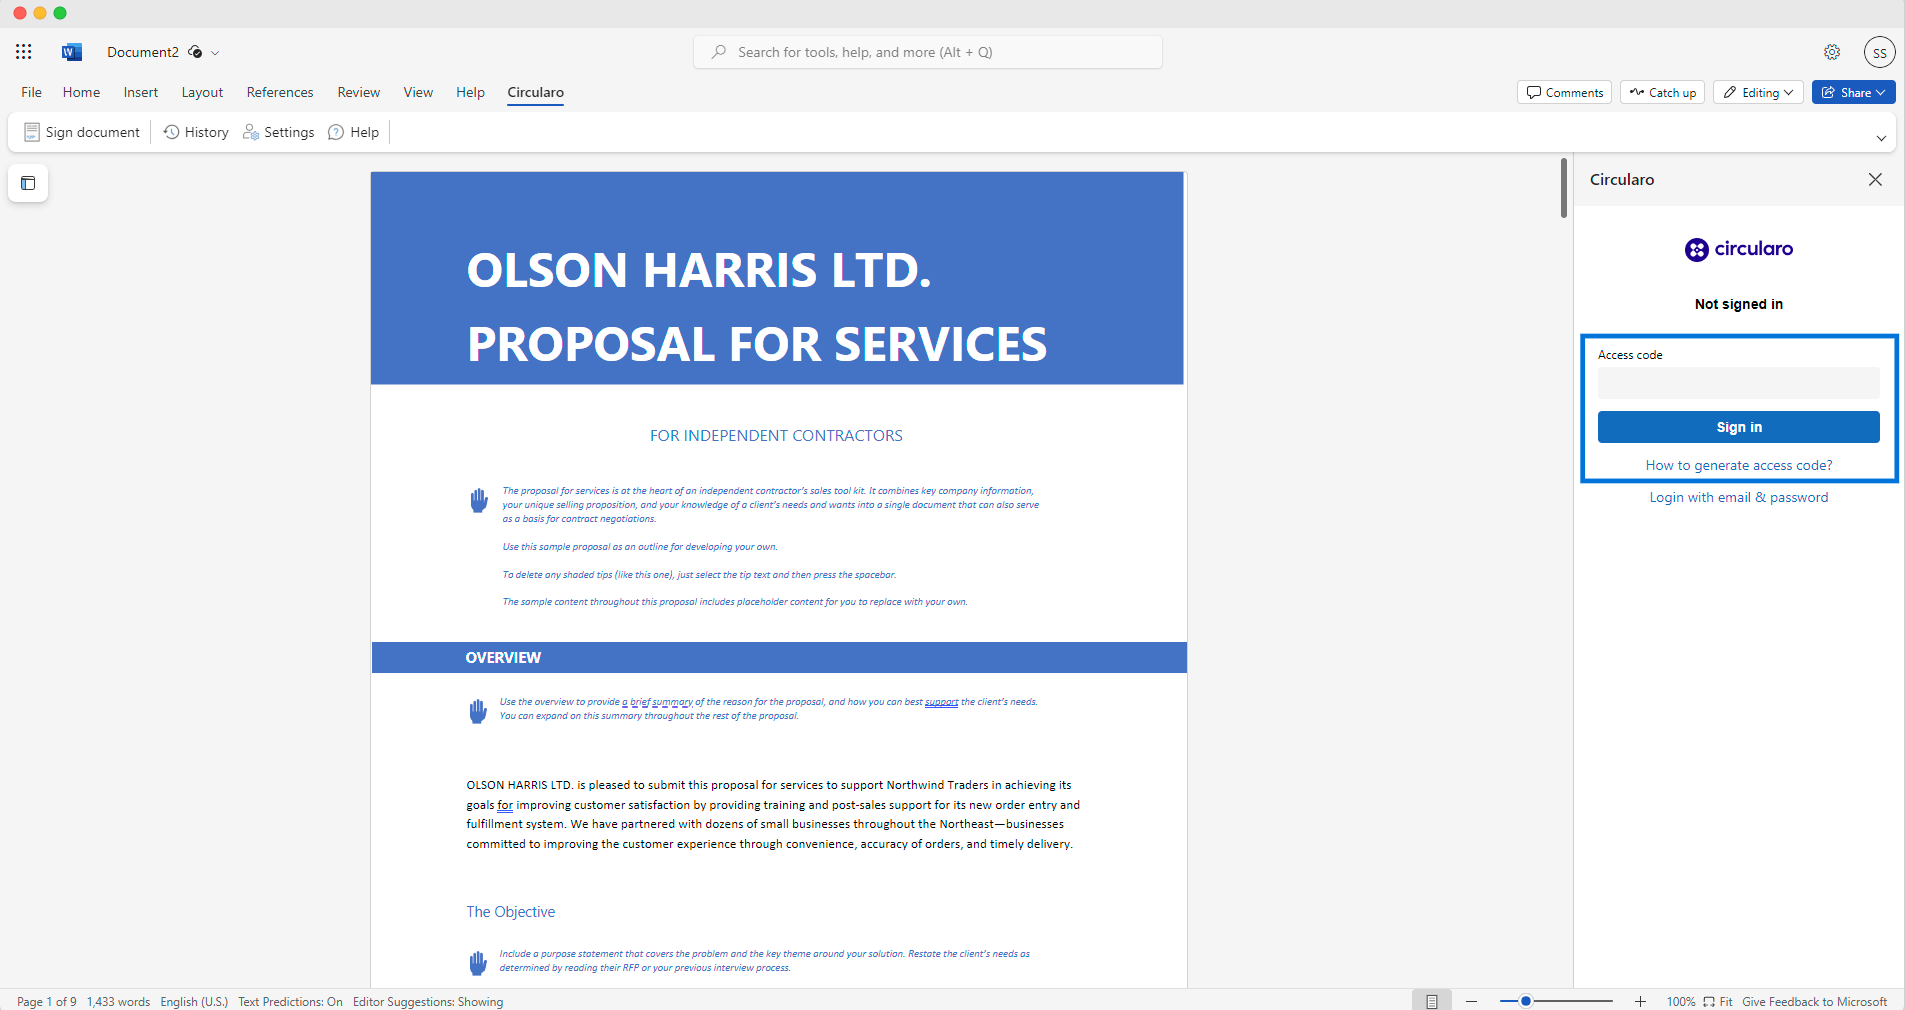
Insert access code
You are now logged in and can use all the functionalities.
Login via email and password
In MS 365 in the Circularo add-in, use your Circularo credentials to login to your account.
An API Key will be automatically generated and saved in your Circularo account, in Preferences.
If your account is registered on a domain different from one of the Circularo default ones, you will need to manually change the settings of server and tenant in Advanced options.
If your account is registered on a domain different from one of the Circularo default ones, you will need to manually change the settings of server and tenant in Advanced options. For this reason we recommend first generating an API Key, as the server and tenant are automatically recognized that way and you do not have to change any settings at all. If you need any help with these settings, contact our support team.
Add-in functions
Send to Circularo
This option lets you send the file to Circularo and upload it there for further use. You can either send it as a PDF document and it will get converted before it’s uploaded, or you can send it in its original format. If you then need to start a signing process in Circularo with that file, it will automatically get converted into a PDF.
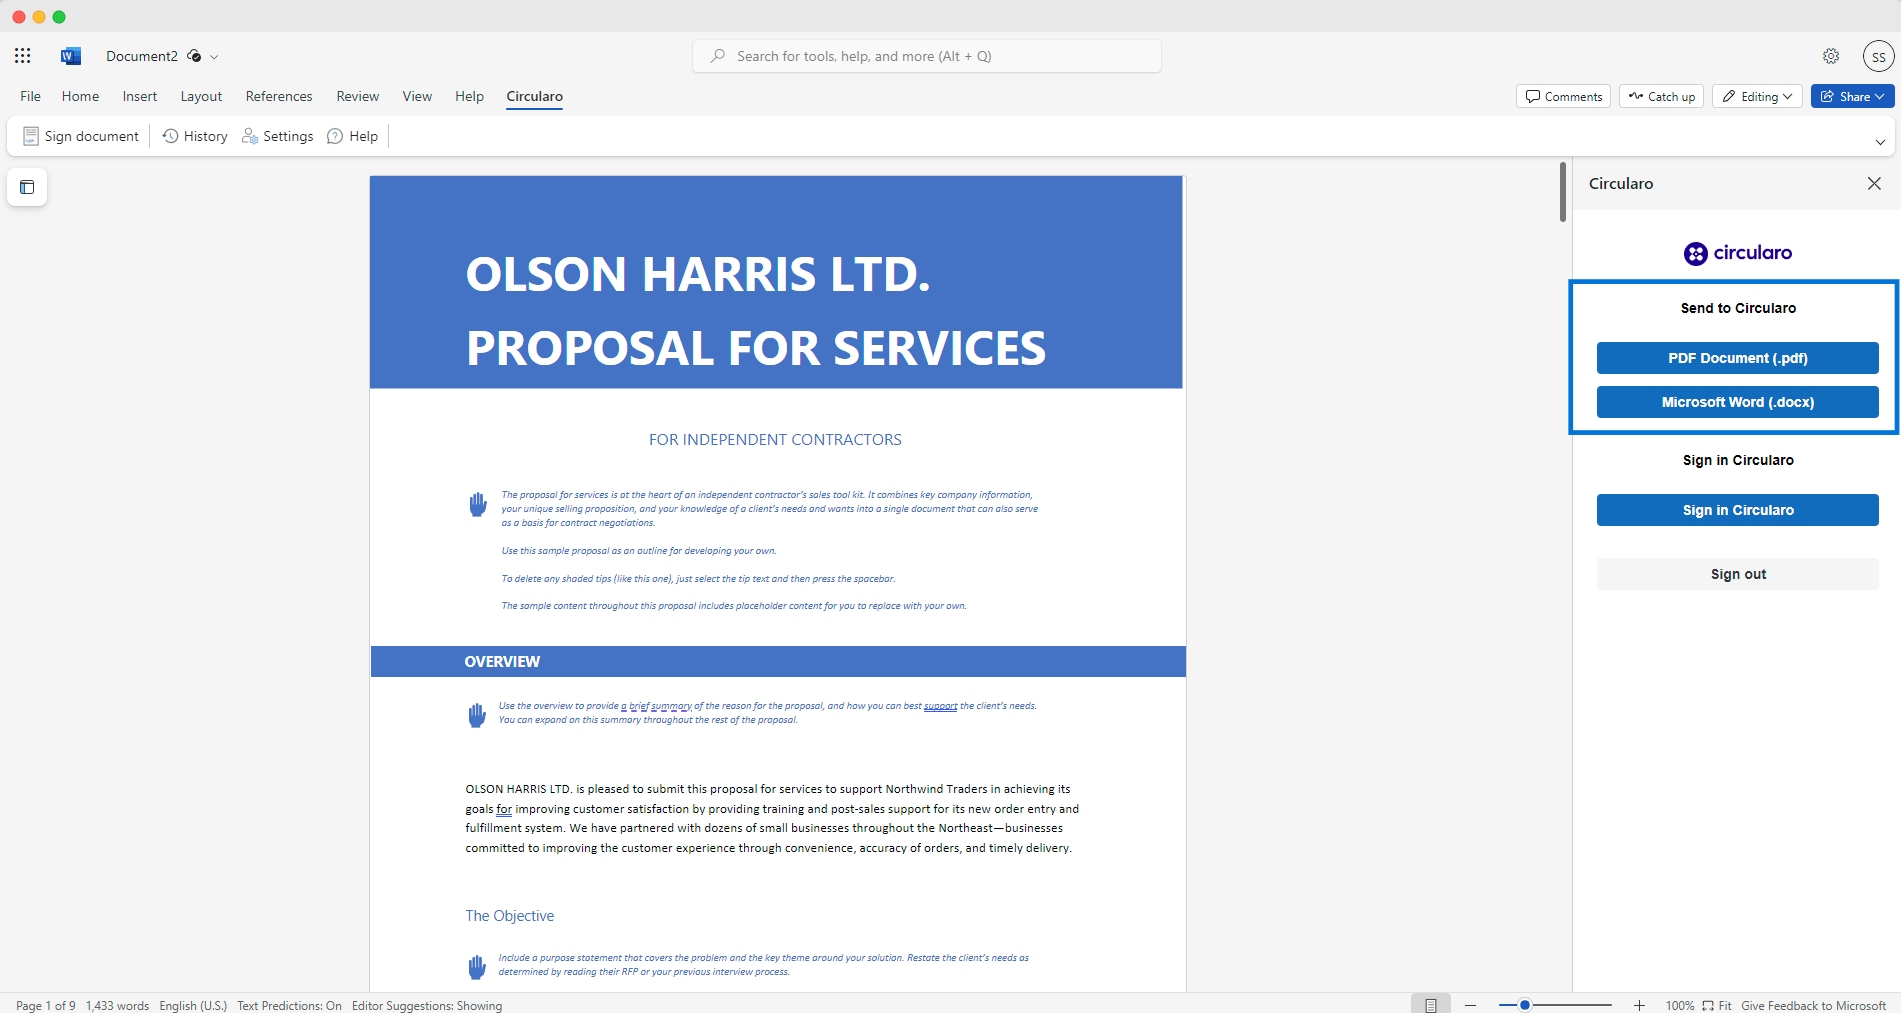
Send document to Circularo
Sign in Circularo
This will initiate a signing process for this document, which will be automatically converted into a PDF file. The rest of the process, such as selecting recipients, placing signature and other fields, and setting protections or deadlines, will be done in Circularo.
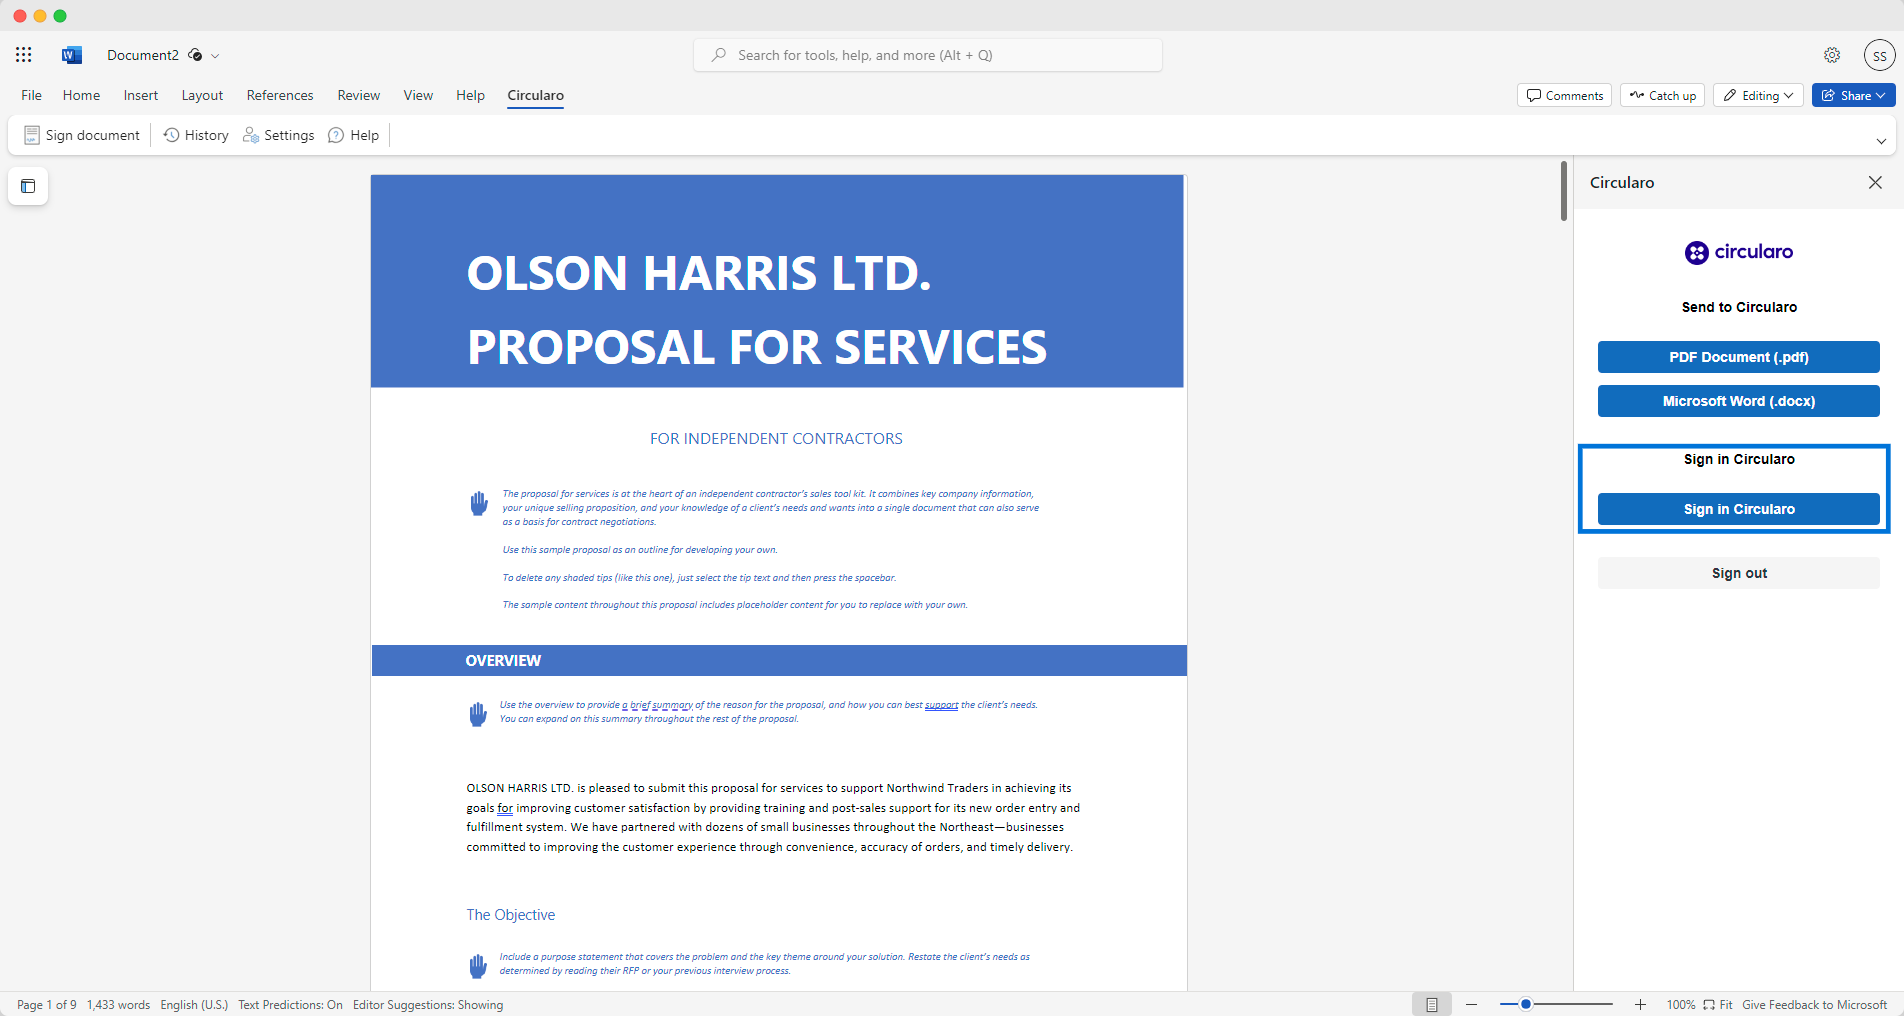
Sign in Circularo
History
This tab shows a history of all actions done within the add-in.
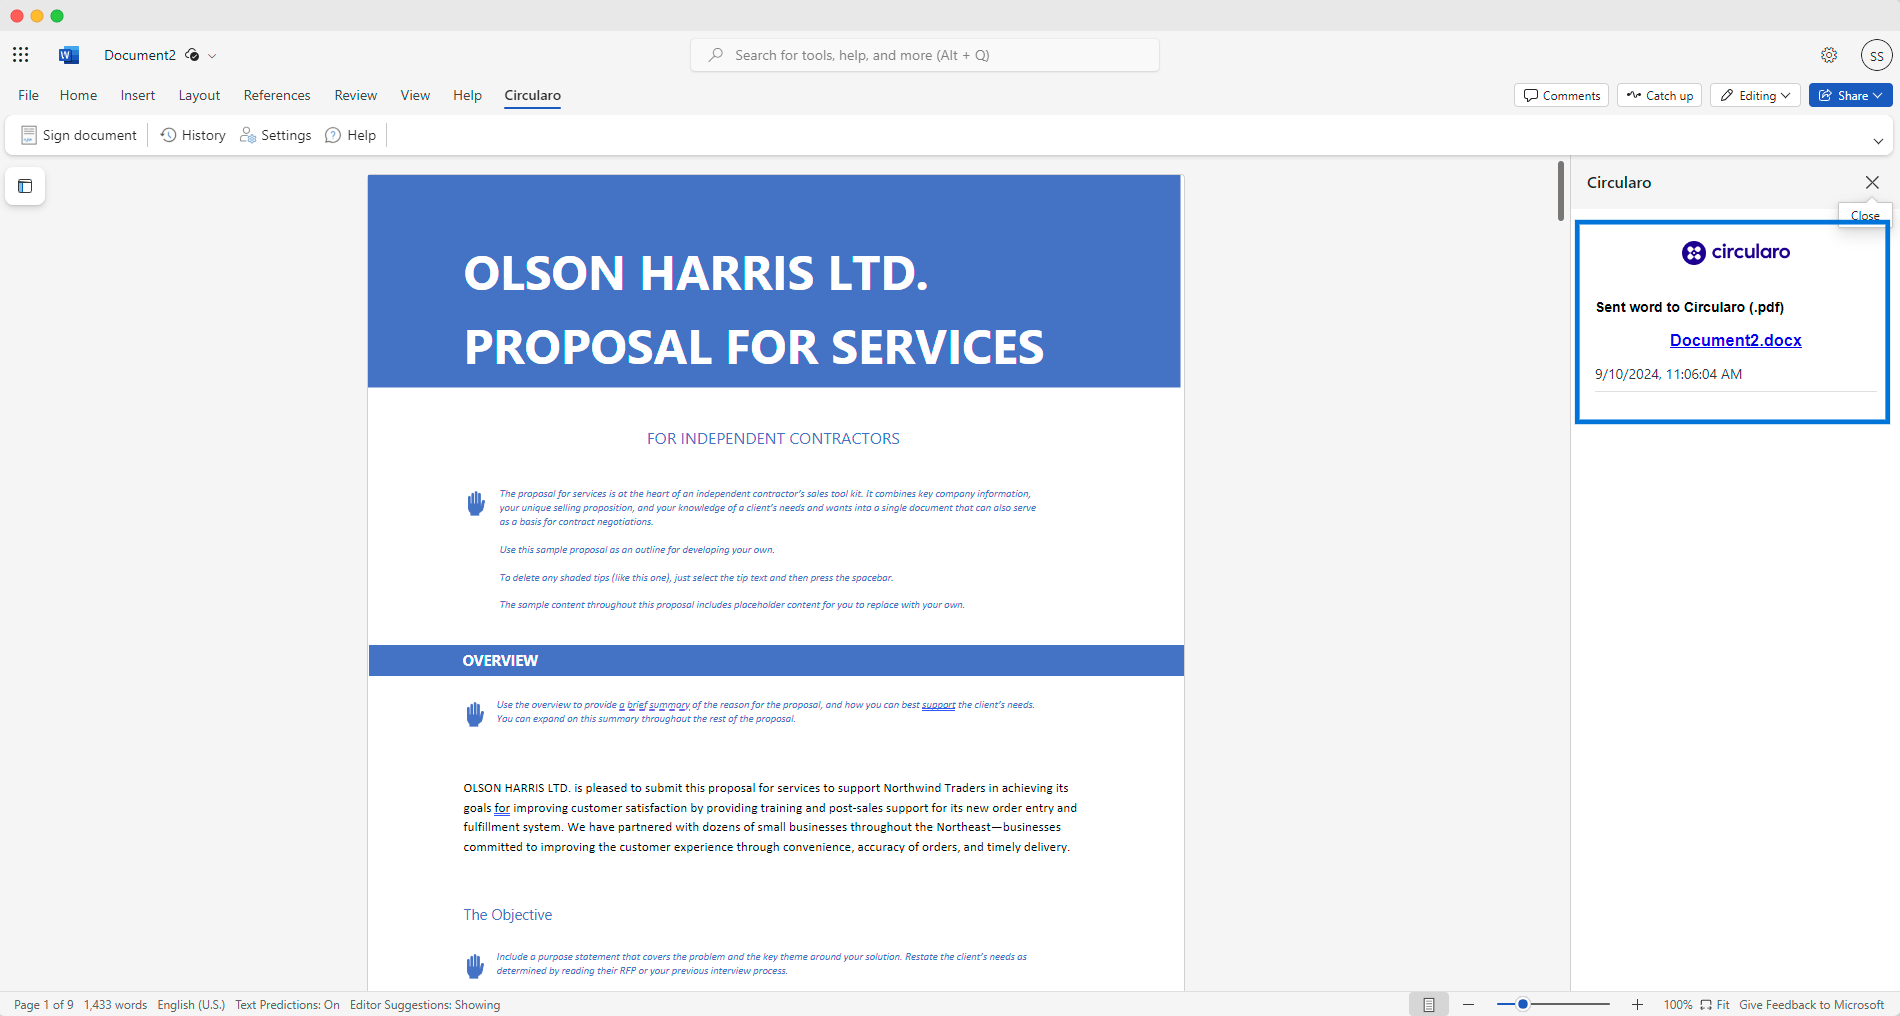
History
Settings
Here you can set your formatting preferences for the document, select whether you wish for the add-in to automatically open links to Circularo, delete the history from the add-in or restore default settings.
You can also Open Advanced Options.
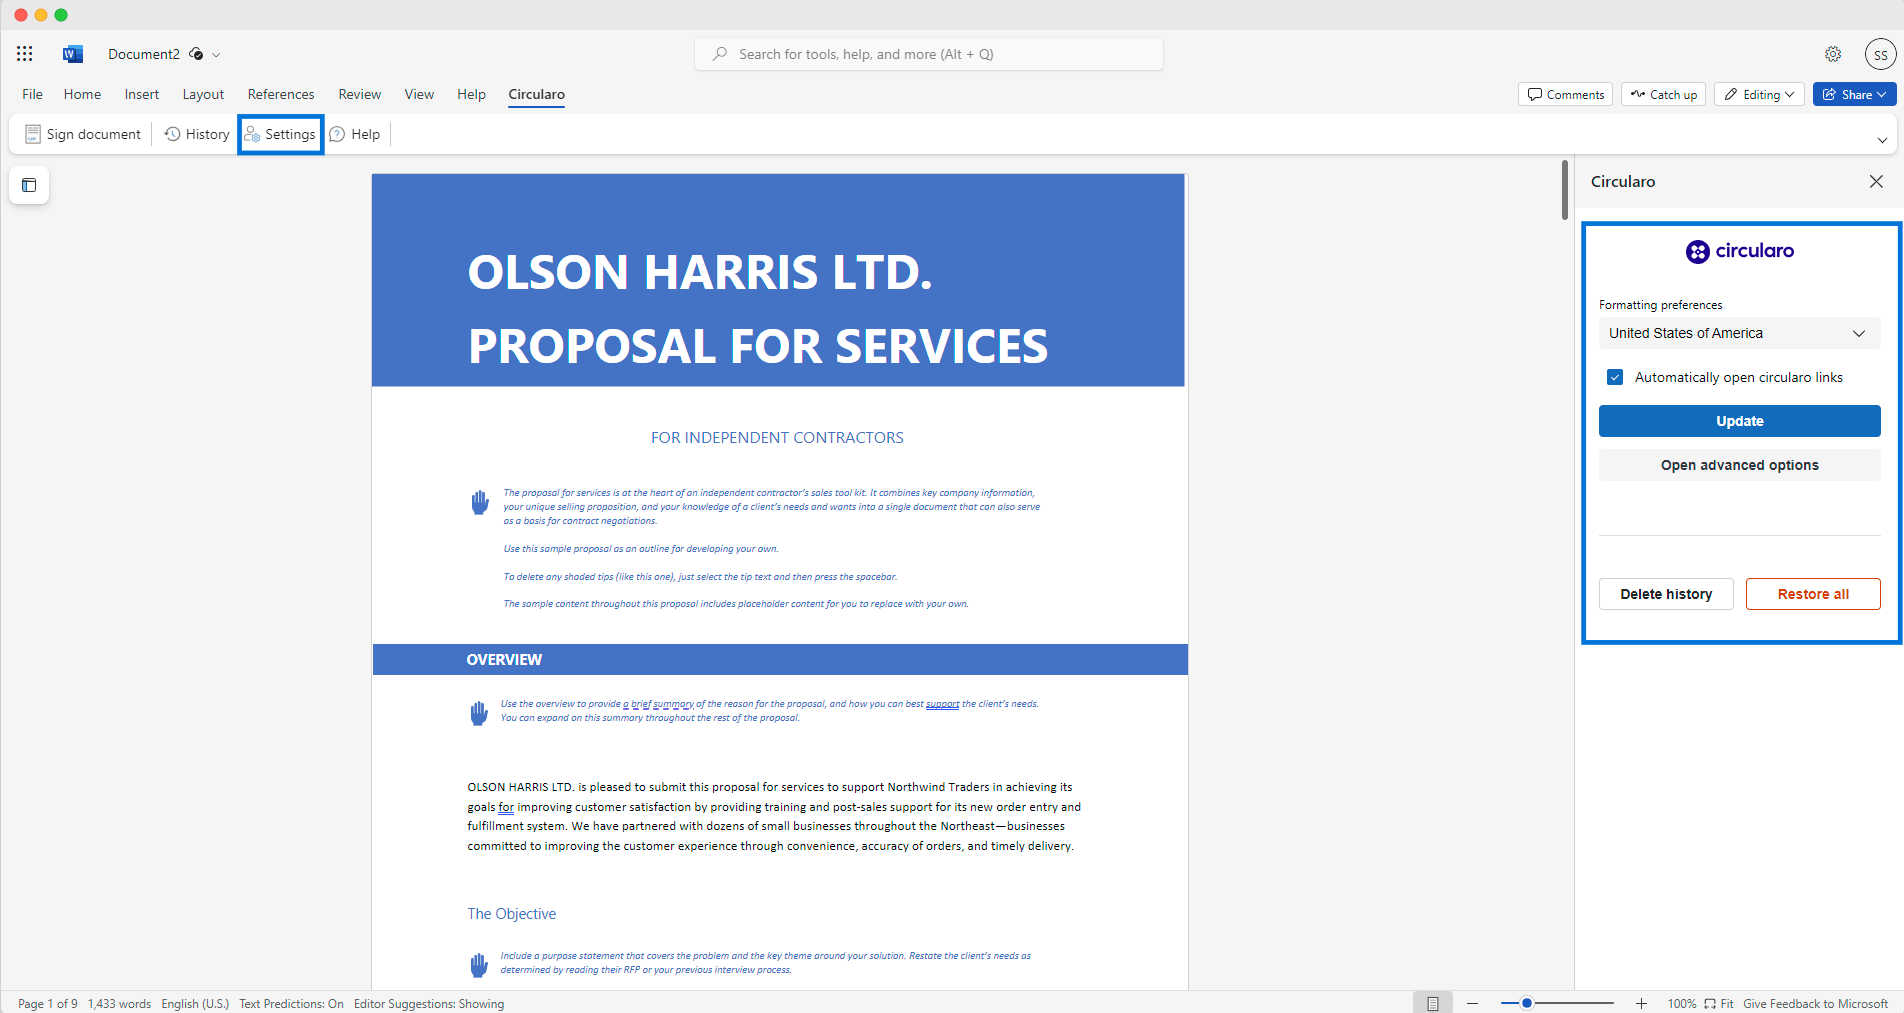
Settings
Advanced options
Here you can see:
Token - the API Key for login
Server
Tenant
Document type
Definition type
Workflow type
You can Save these options or any changes that you make, Restore default settings and Close advanced options.
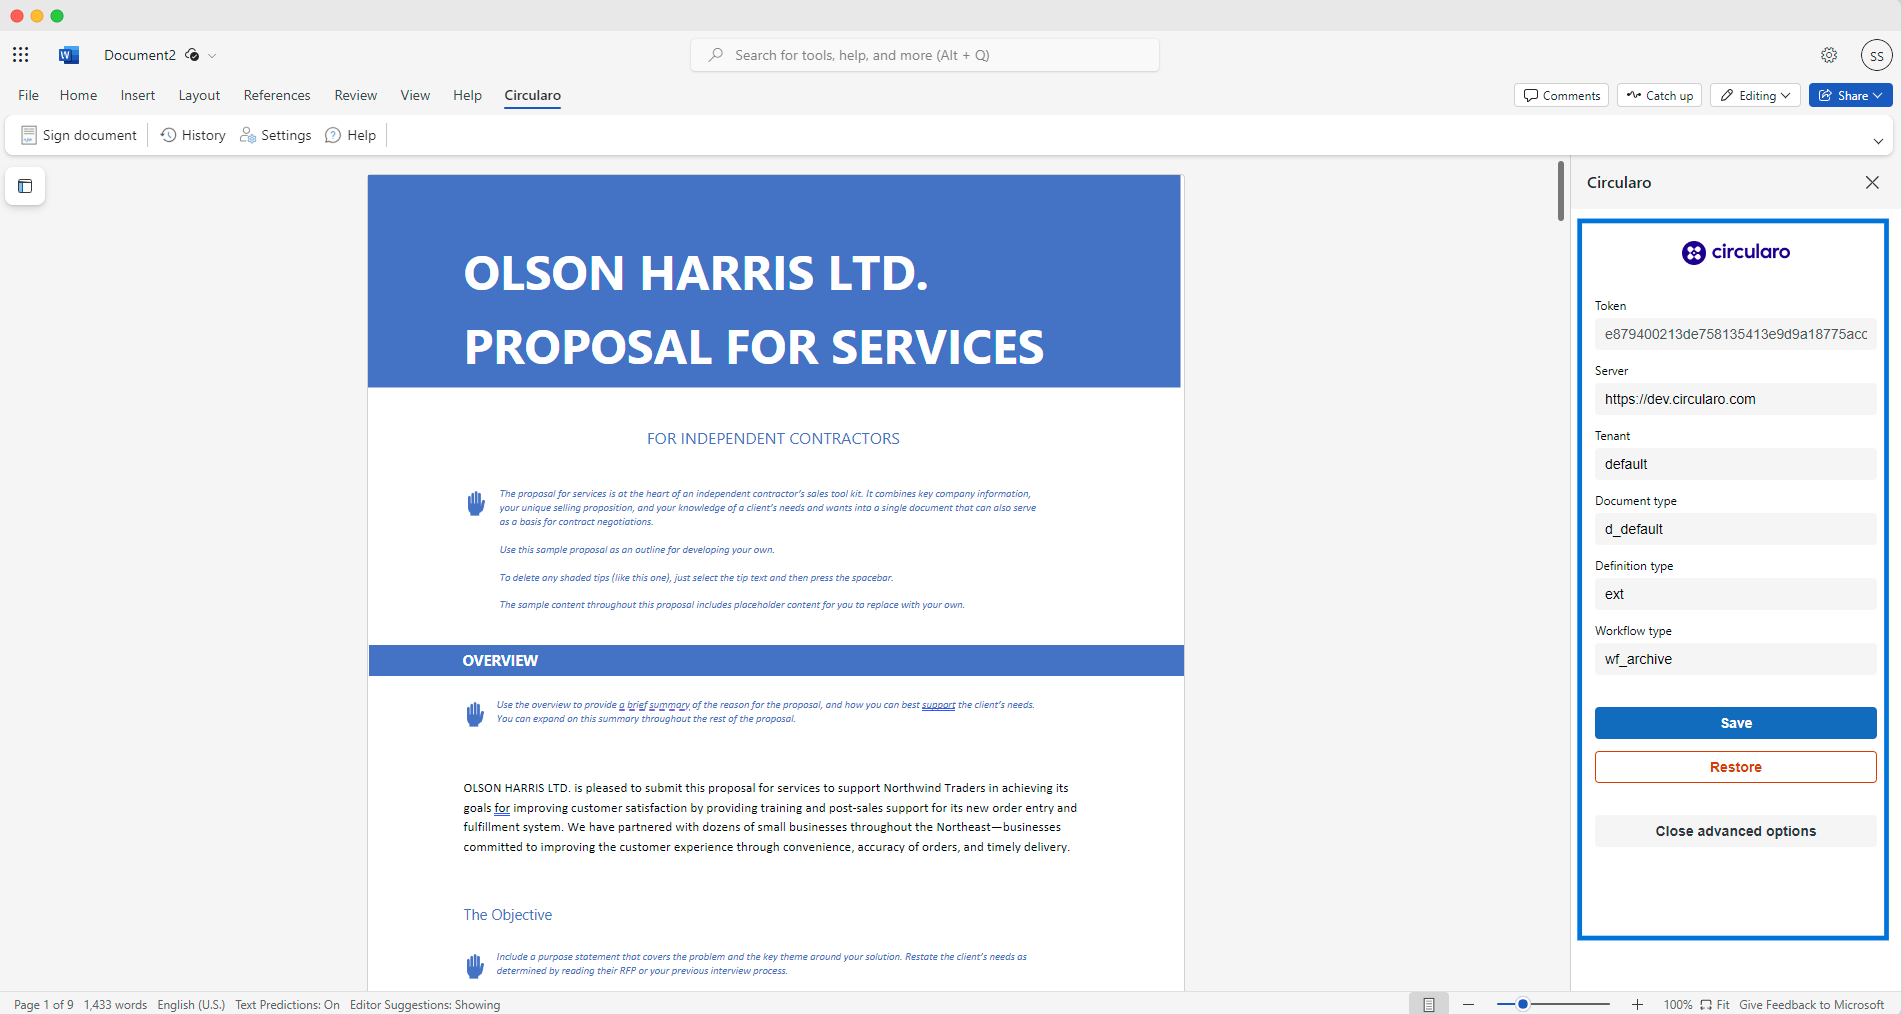
Advanced options
Help
This tab offers you a link to this Help Center or lets you report an issue to our support team.
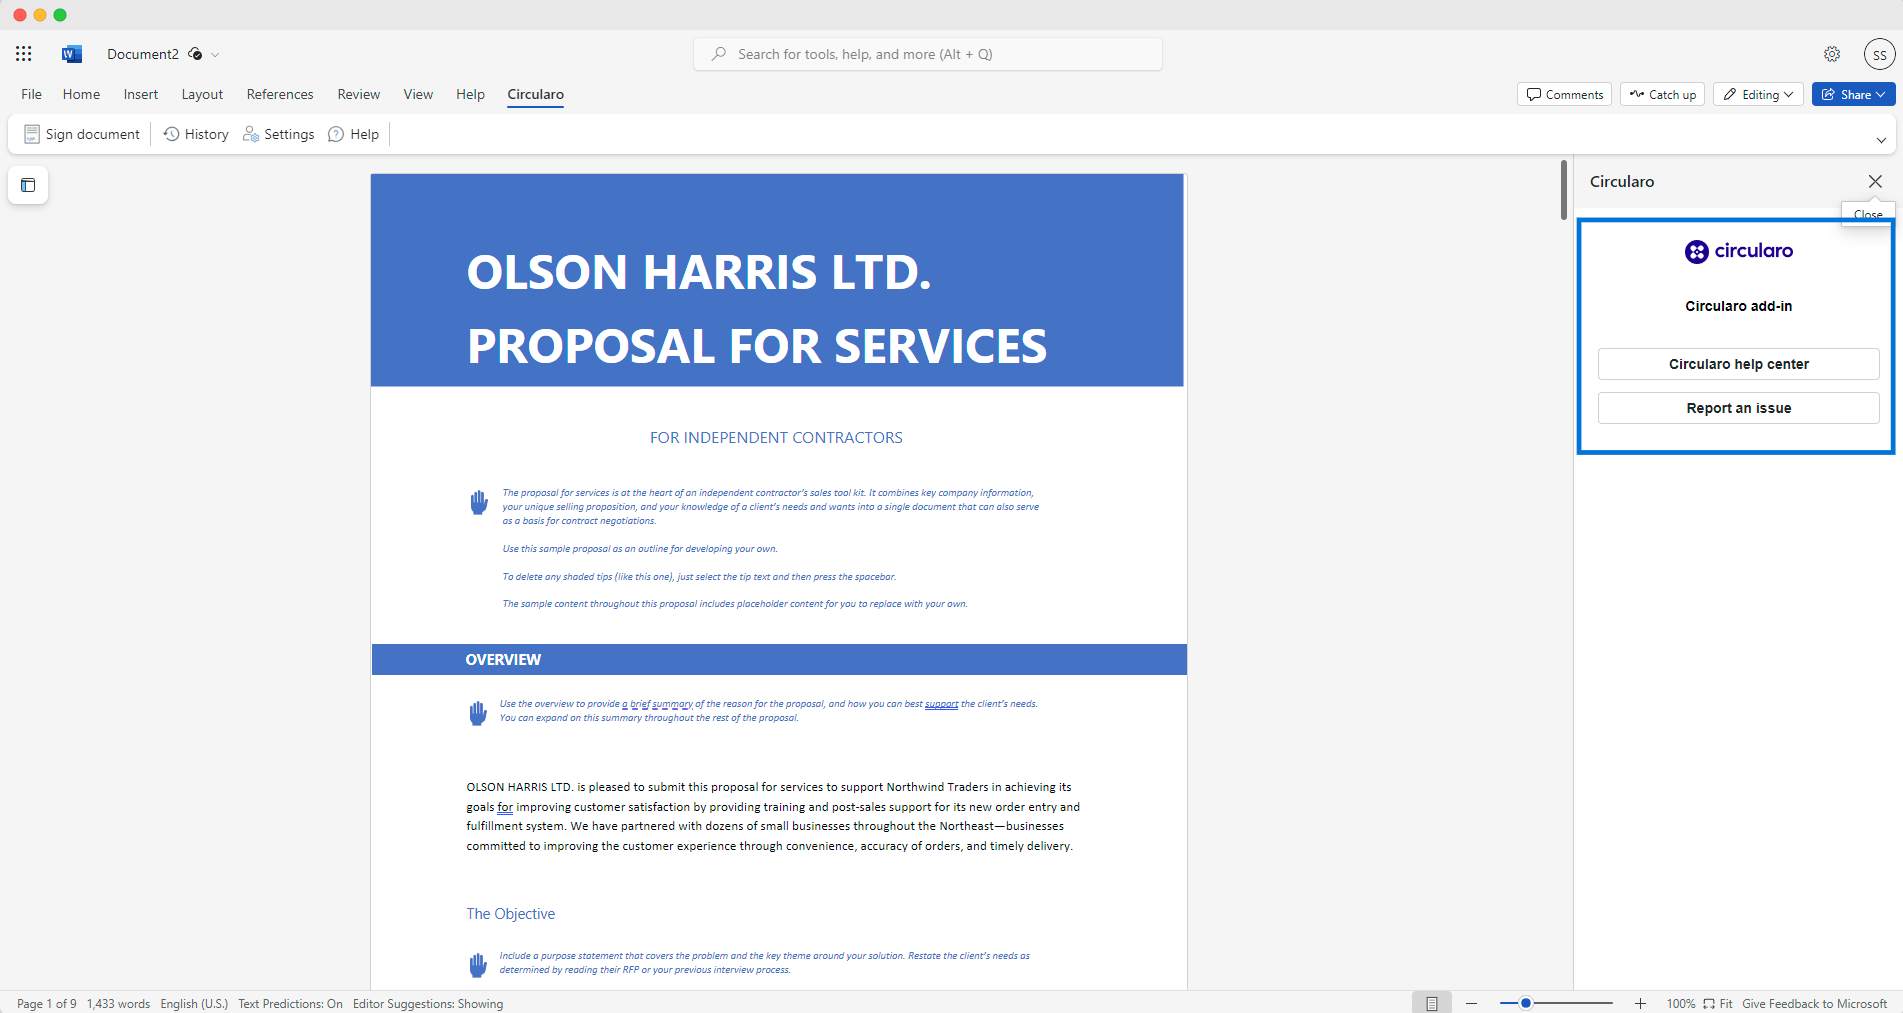
Help center
